How To: Flocking the Interior of a Box
How to: Flocking a Box
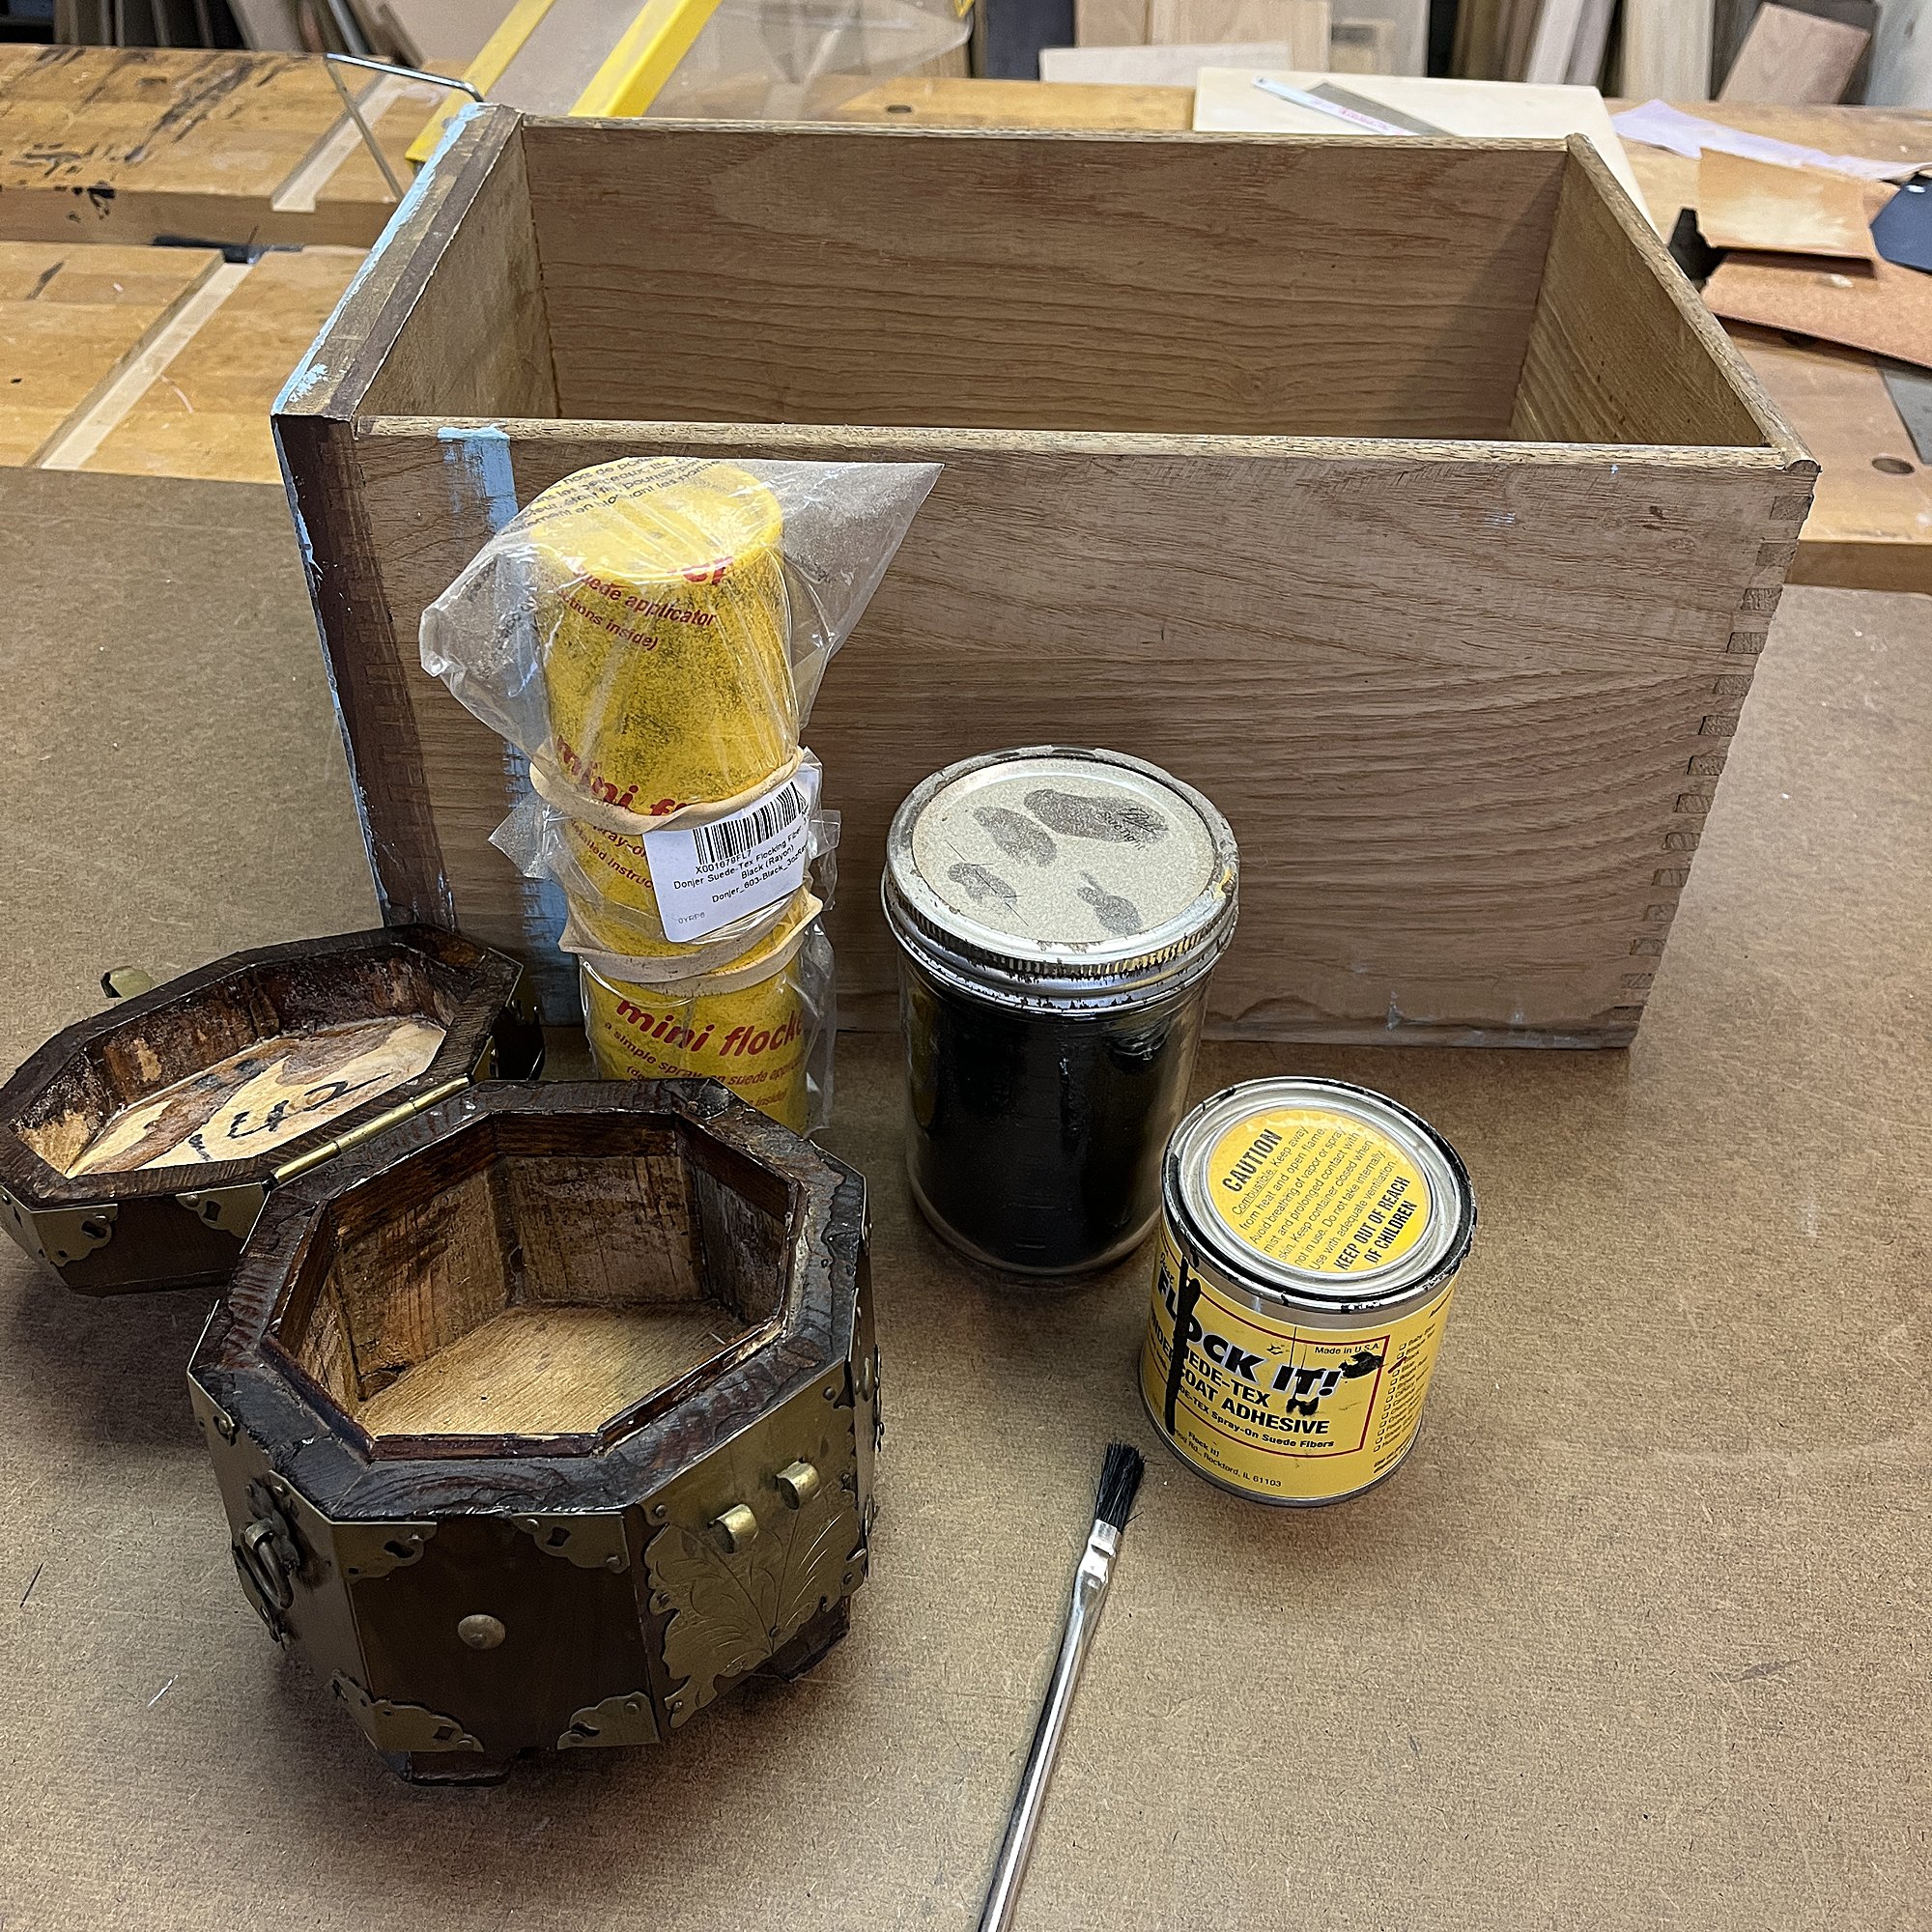
Often while curating altar sets, I run into containers that need a little love. We can fix cracks, repair finishes, and replace hardware, but ruined interiors can present a challenge. That's why we learned to do our own flocking. If you're interested in bringing new life to an old box, you can flock at home too.
Here's how:
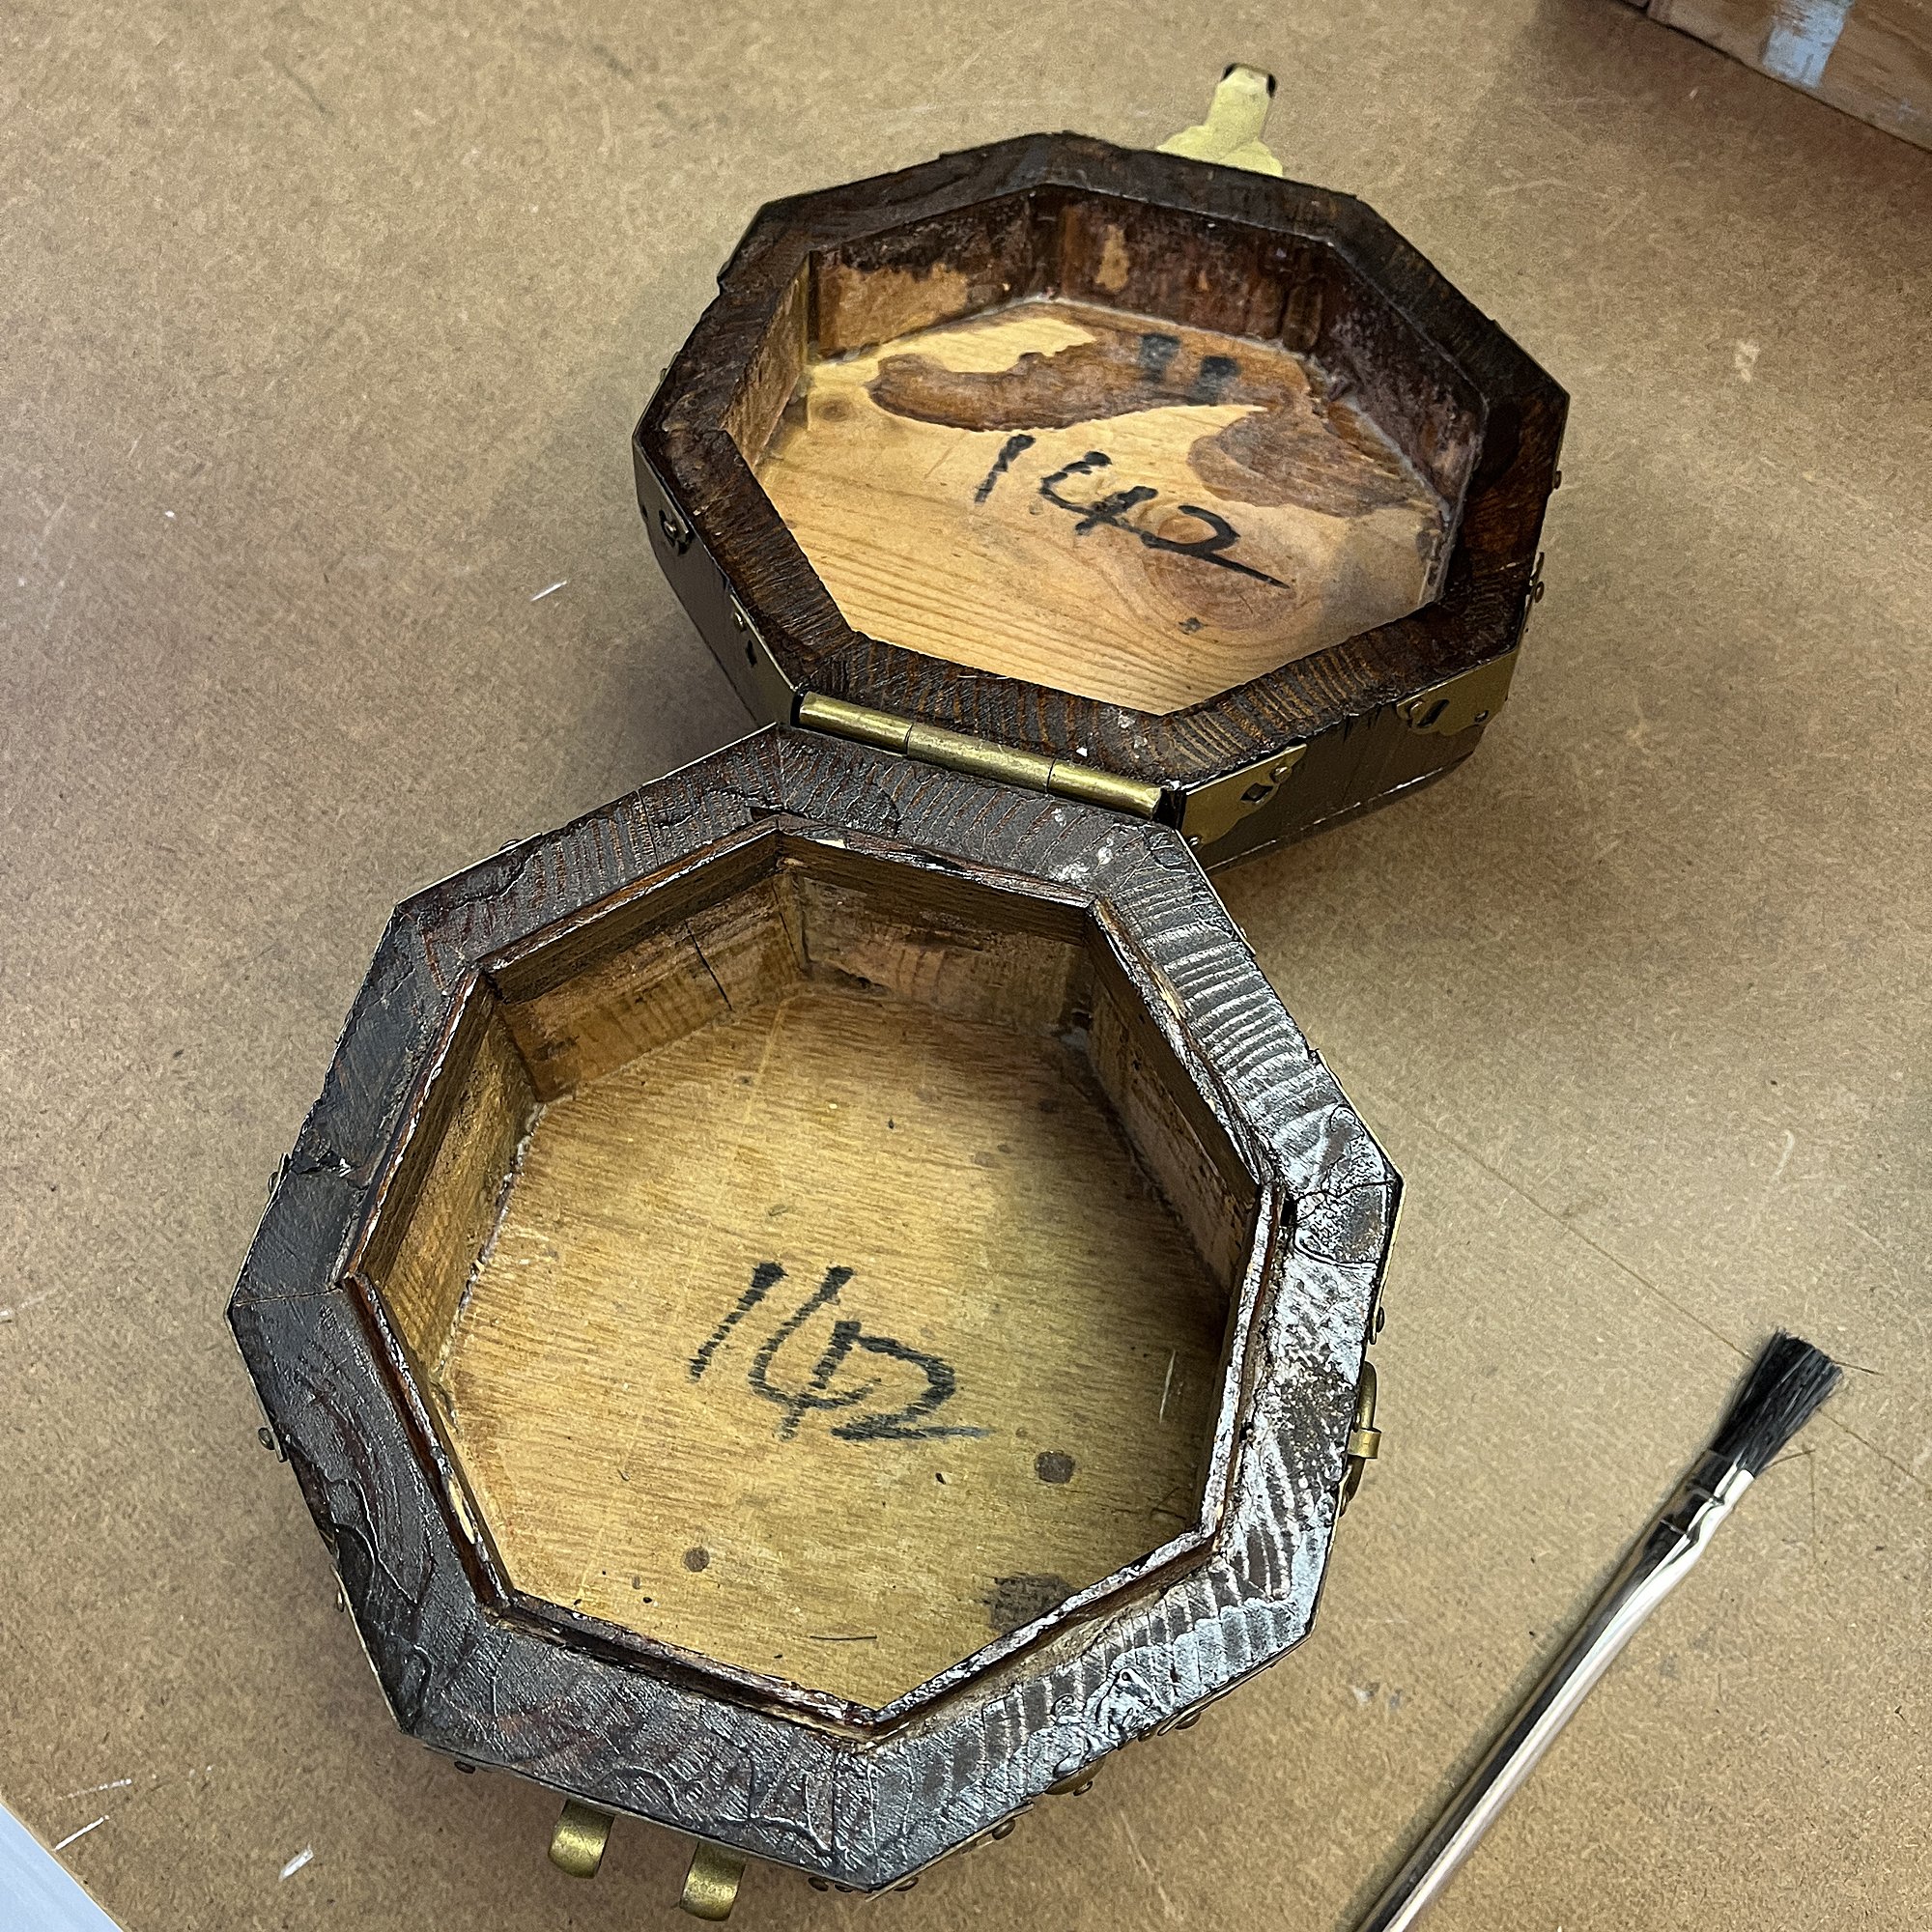
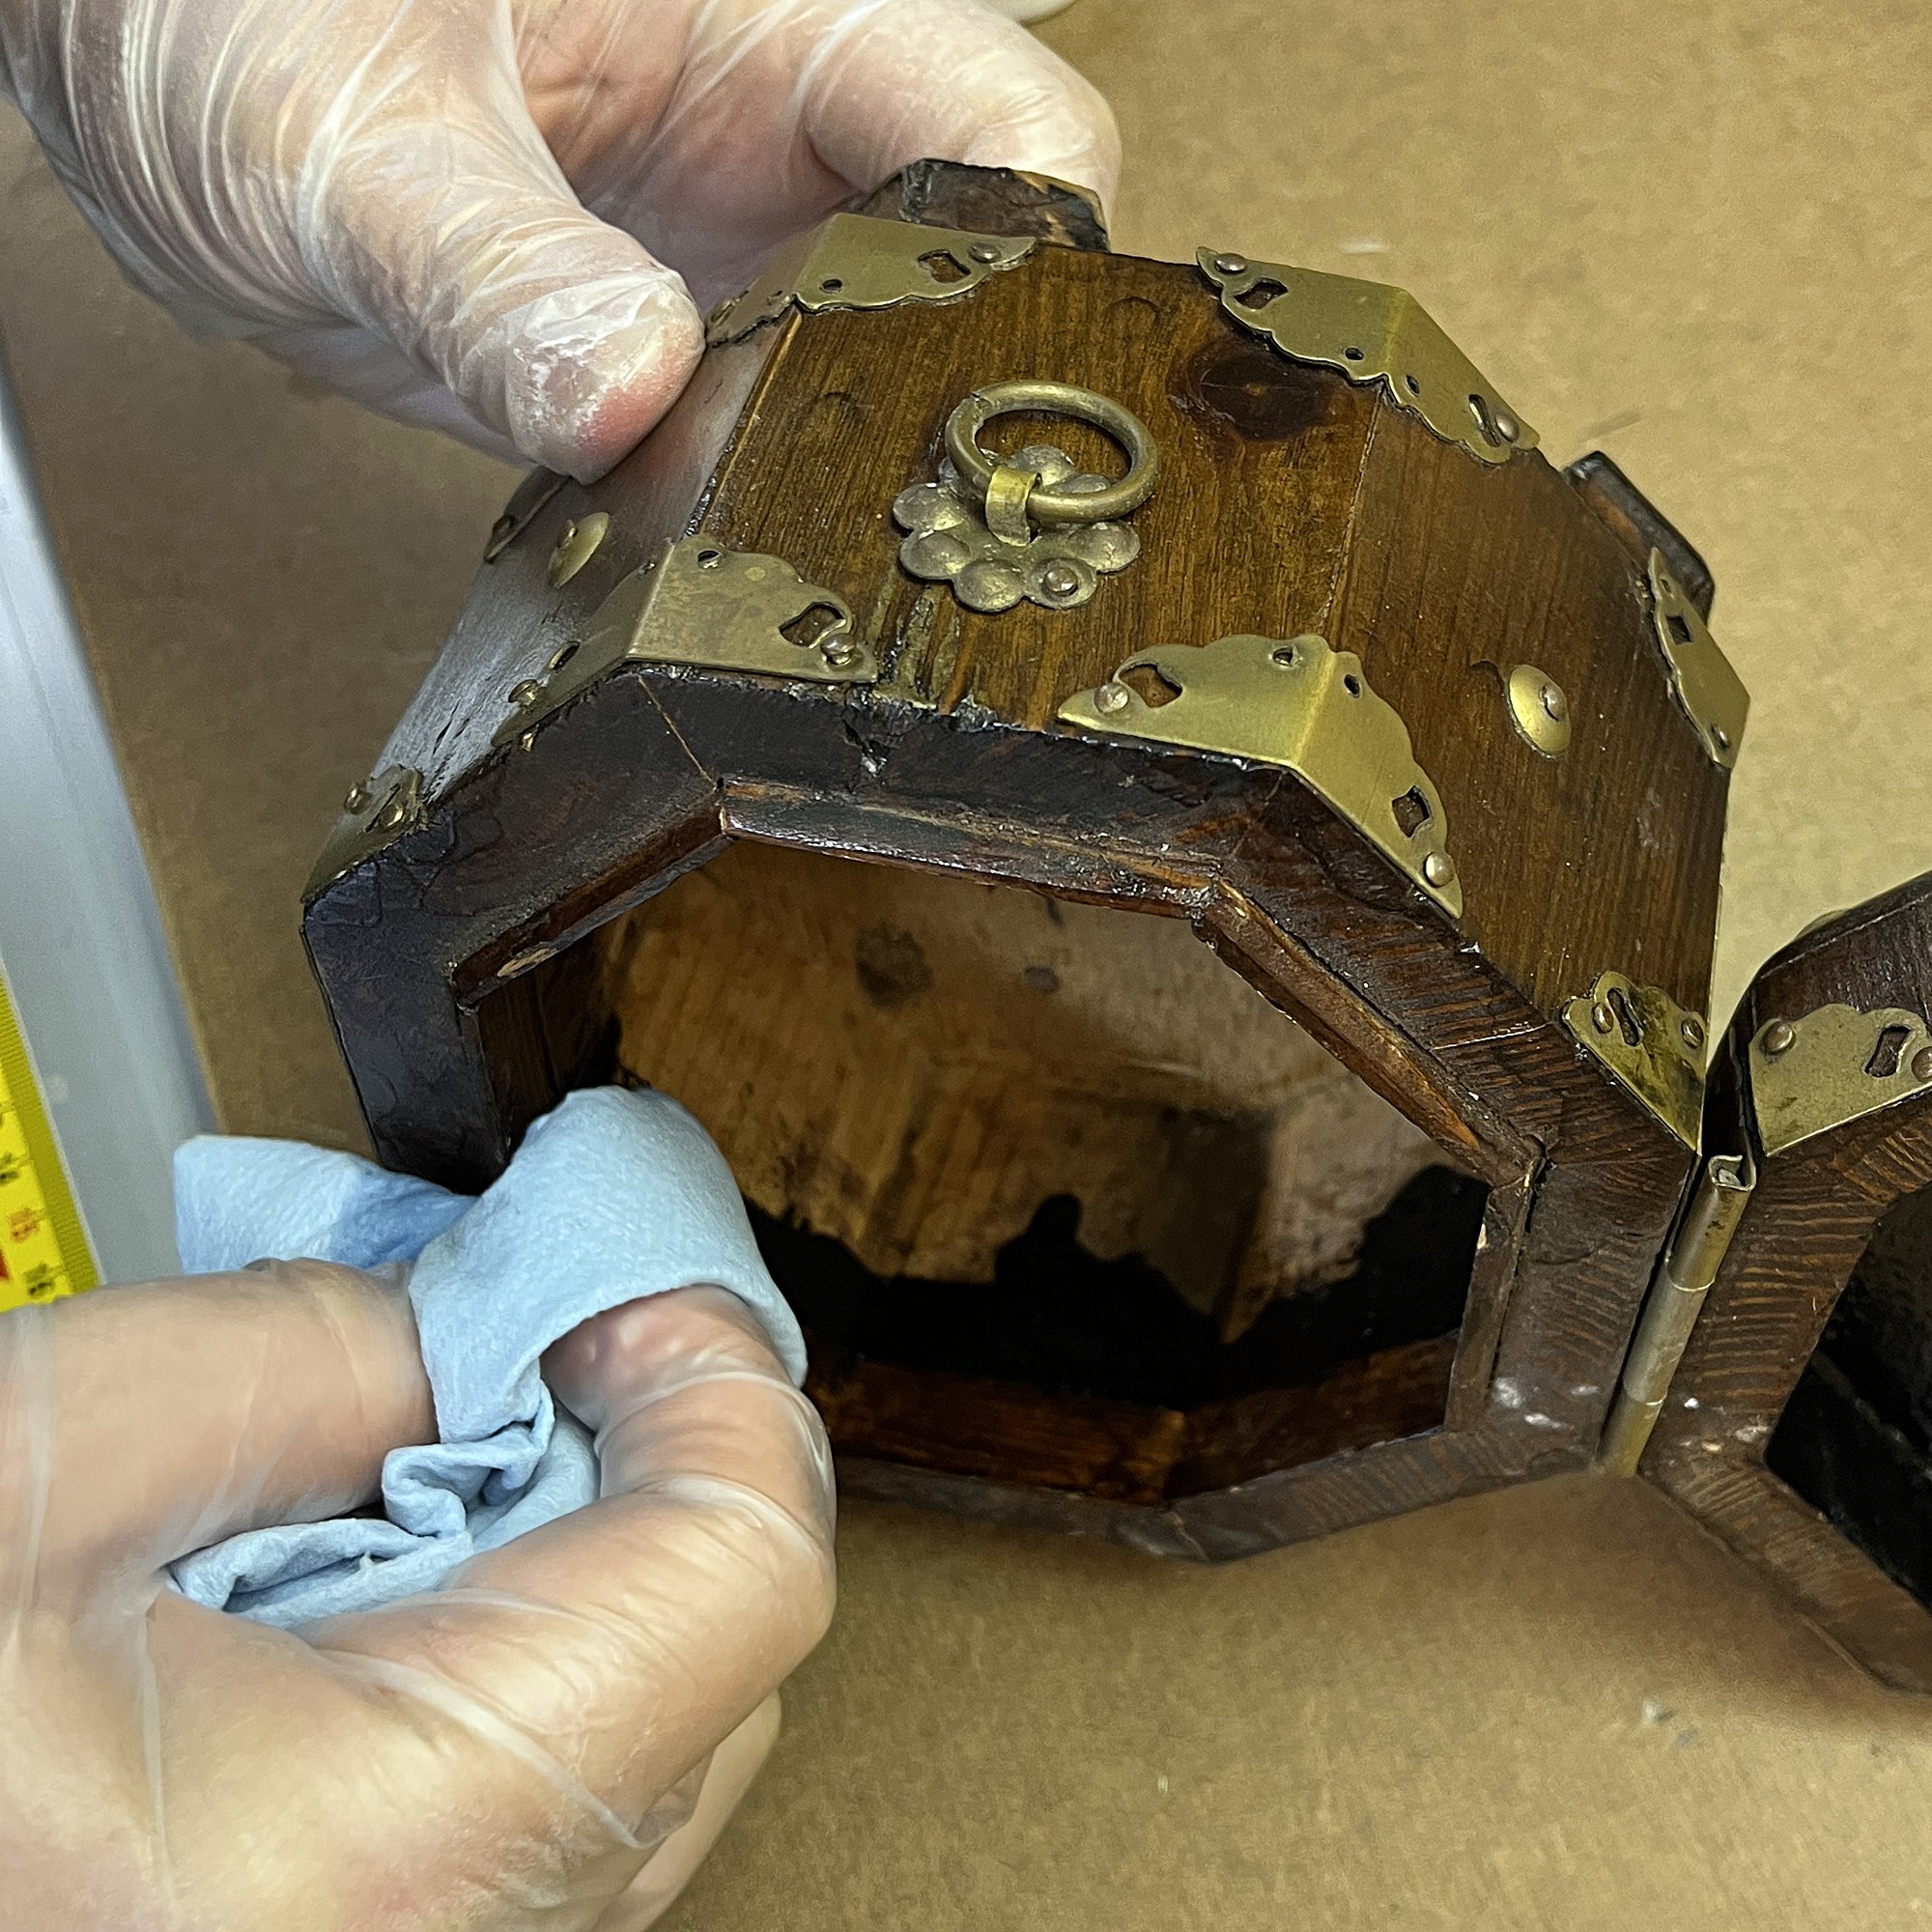
Wash and dry the surface to be flocked. In the case of this hexagonal box, it featured fake-flocked interior inserts (heavily stained) that we were able to easily pull out. We removed those panels, lightly washed the wood, and allowed it to dry before proceeding.
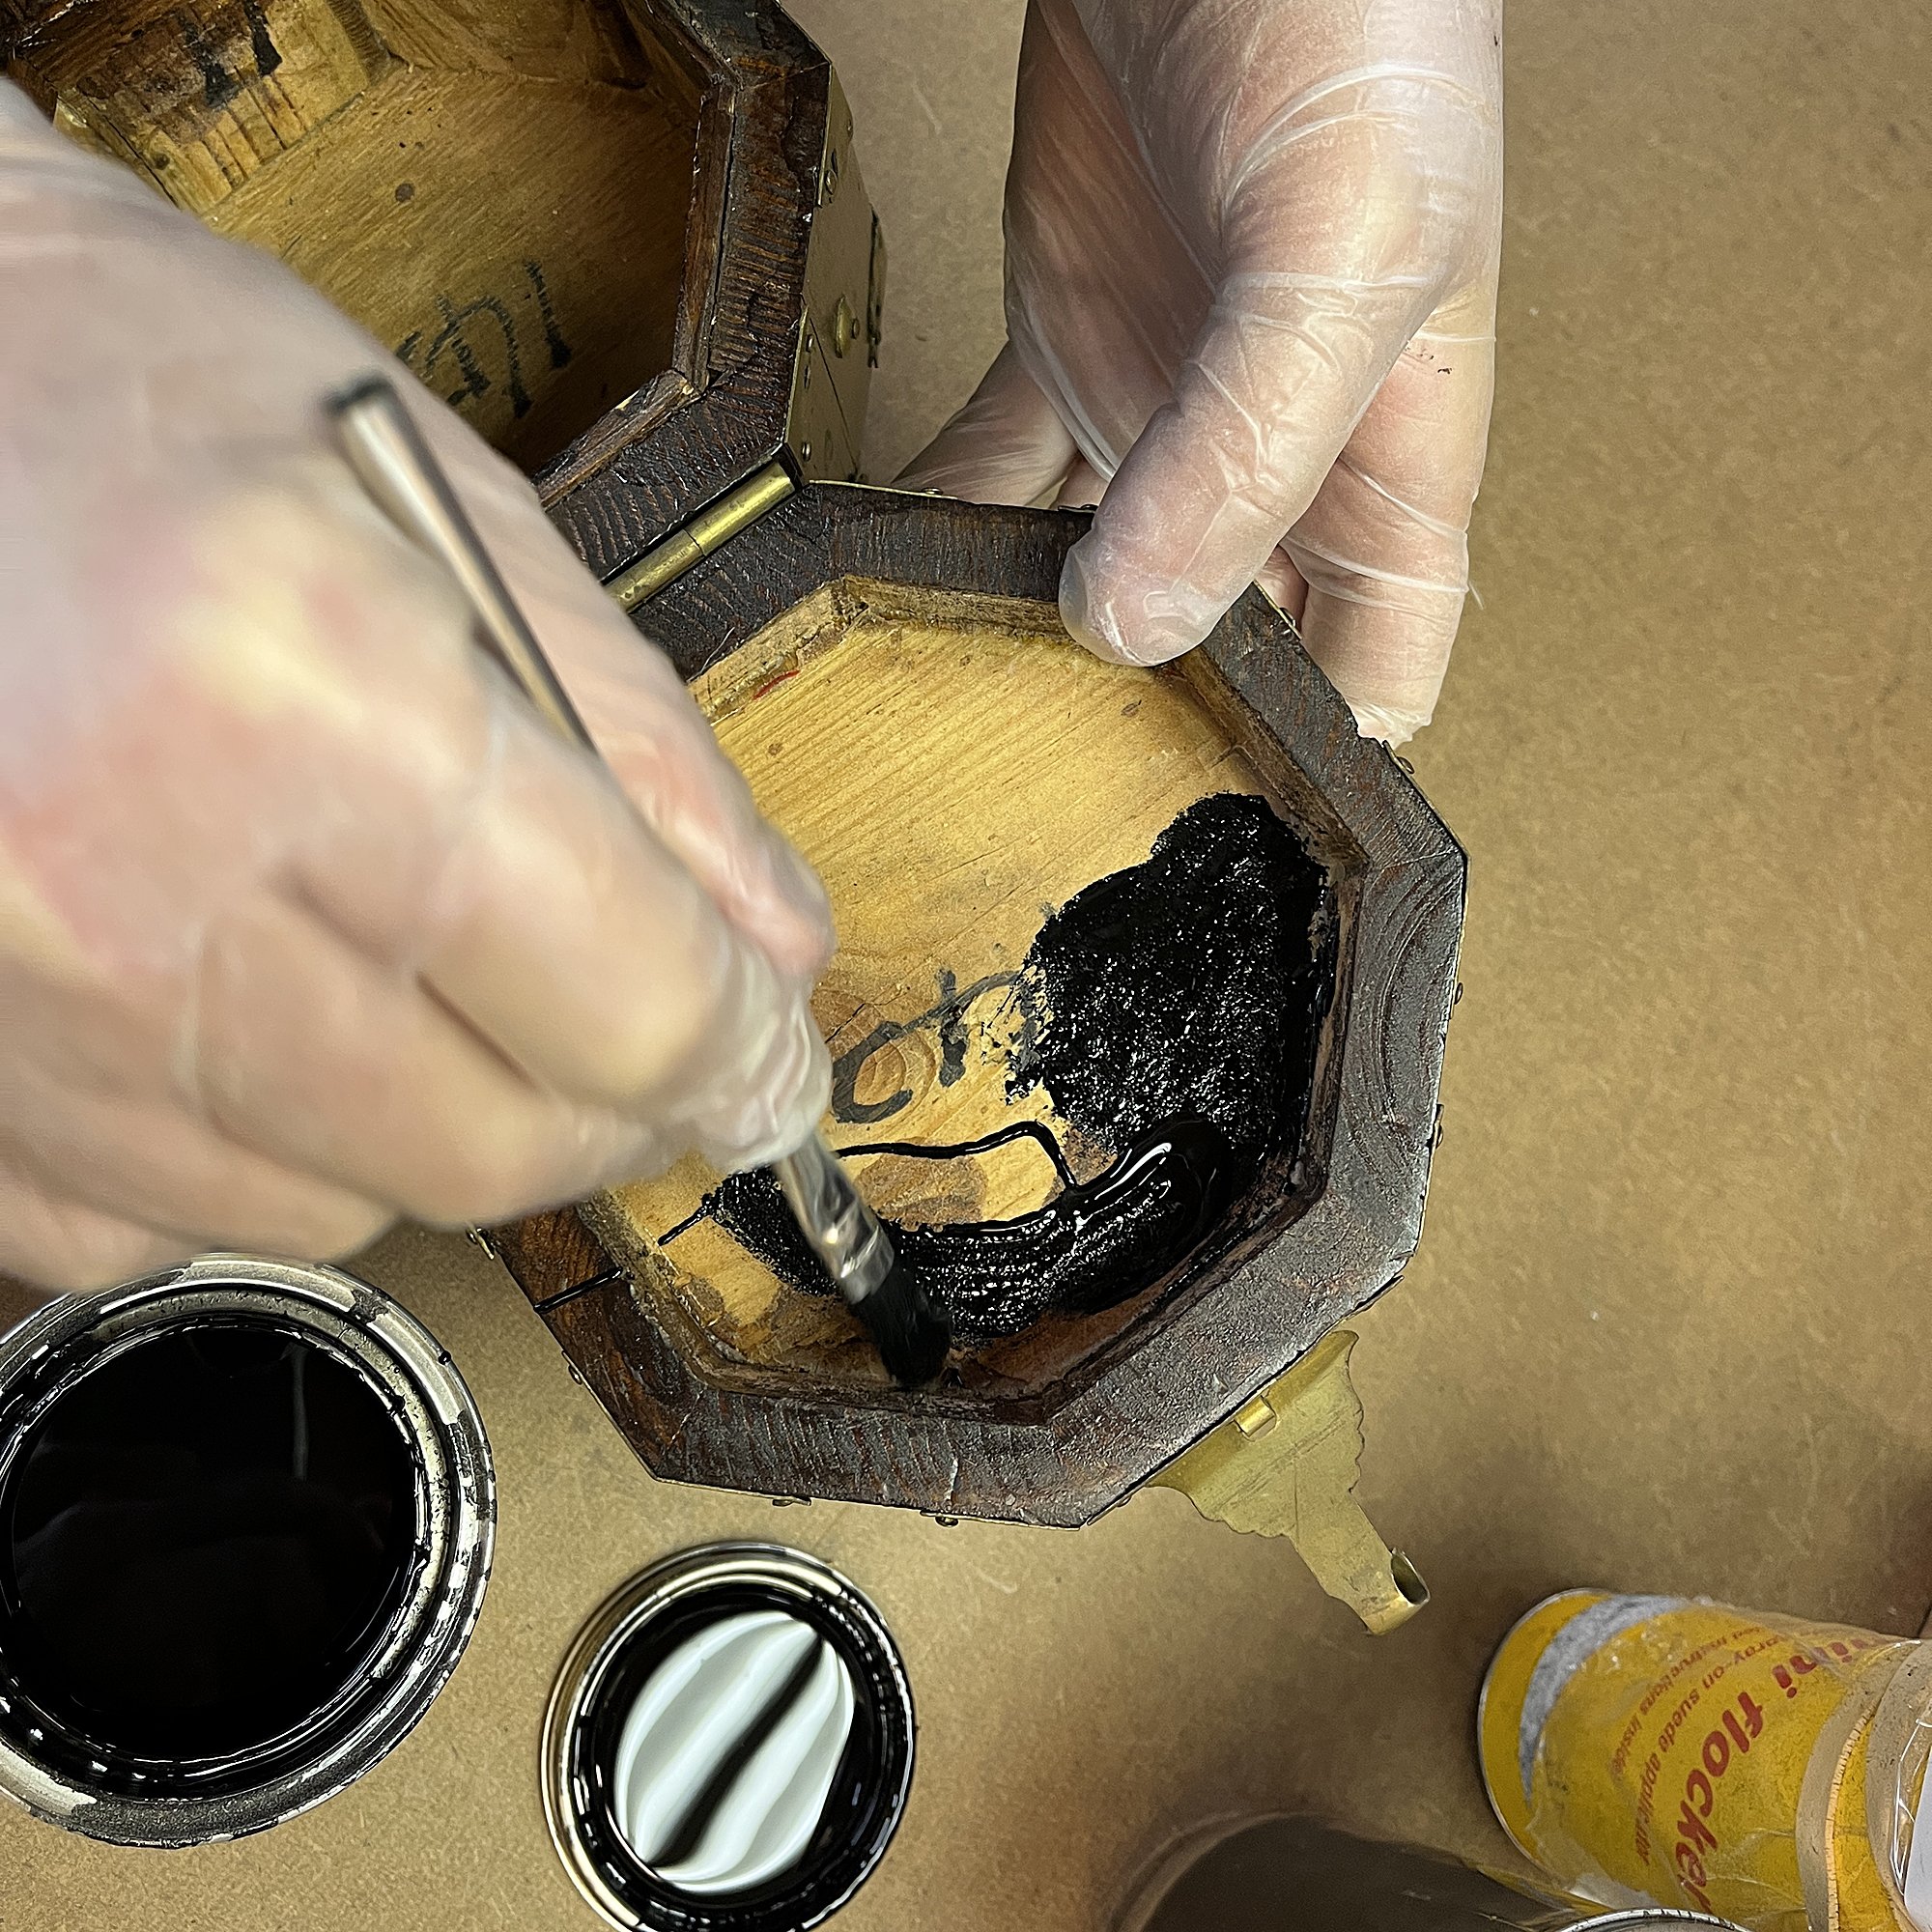
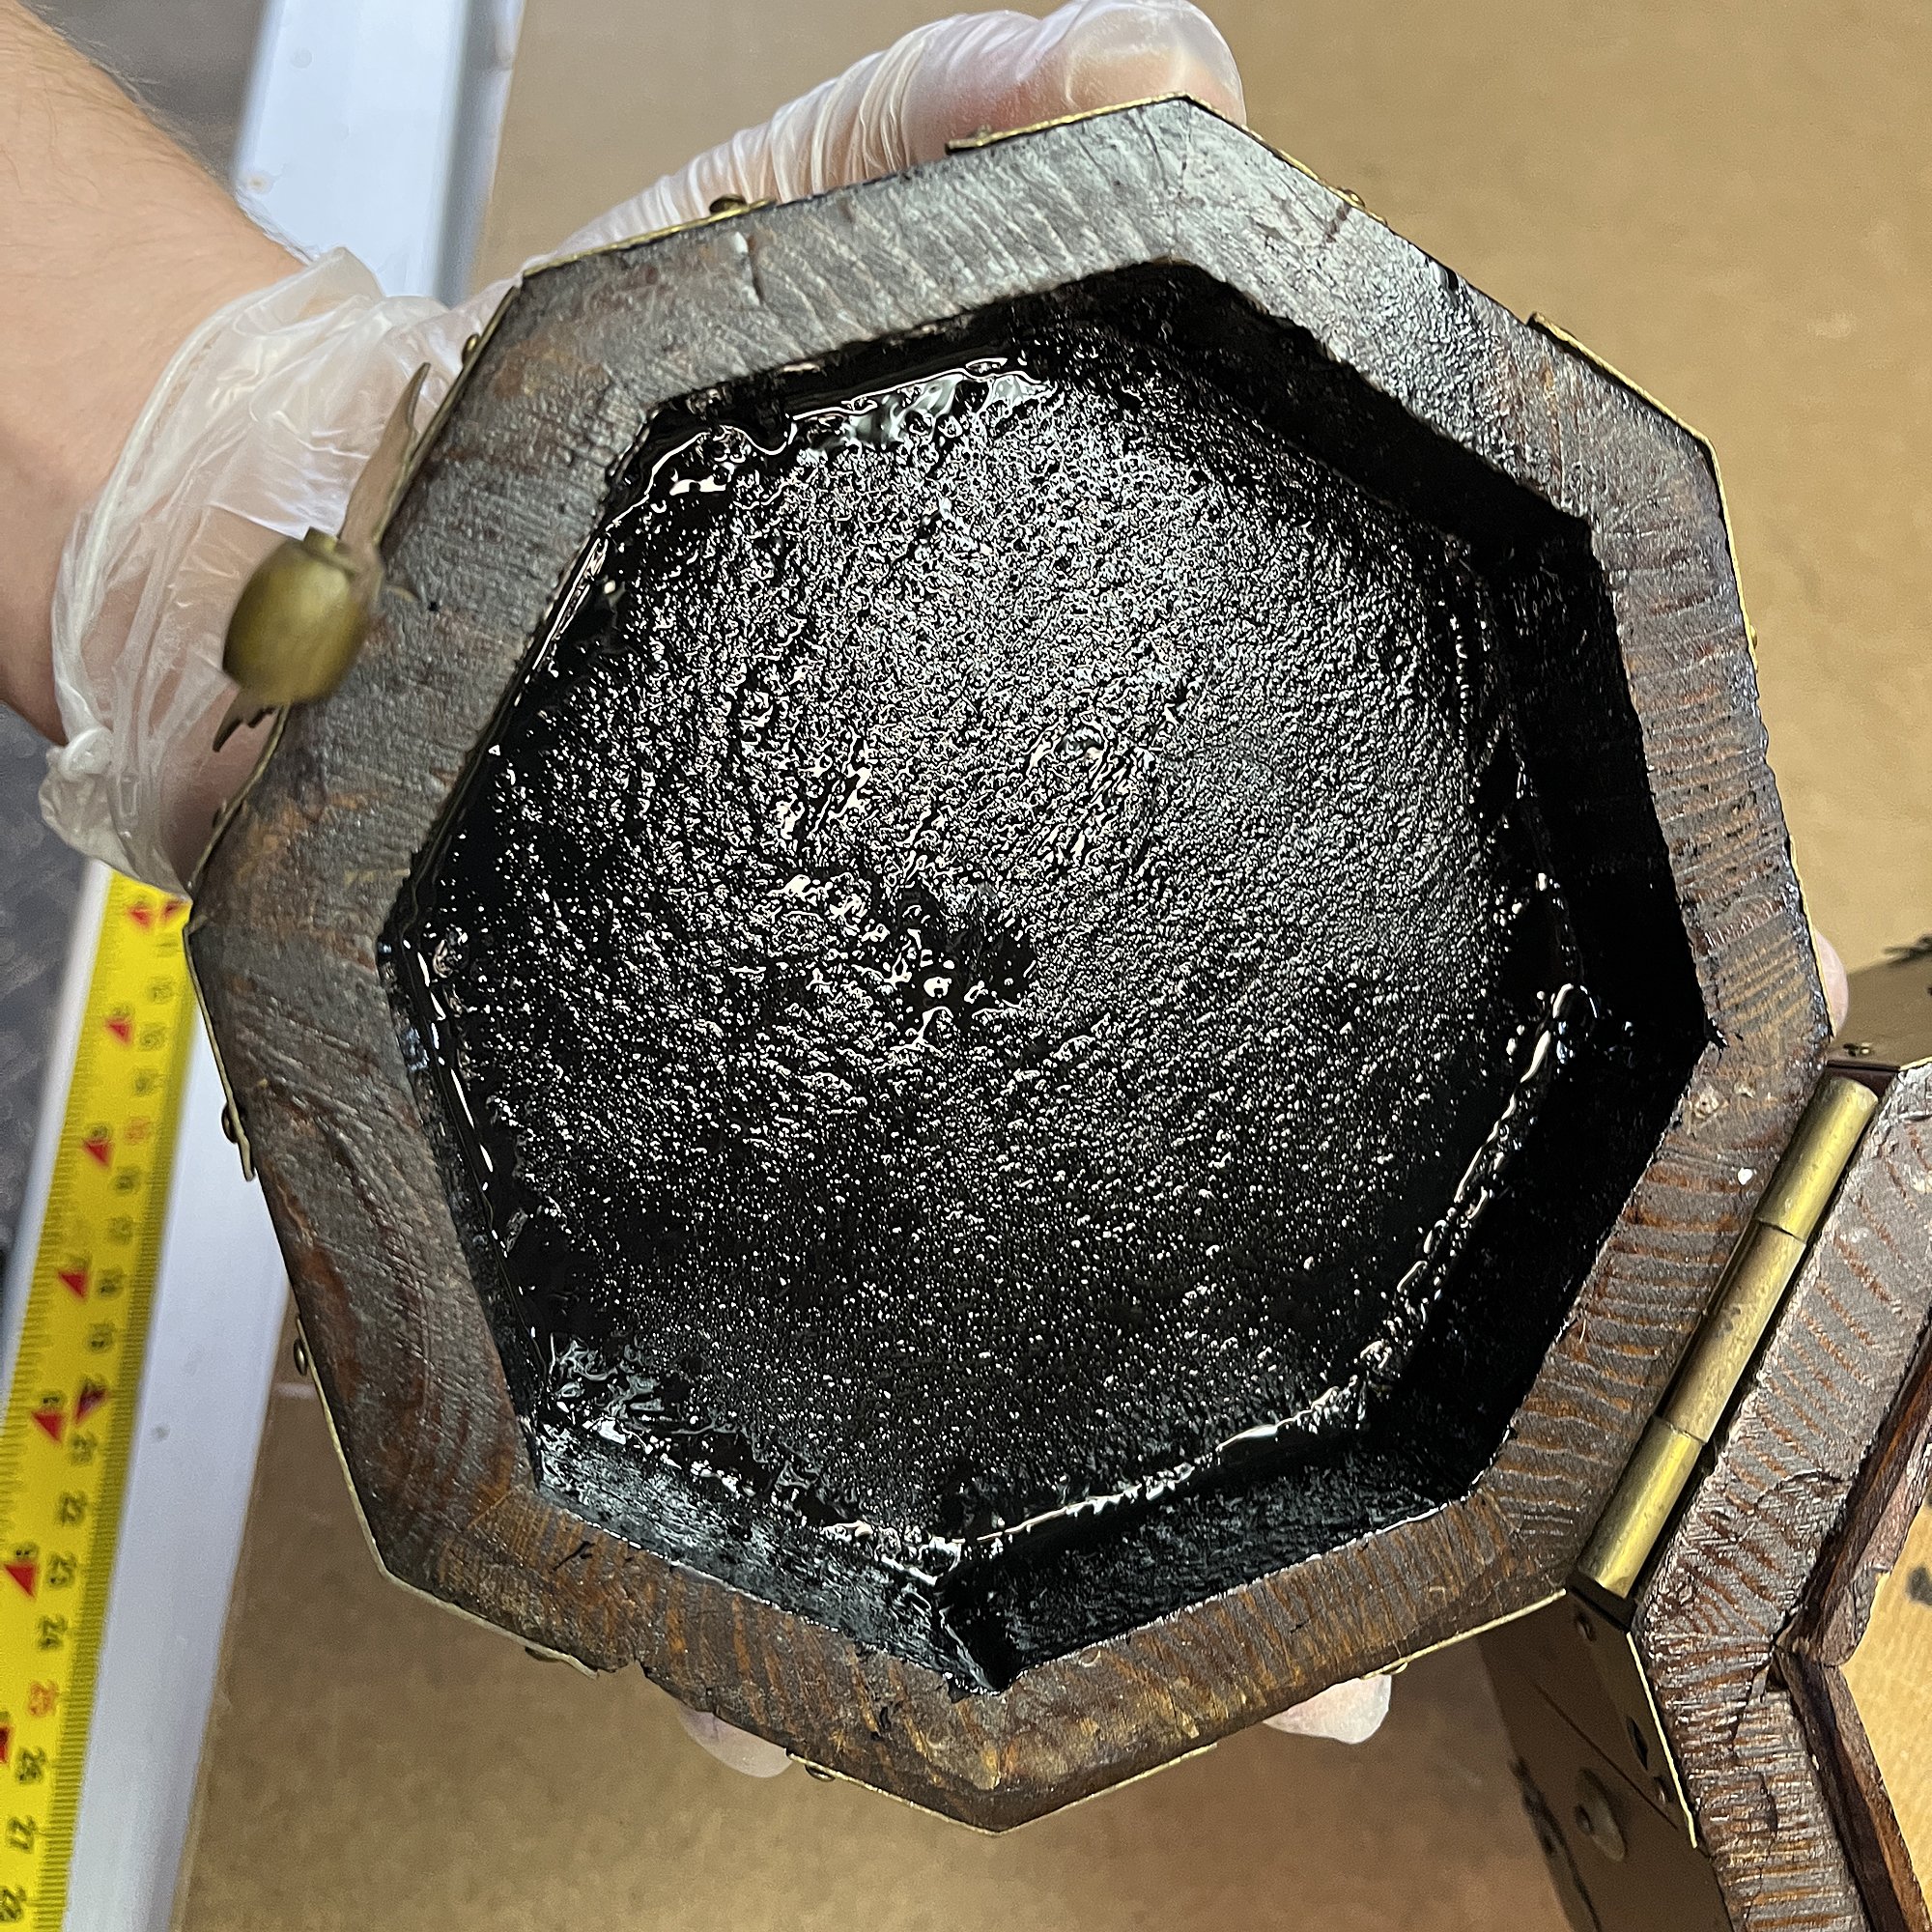
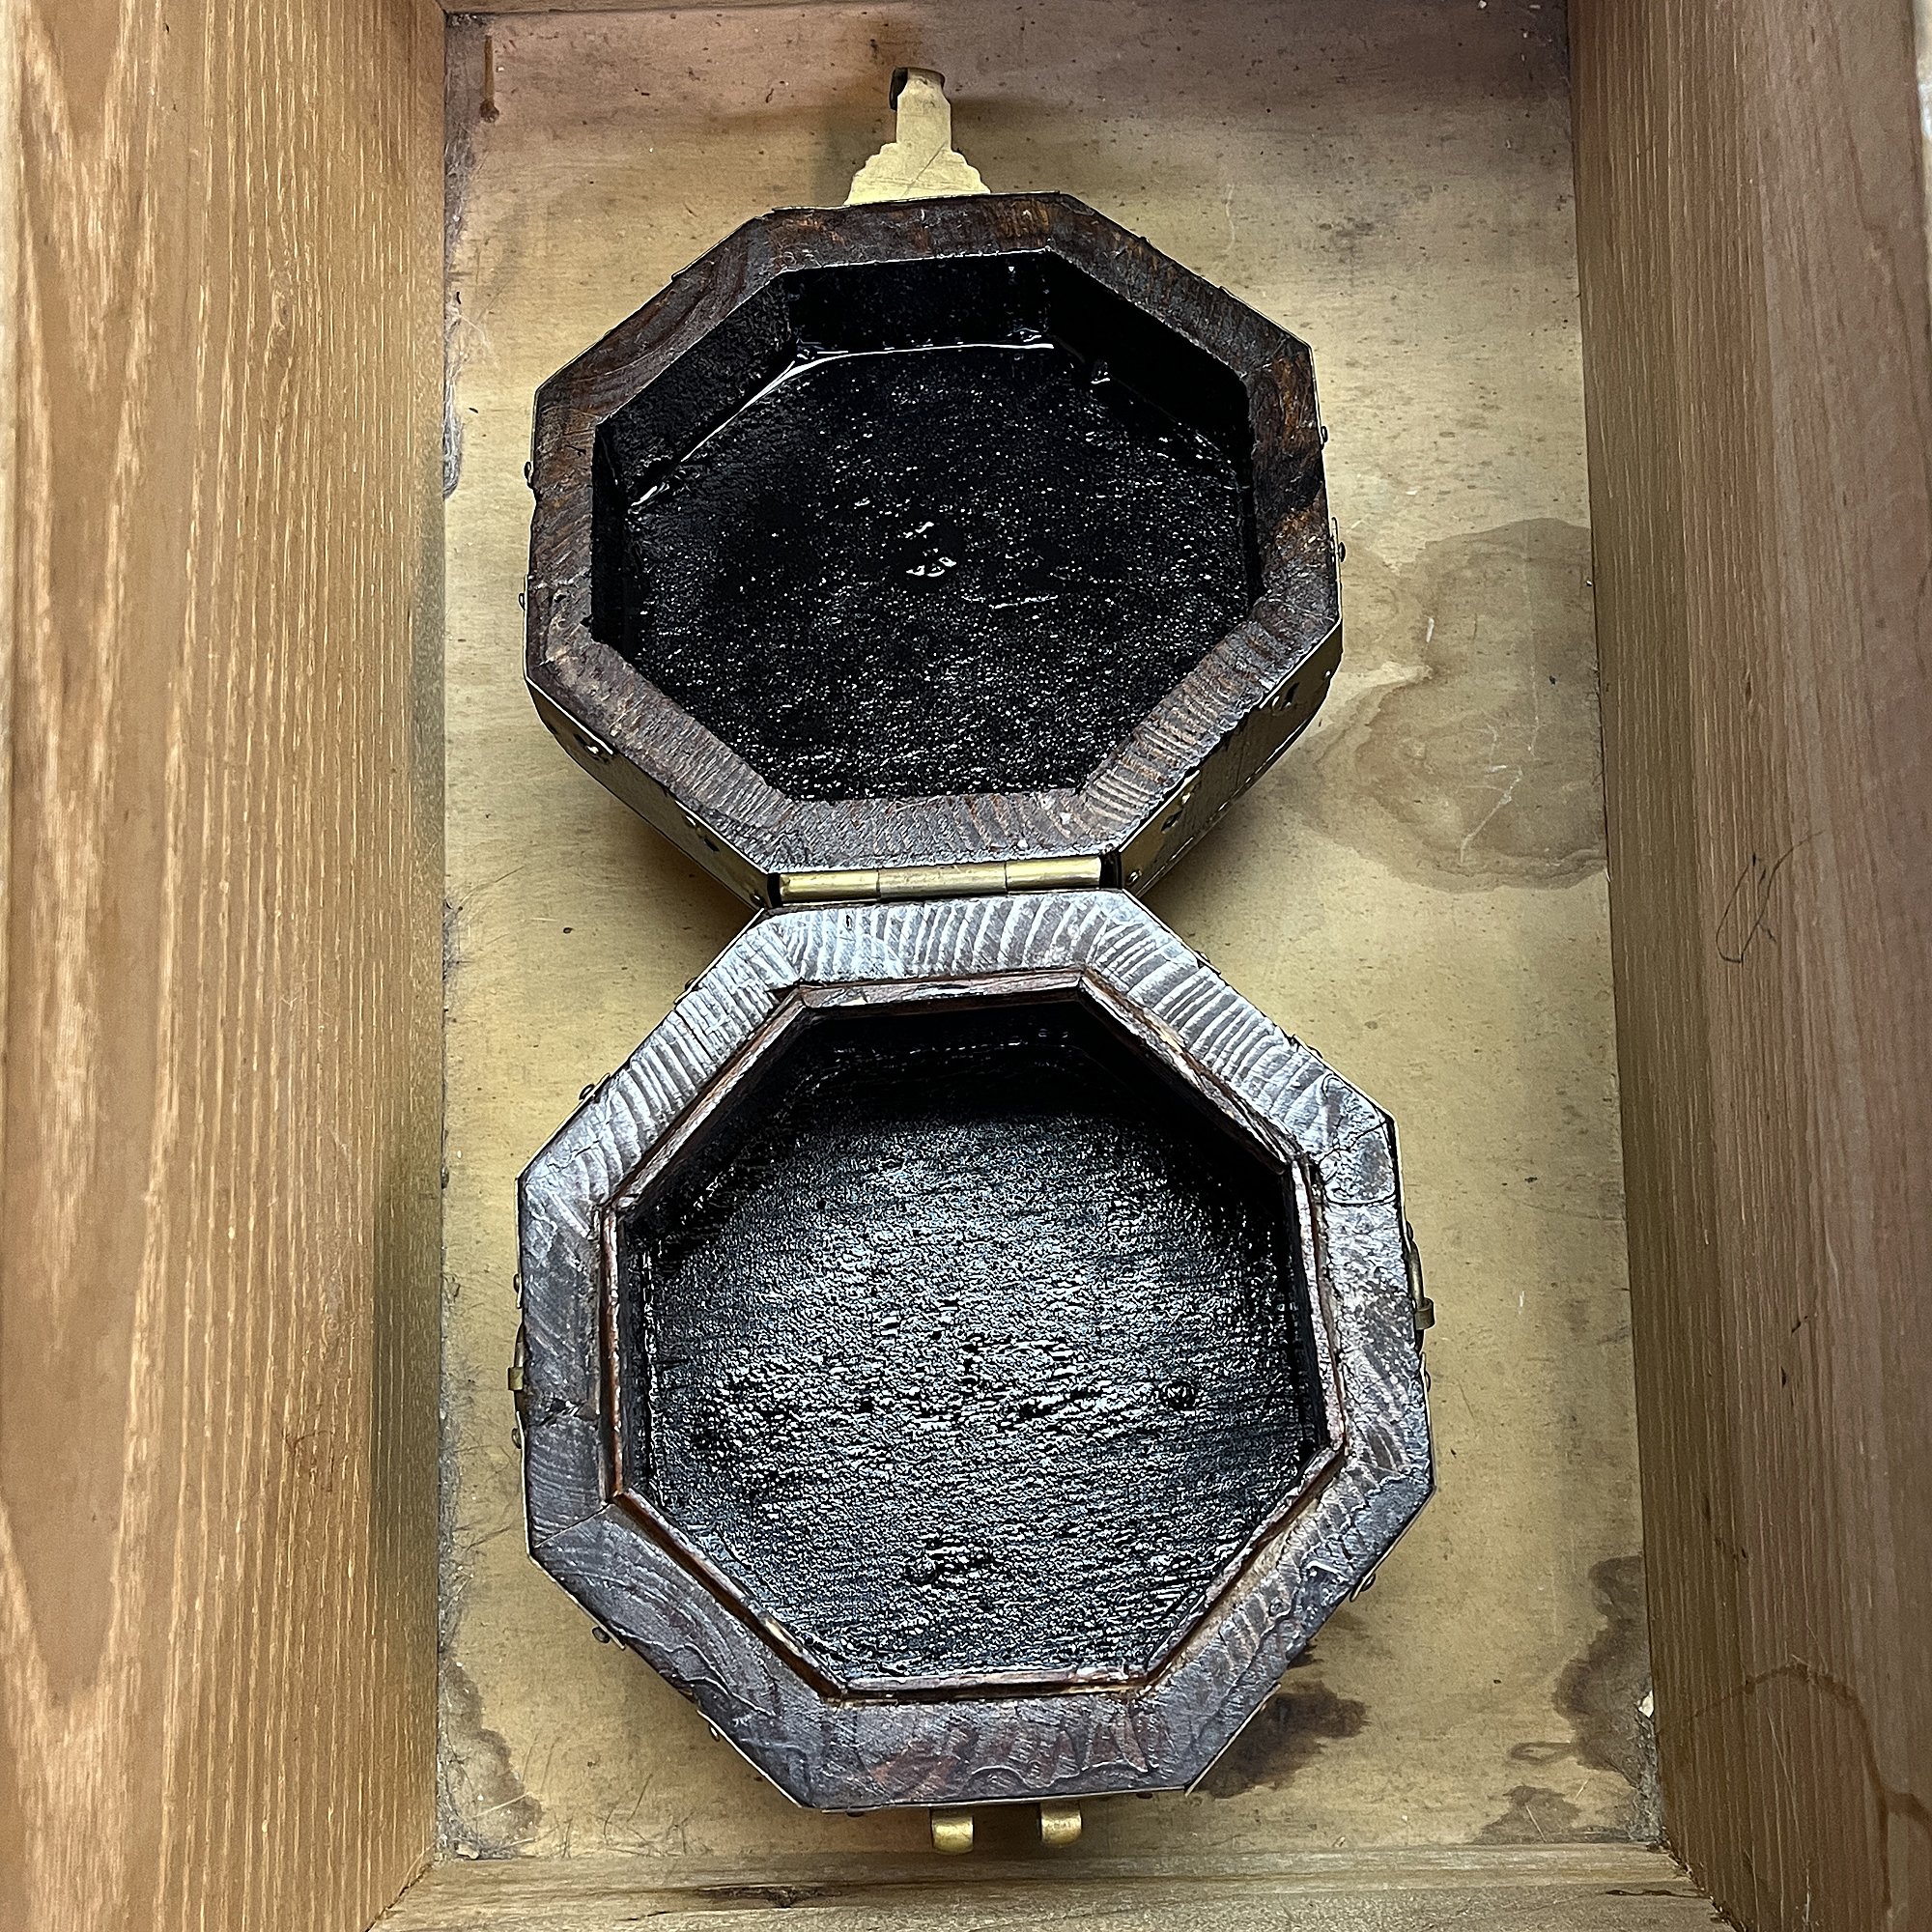
Cover the surface with a light layer of flocking glue. In this instance, we're using black flocking, so we went with black glue. The glue should cover the surface but not be so heavy that it drips. Use a brush you don't care about because you'll have to toss it after you're done. Wipe off any excess or drips using isopropyl alcohol and a cloth.
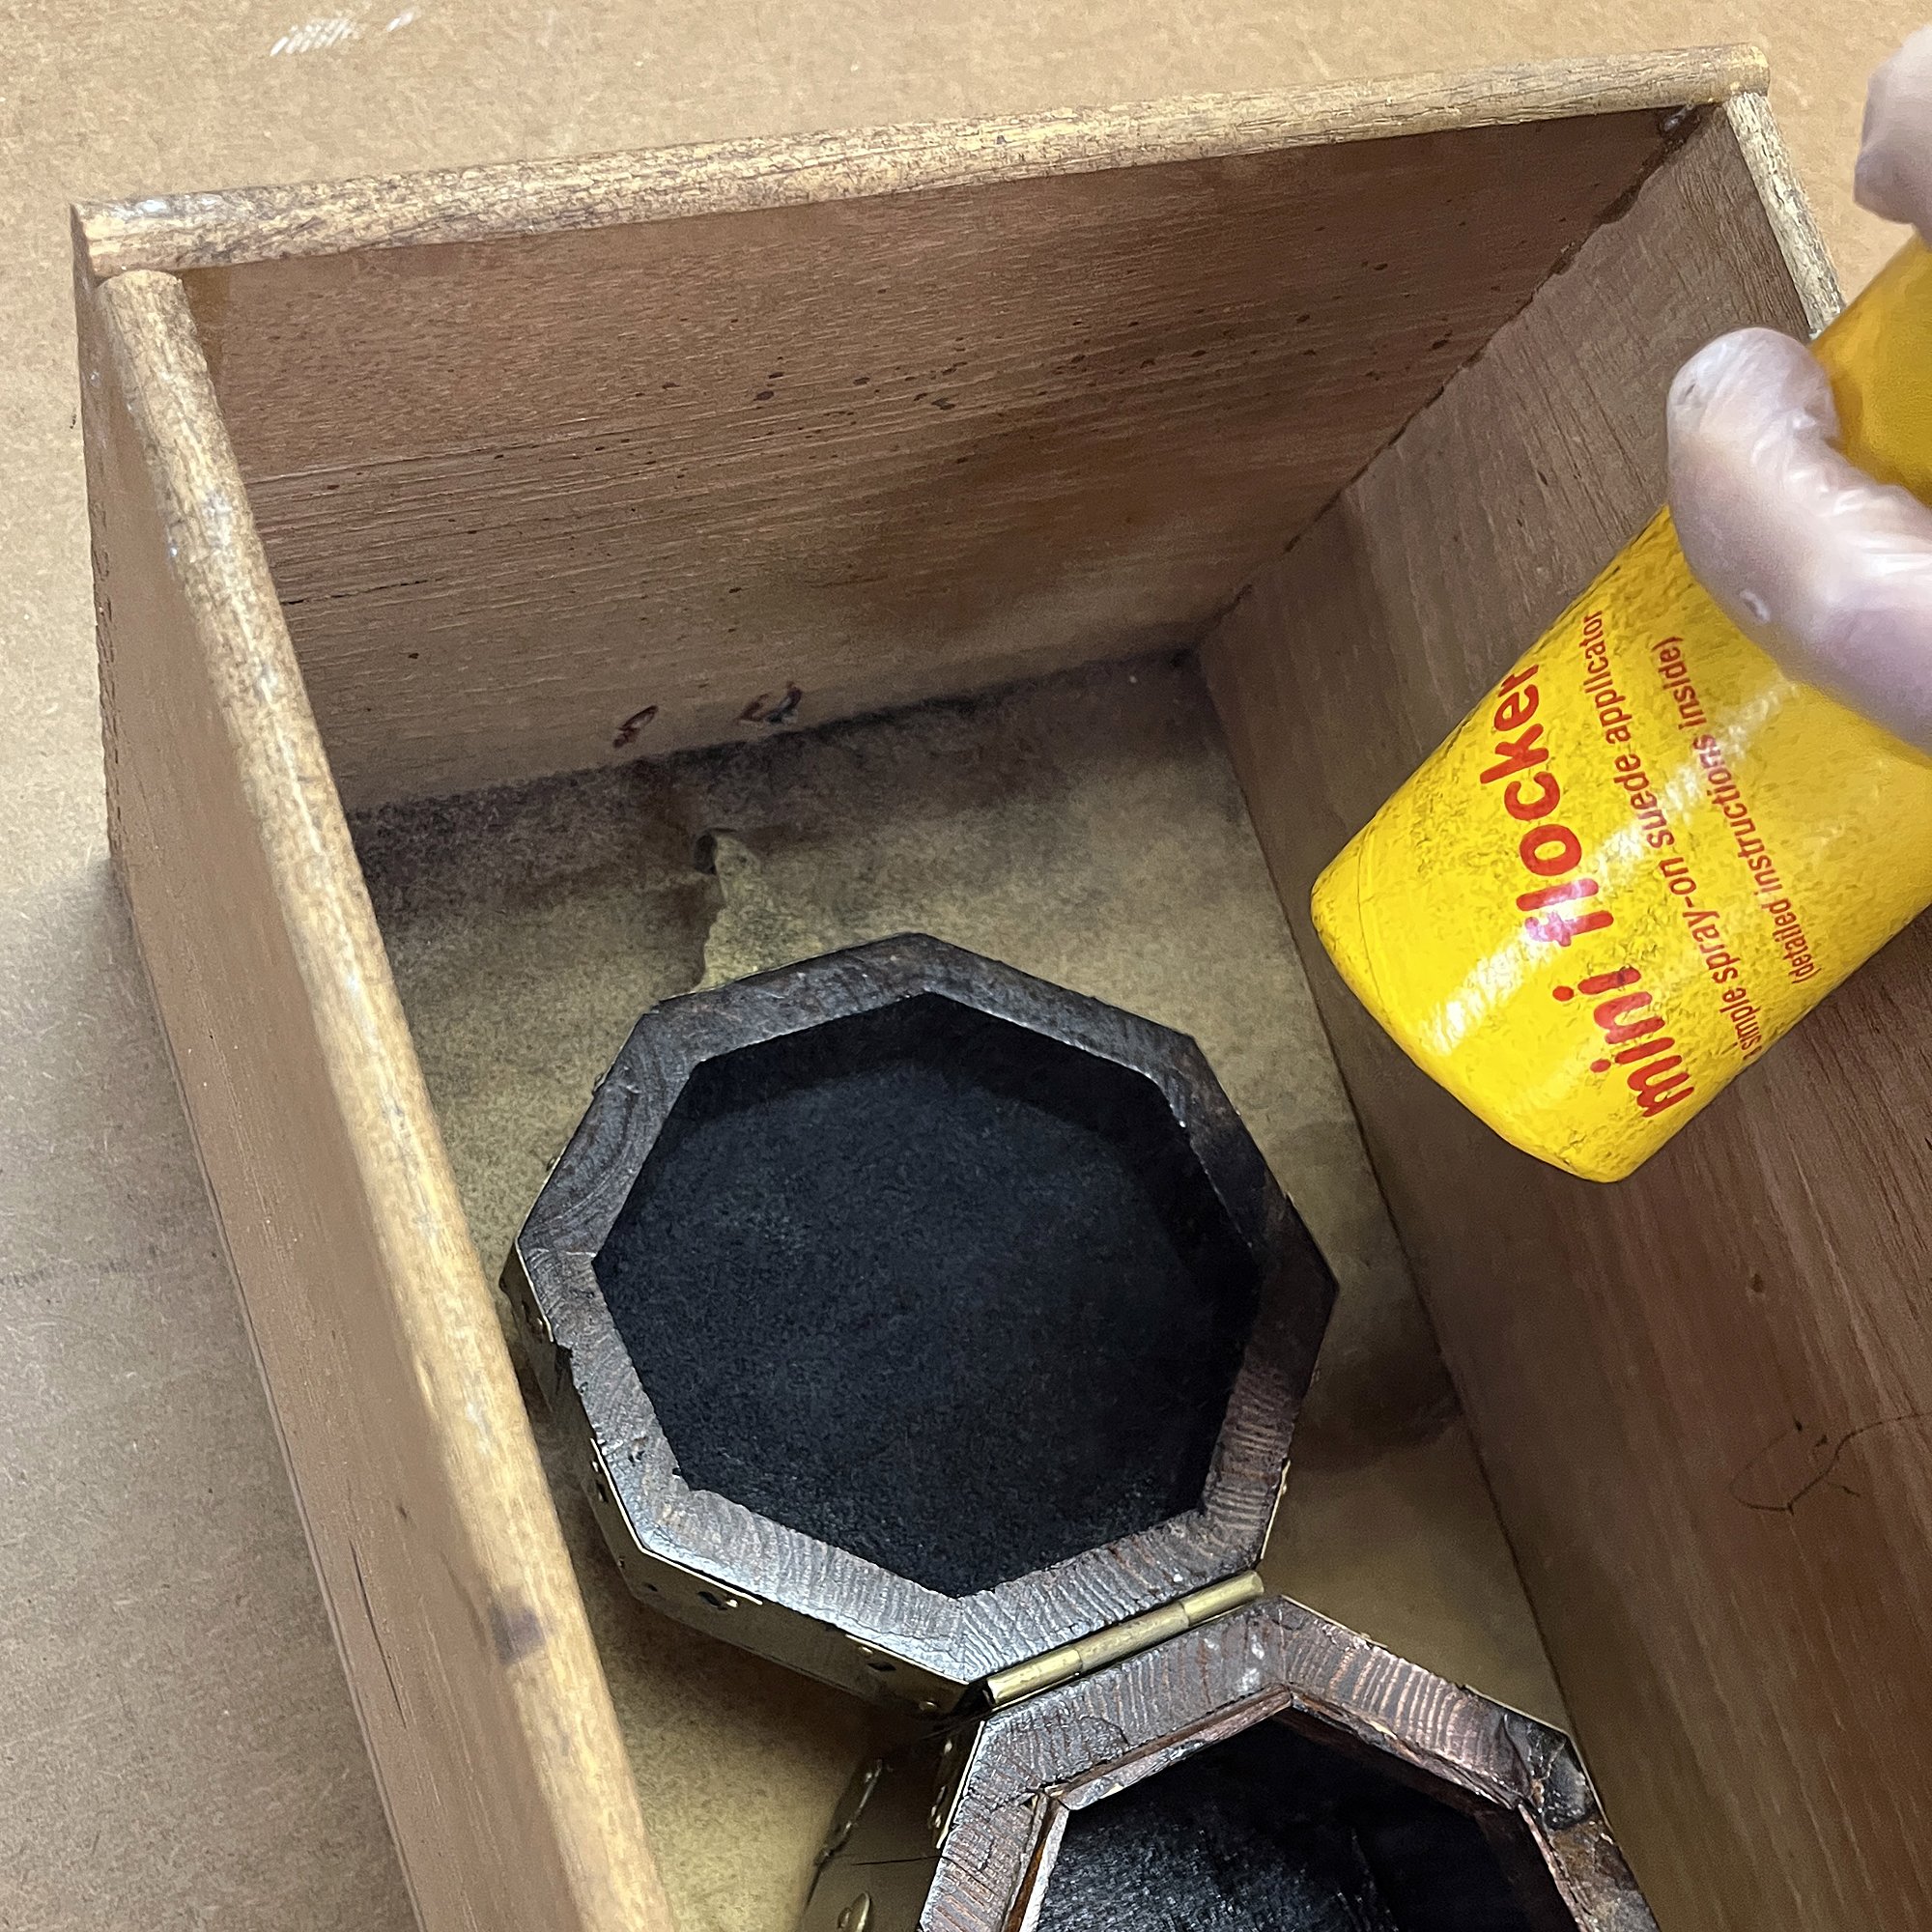
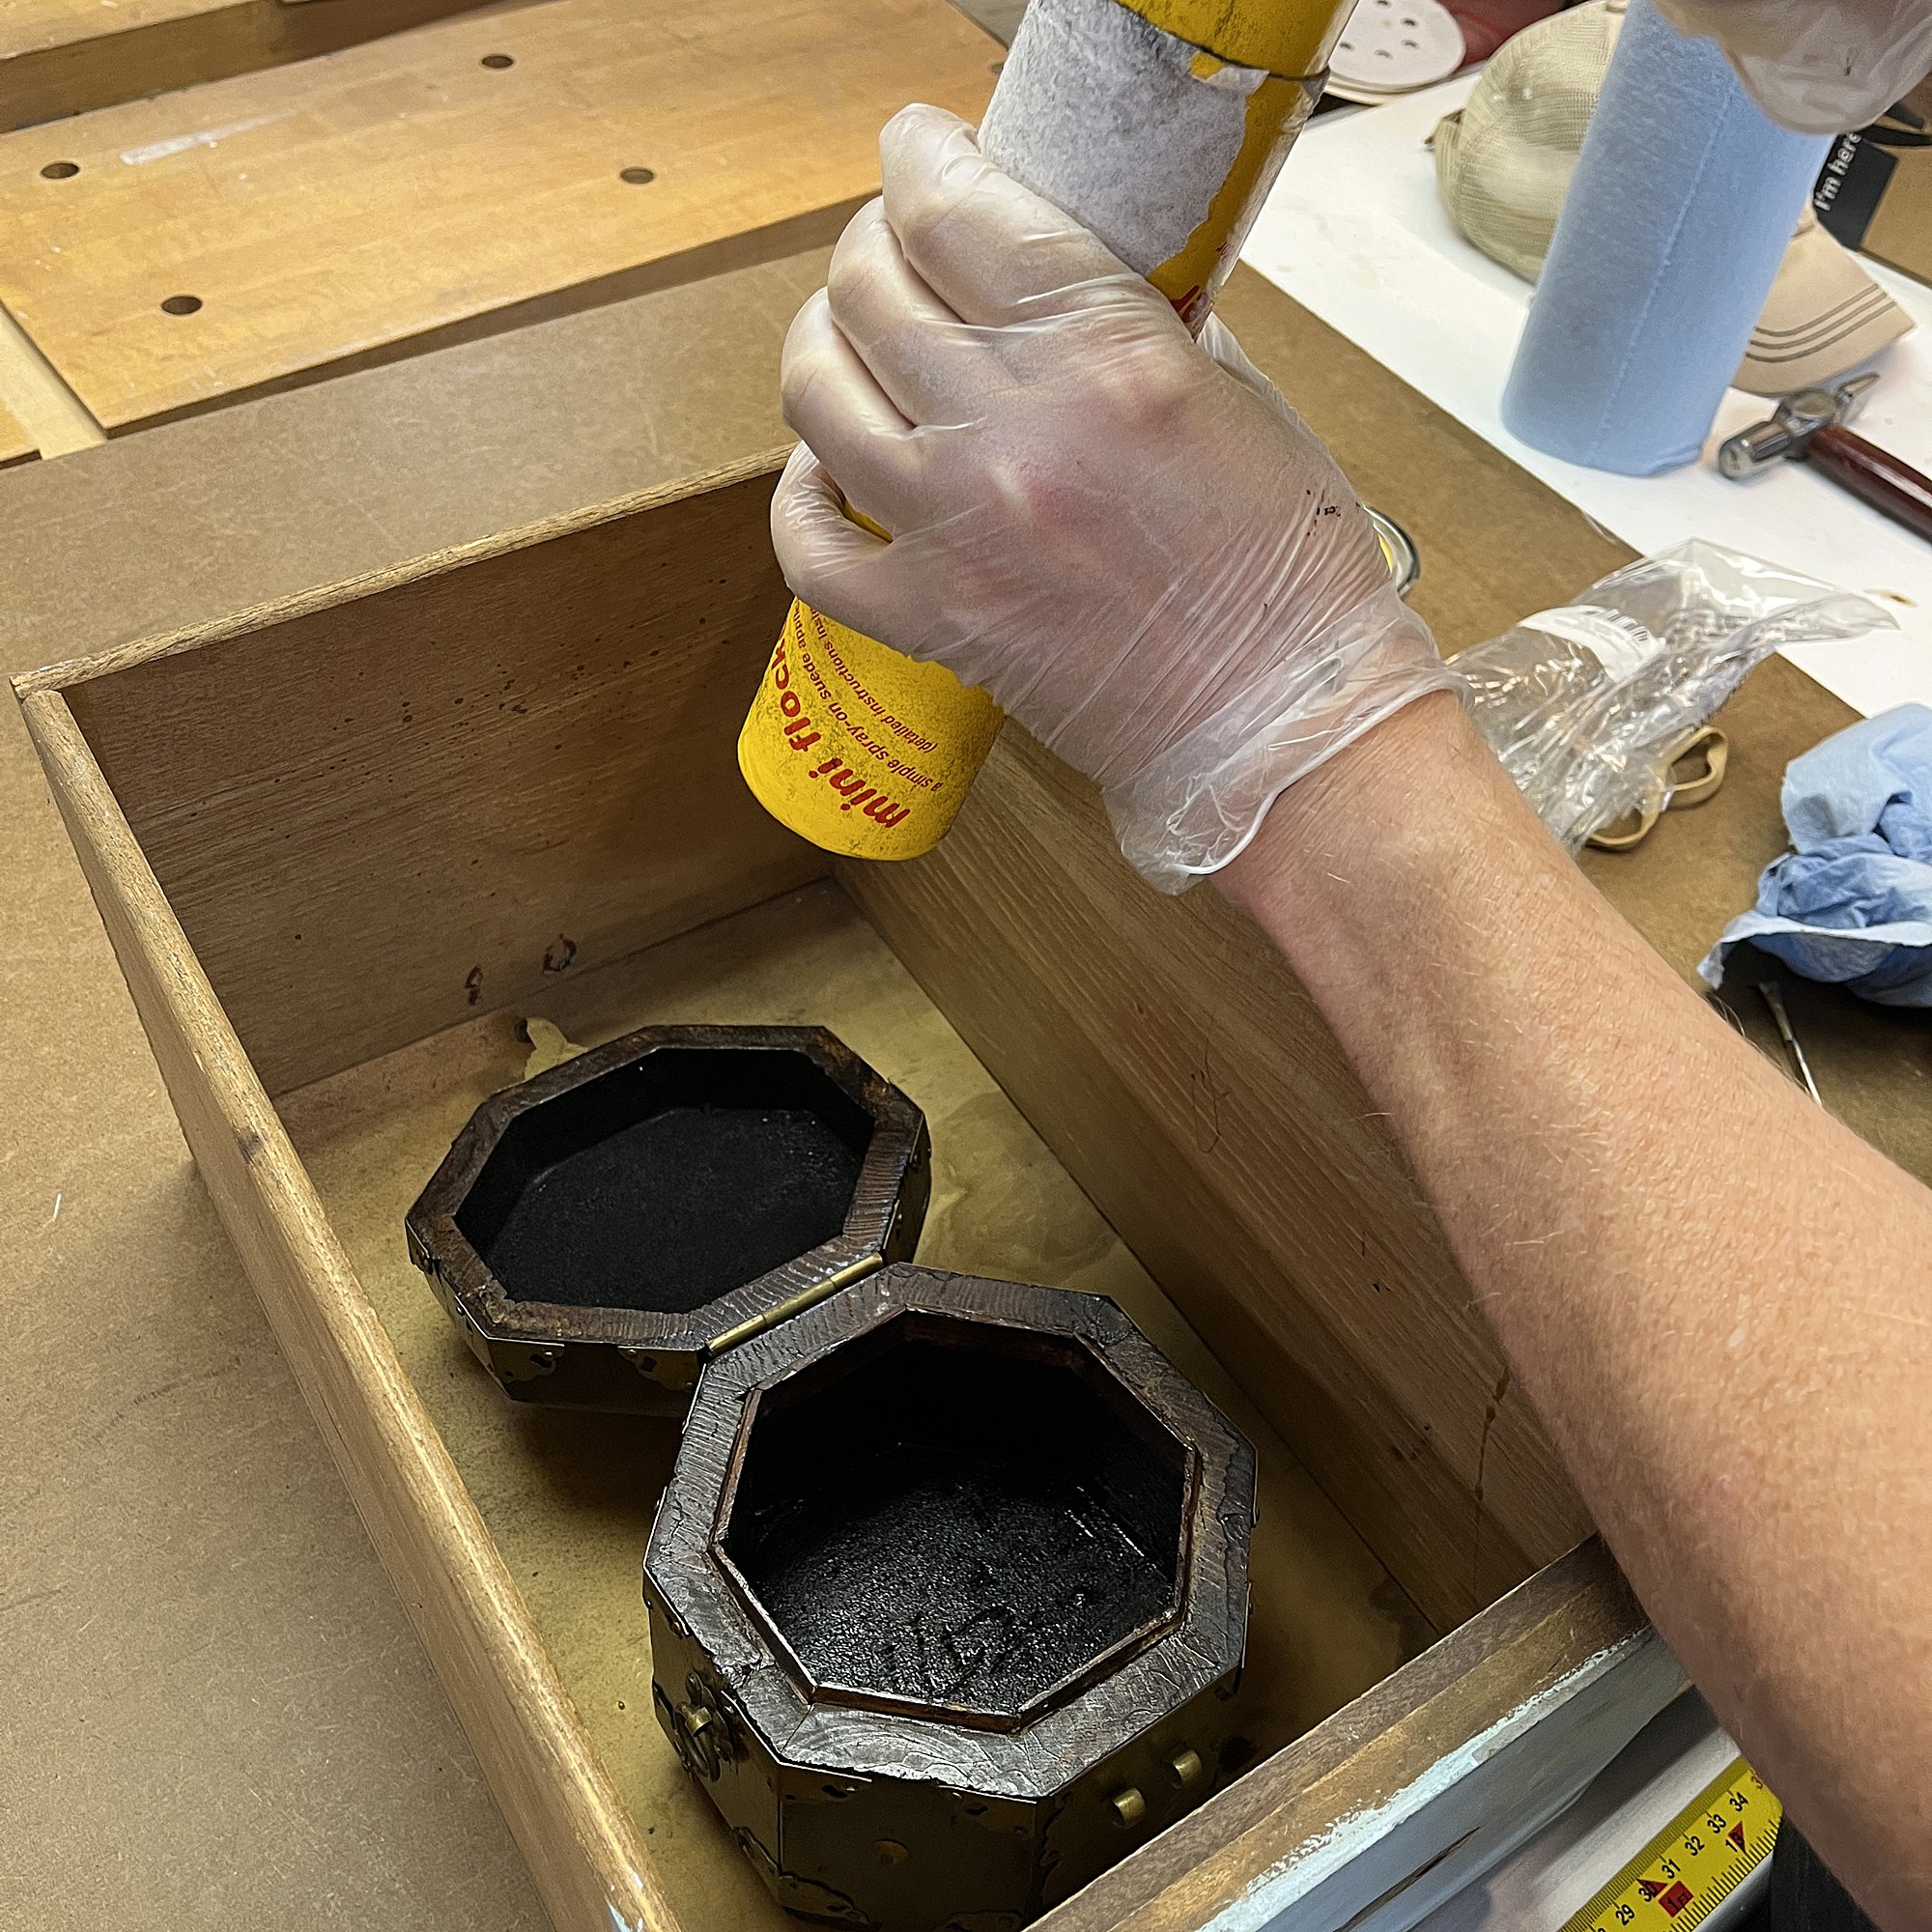
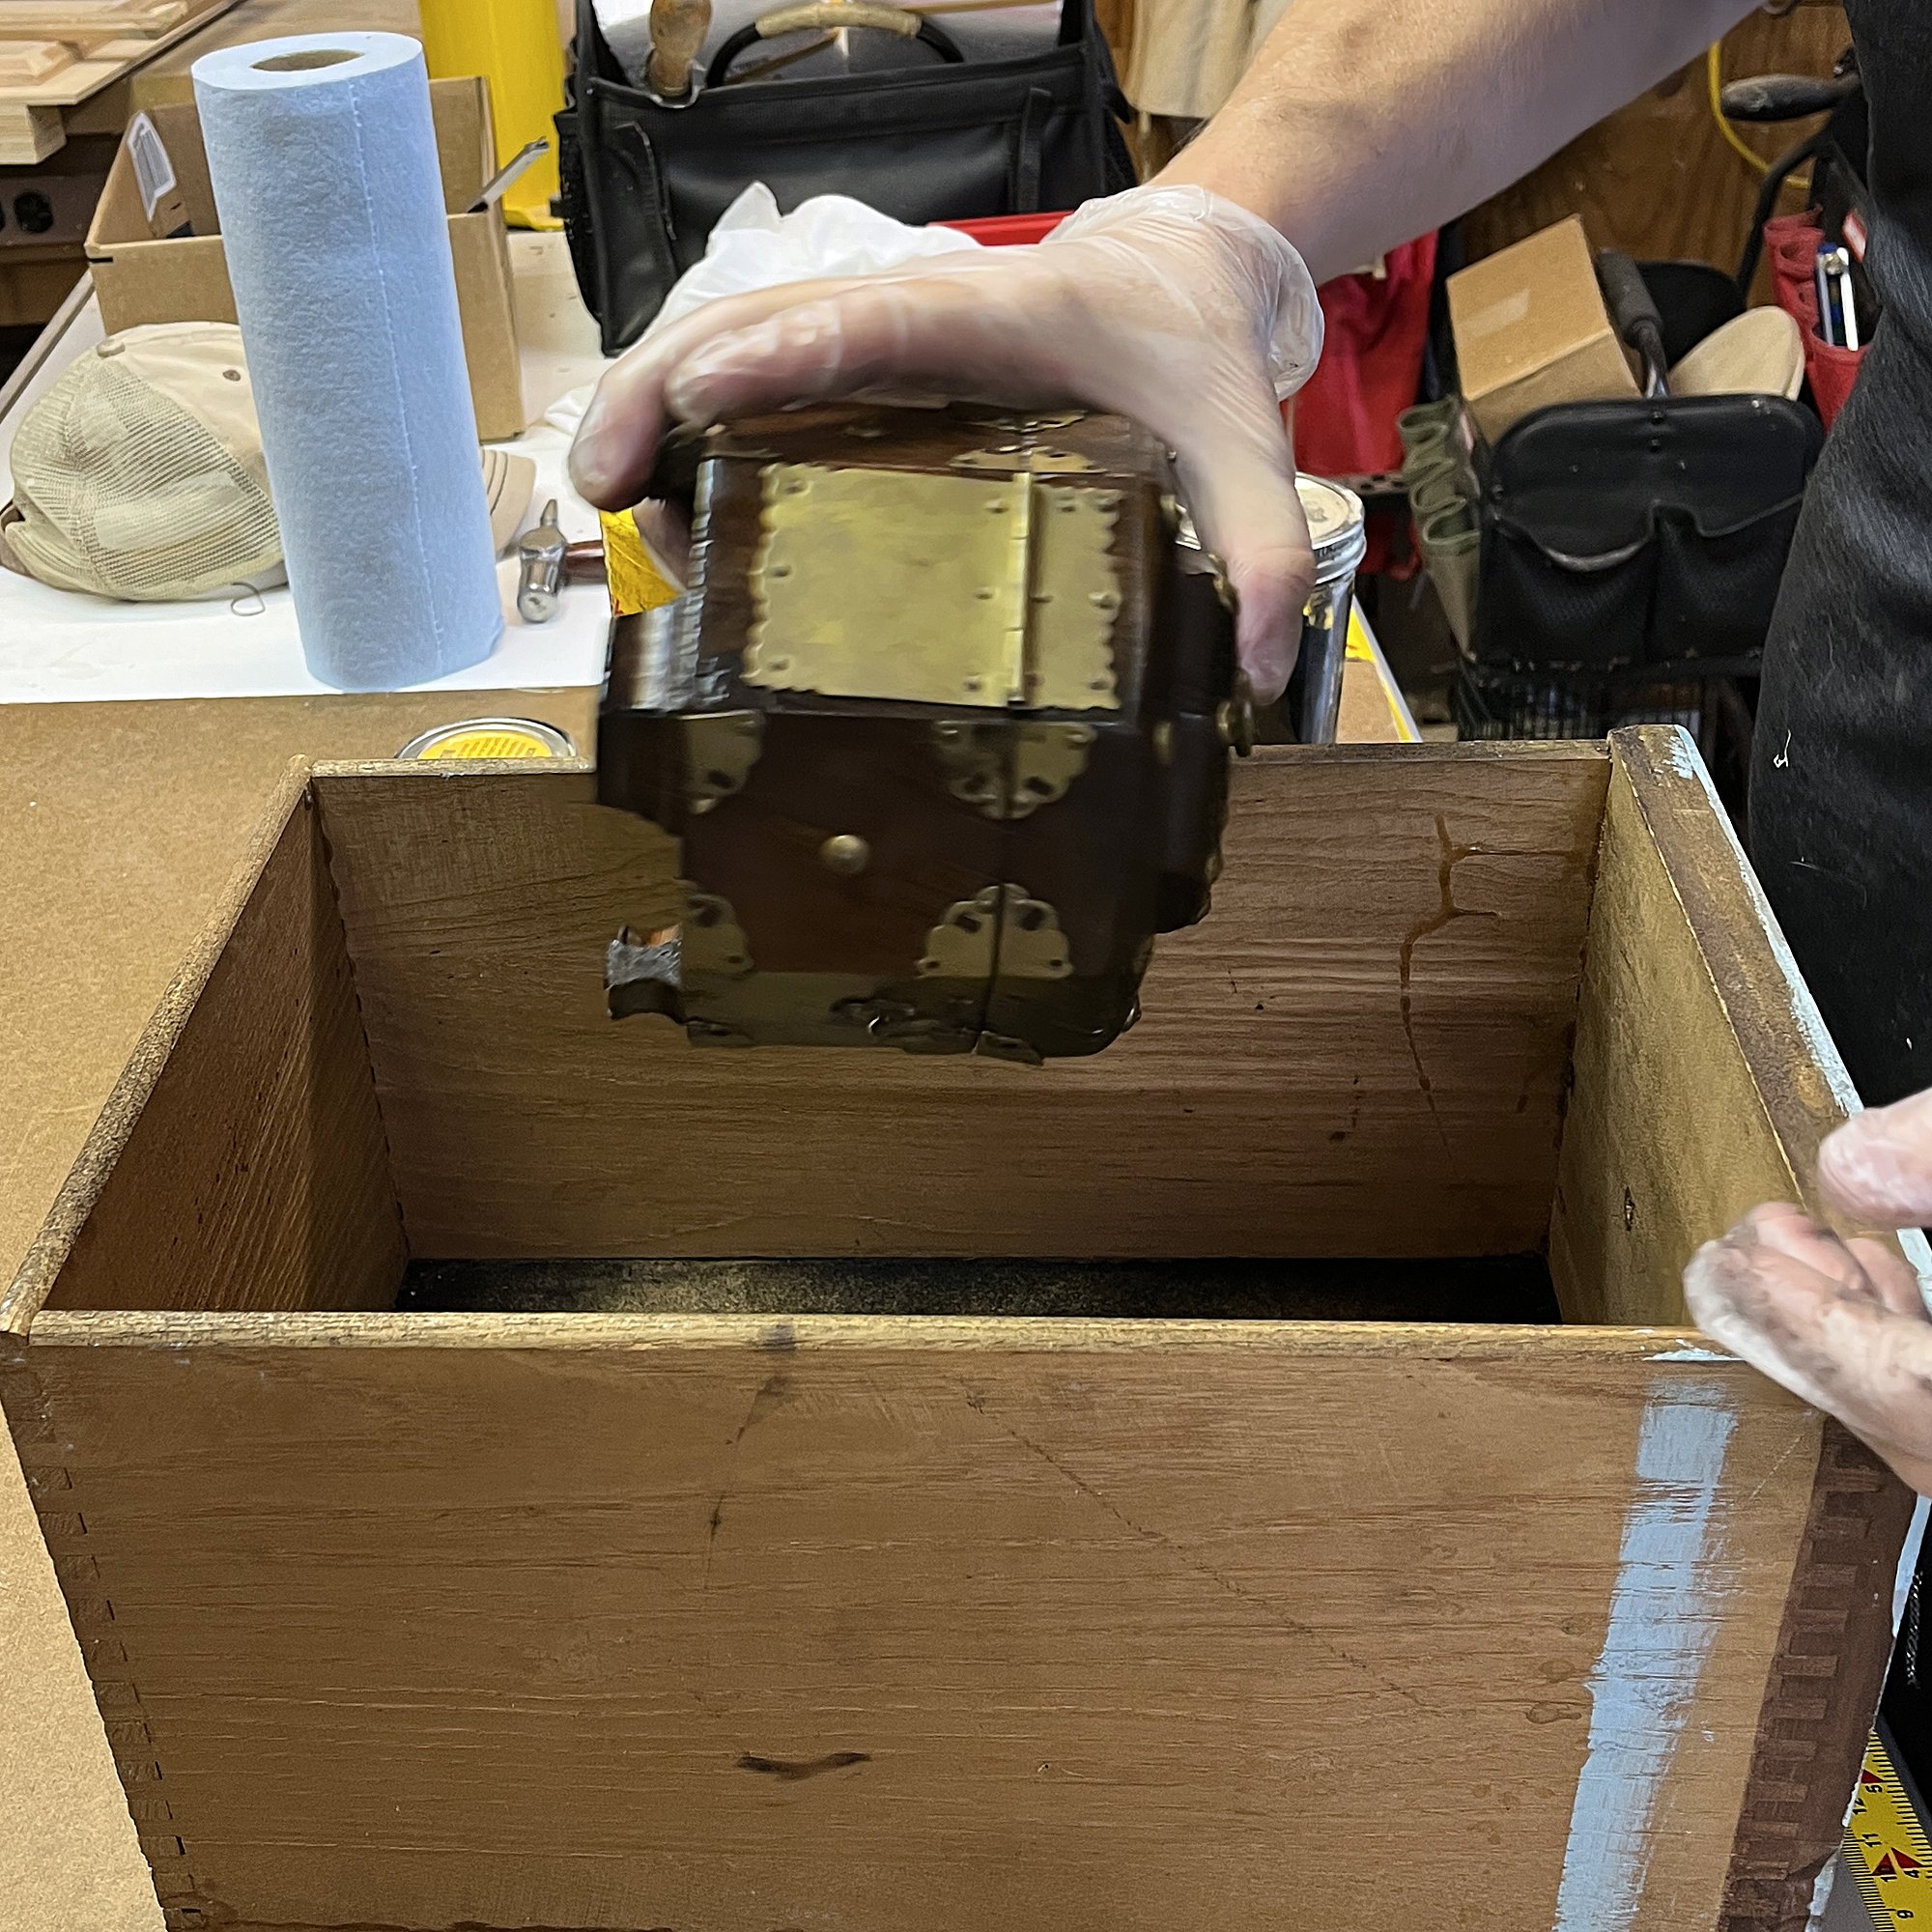
Place the box inside a larger container to prevent the flocking fiber from spreading all over. Pick a location that can handle dirty work like your basement, garage, or patio. We used a dust collector as well in the workshop—if you do not have any sort of dust collection available, I highly recommend wearing a mask rated to stop particulates.
Fill the flocking applicator with a tablespoon or two of fiber. You don't need a ton, and it's better to add more if you need it to overfill the applicator.
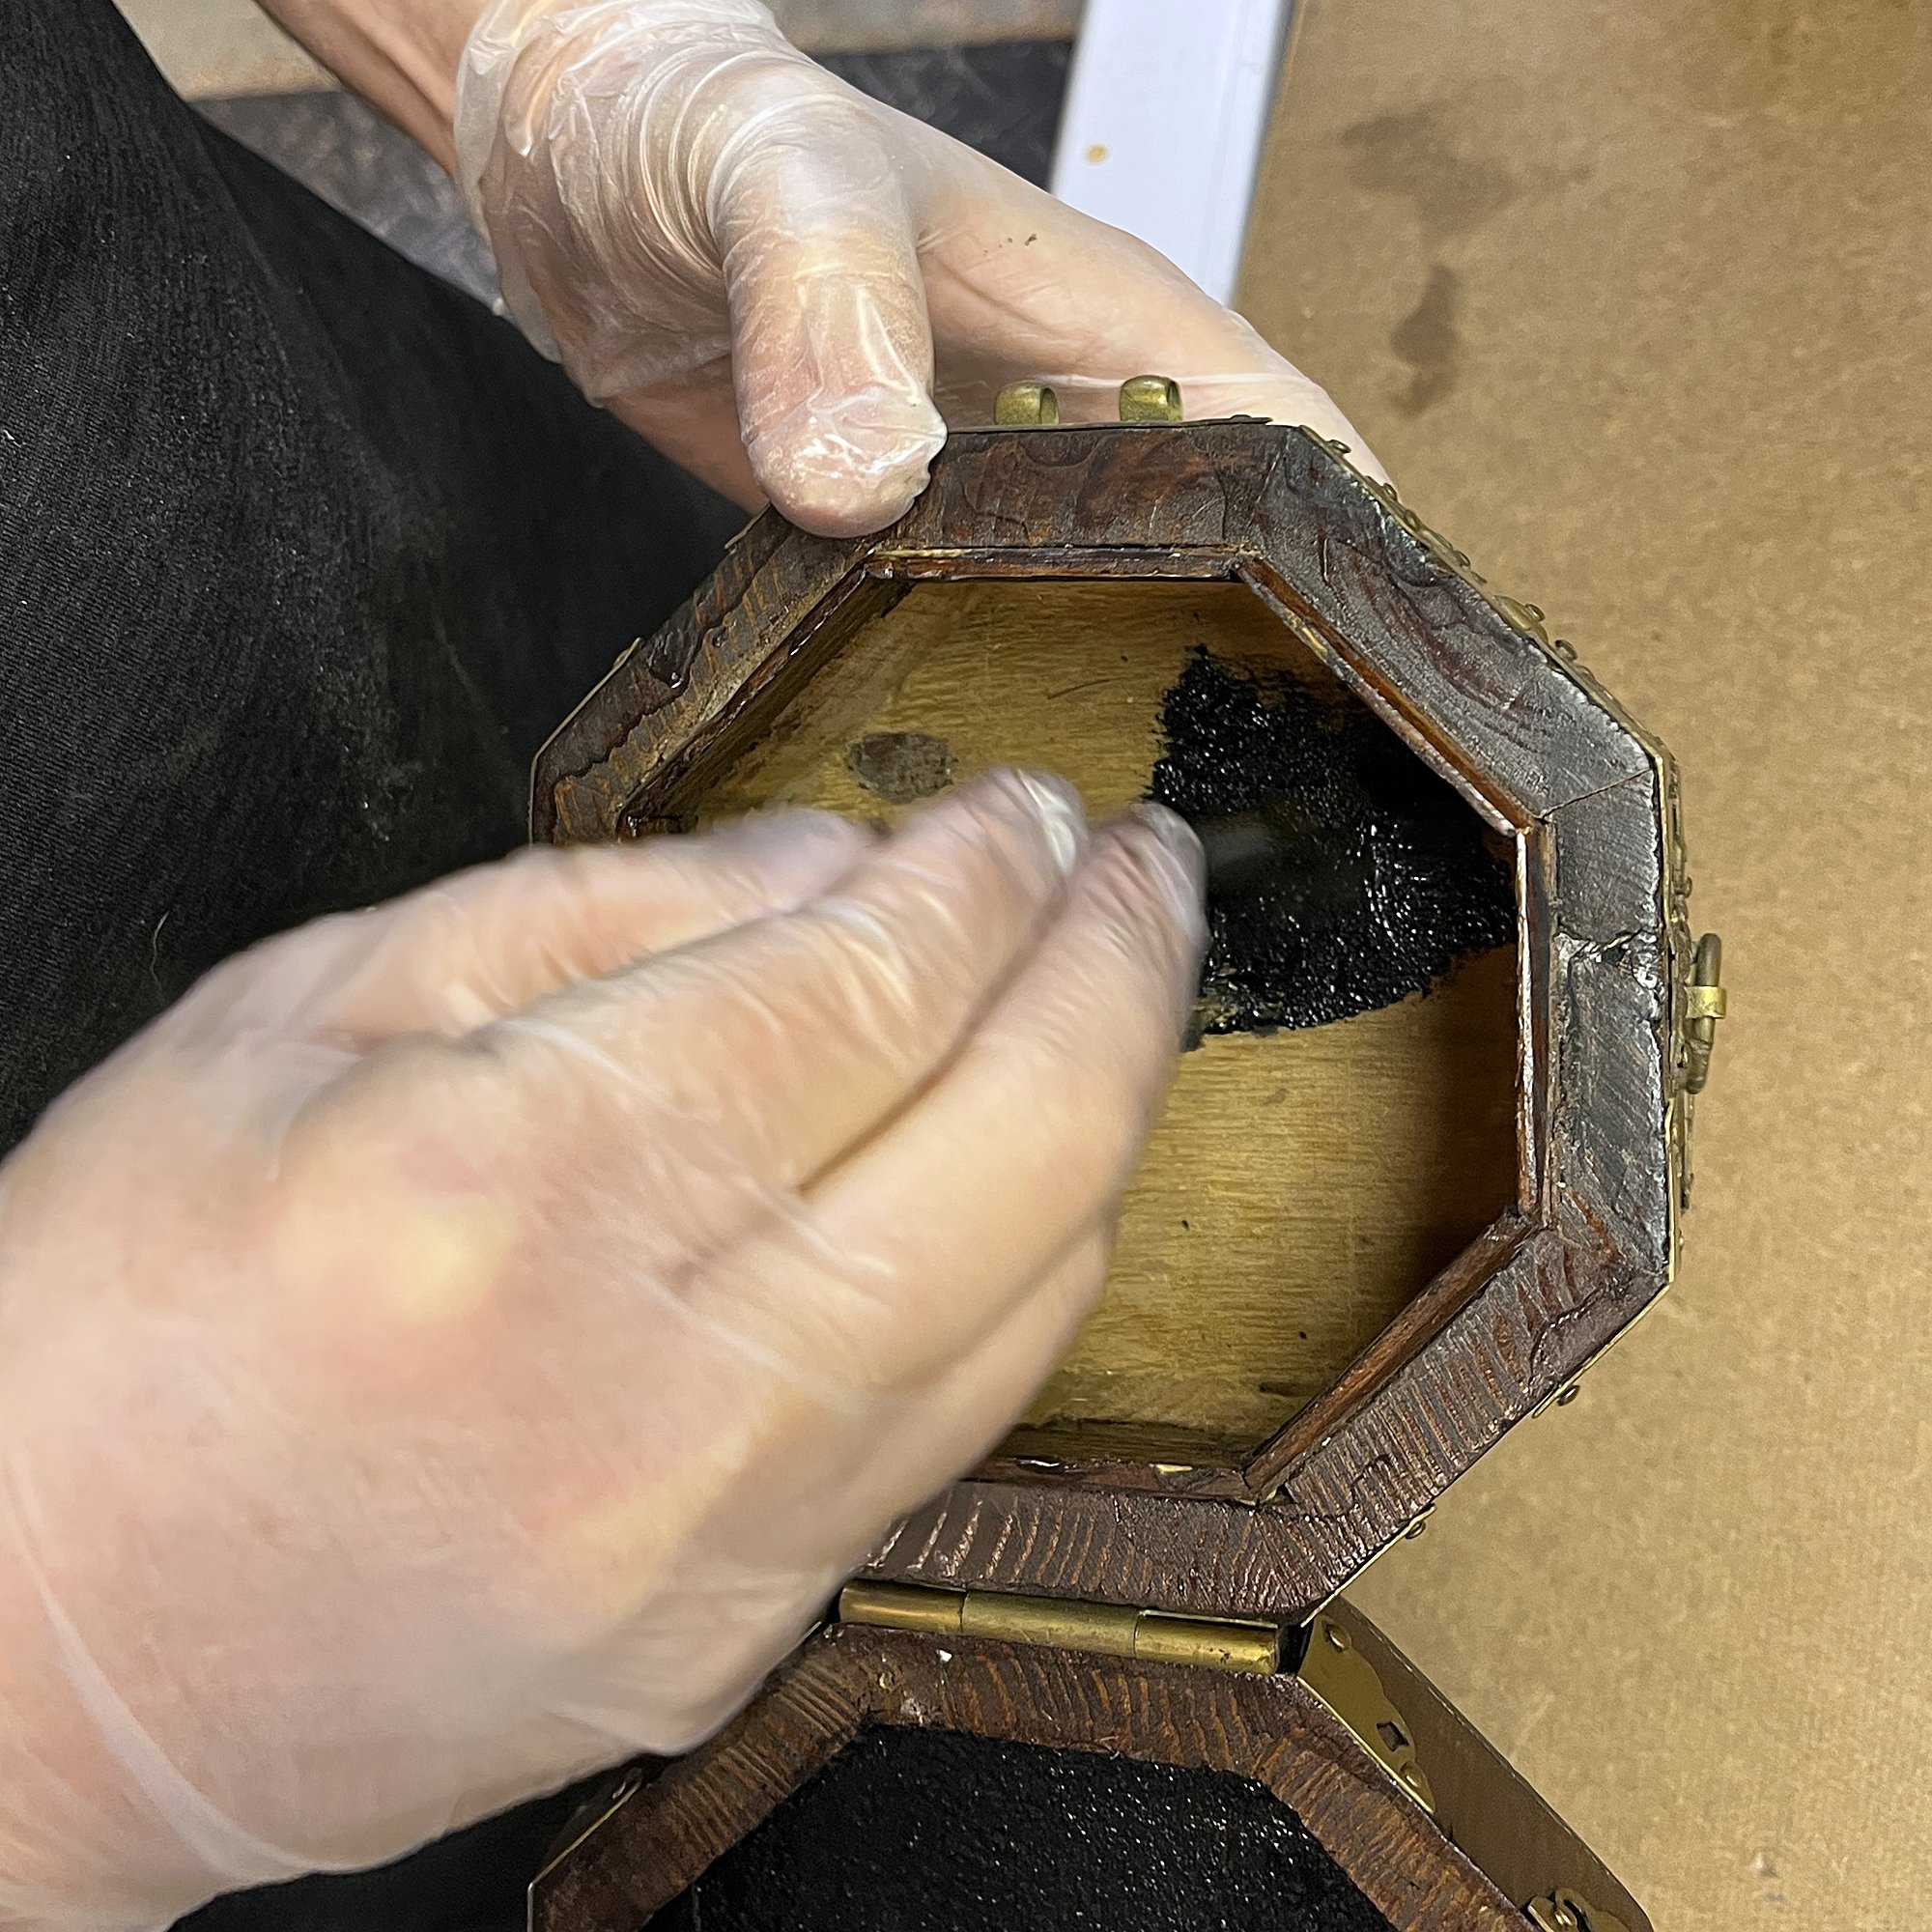
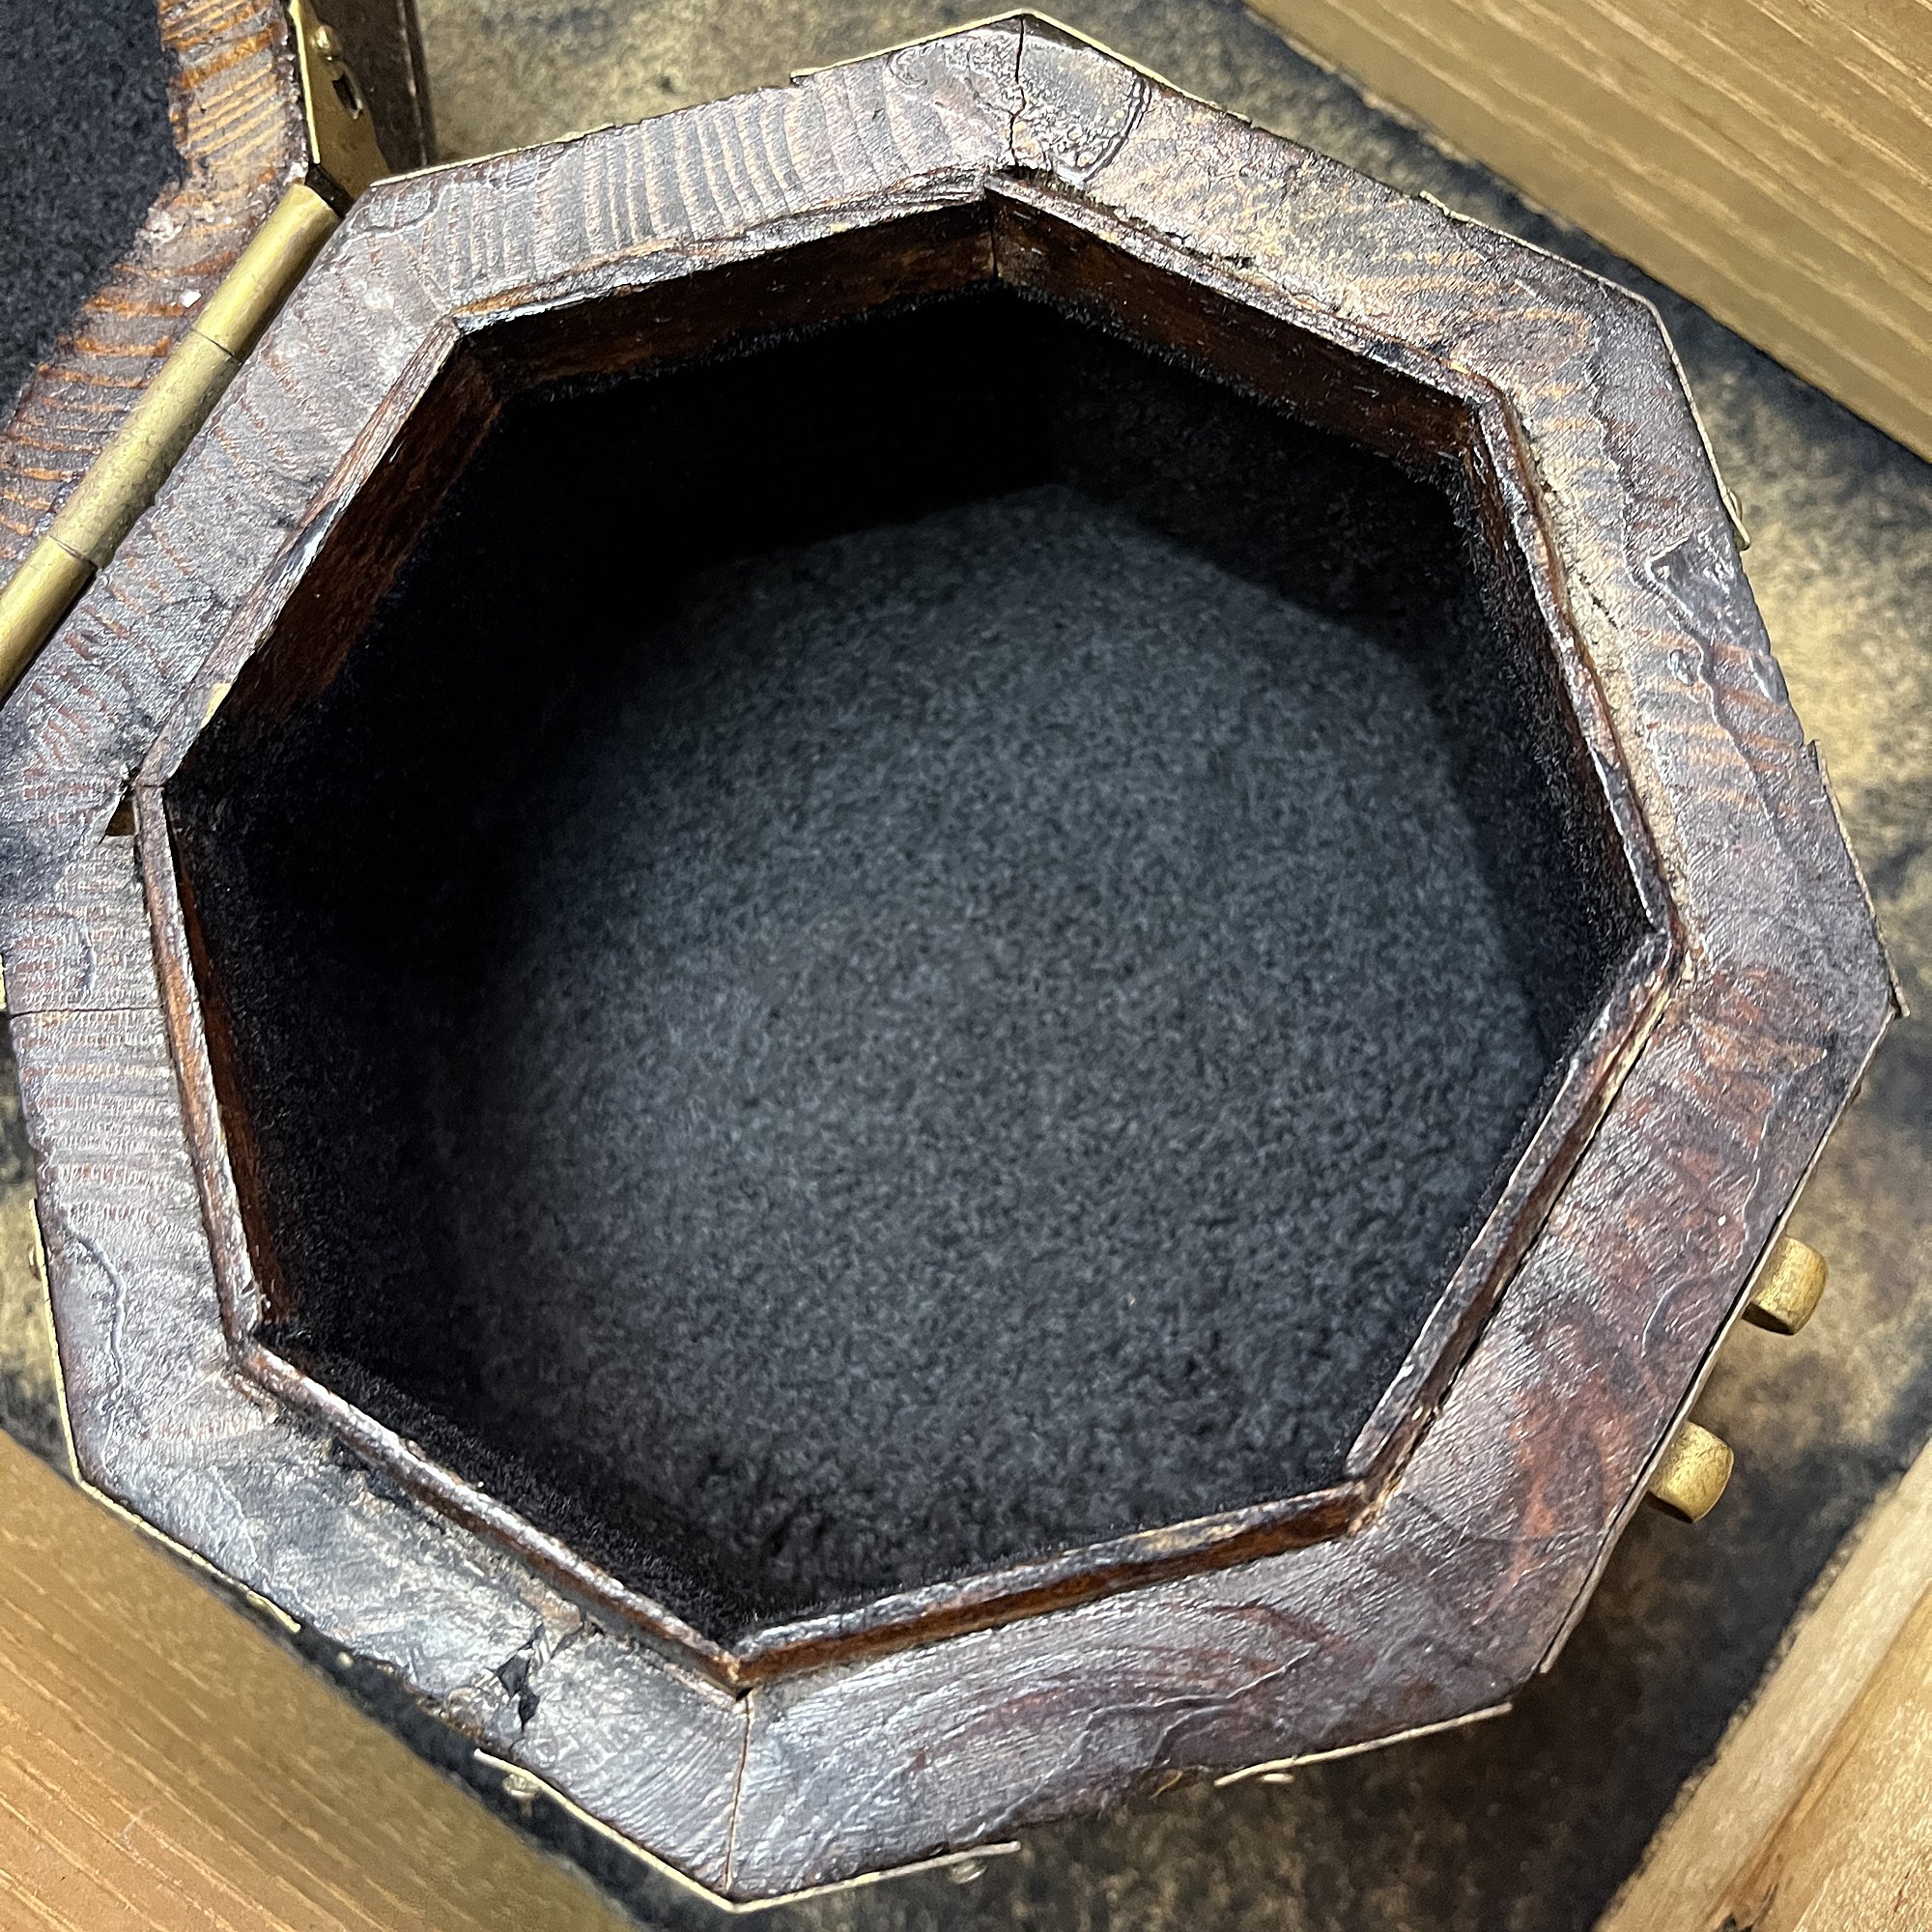
Pull back the top of the applicator, aim it at the box, and push the top down. Flocking fiber will puff out and stick to the glue. Repeat until the surface is completely coated with flocking fiber.
Knock out the excess flocking and allow to dry overnight.
It's a great way to improve the look and extend the life of old containers. Below, find links to the tools we used (note: these are affiliate links). This amount is enough to flock several dozen boxes.
