How to: Black Raspberry Pie for Litha


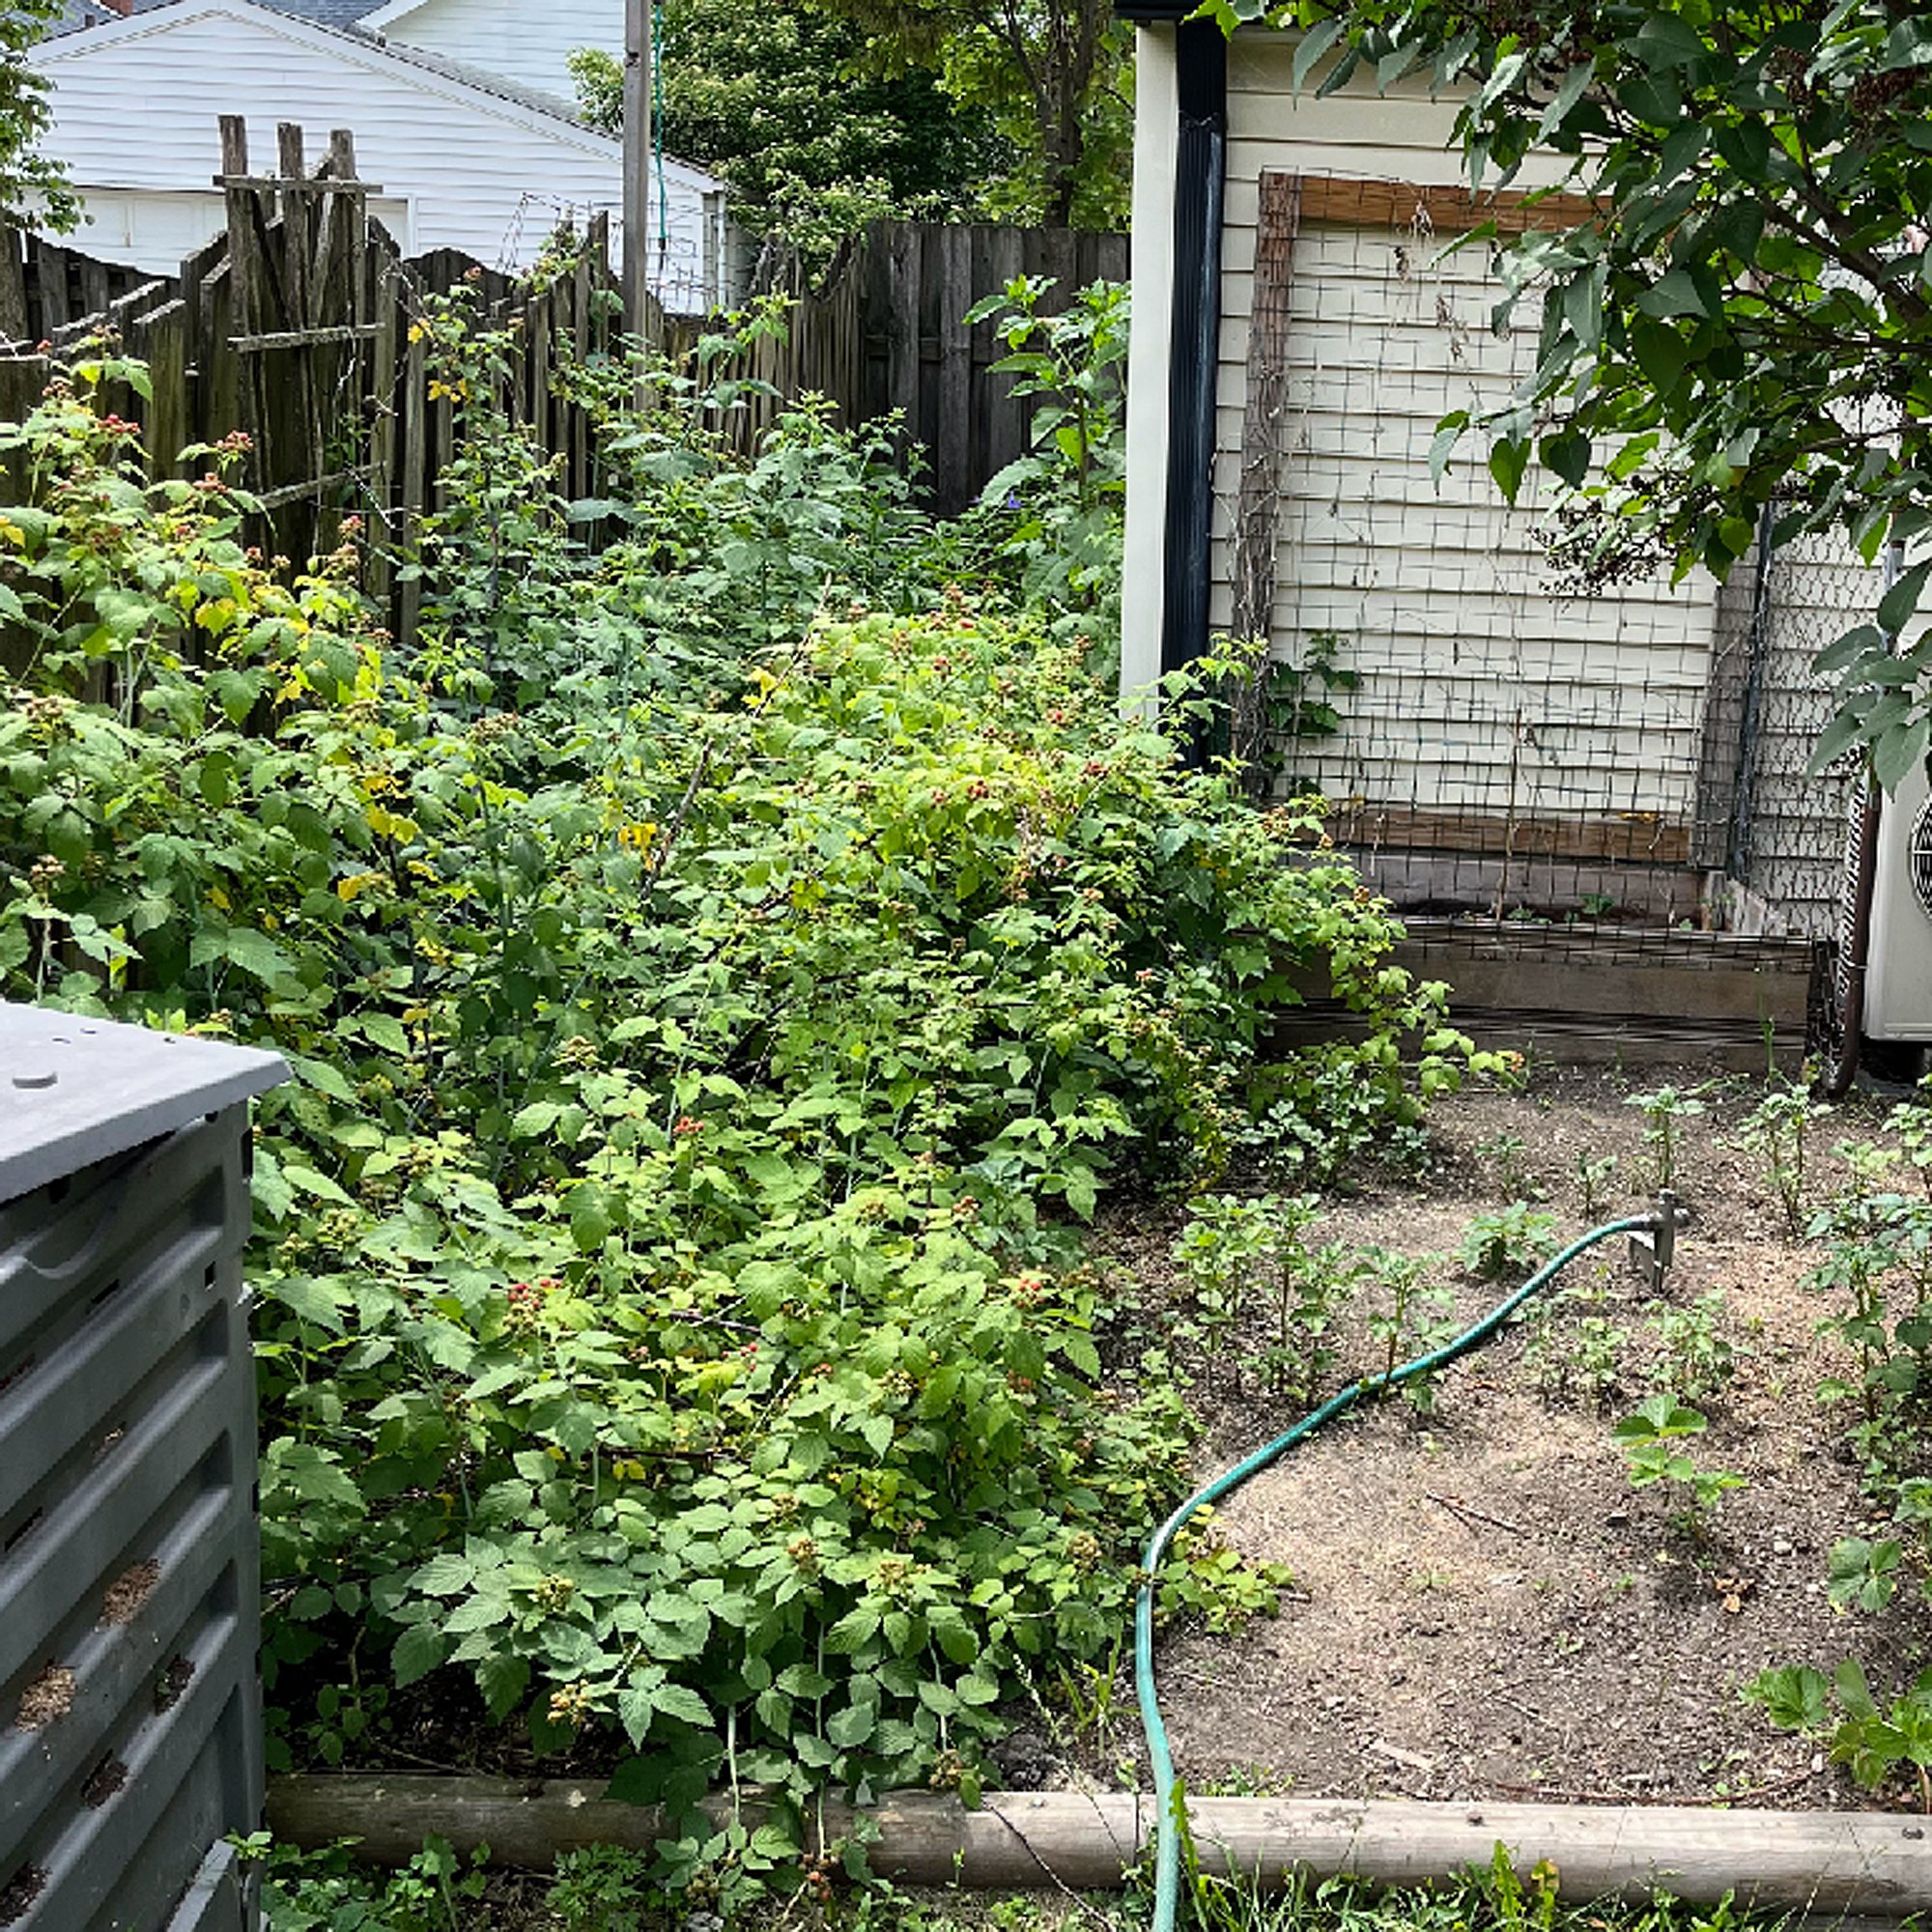
I grew up picking (and immediately eating) black raspberries from the briers growing in the woods around our property and inhaling the pies my grandmother made from them. I even used to ask for black raspberry pie instead of cake for my birthday (which was tough, given that my birthday was in January). So, when I started my own garden, one of the first things I planted was a black raspberry bush.
The plant turns nine this year and takes up a ten+ foot stretch of our southern fence. (I also added a new one this year that's supposed to bloom in the autumn.) For two to three weeks every June, I spend my mornings picking raspberries, hoarding them in the fridge until I have enough for pie and jam. Pre-Litha, I managed to collect only enough for a pie, so I'll save jam-making for next Midsummer.
I use Martha Stewart's pate brisee recipe for crust and freeze half. Using only half gives me fewer calories and a crispier crust—and keeps me from having to make crust every time I make pie. For this recipe, I'm working with frozen dough, so crust instructions/photos are not included. I threw a teaspoon of cinnamon into the crust, which makes a great counterpoint to the berries' sweet-tart flavor.
When you're crust dough is mixed, here's how to make your pie:
Black Raspberry Pie
Ingredients
Standard pie crust w/cinnamon added
2 lbs black raspberries
1/2 C (light) white sugar
1/4 C + 1 T flour
1 lemon, juiced OR 1 oz lemon juice from concentrate
Instructions
Gently fold sugar, flour, and lemon juice into the berries. You want them to be fully blended without doing too much damage to the berries. Stirring instead of folding will leave you with a big bowl of gooey raspberry juice. Set aside. (Don't know how to fold? Try this.)
Roll out the pie crust. Make thin with about two inches overhang when laid into the pie dish.
Trim off excess, leaving about one-half to one inch overhang. Set aside the off-cuts. Fold the overhang and finger-pinch to create crimped edges. It's not the most elegant way to do this, but it's quick, easy, and tastes just as good as more complicated methods.
Ball up the off-cuts, roll out, and cut into lattice strips. You can be as fussy about this as you like. I use a box for a straight edge and don't worry too much about how evenly spaced the strips are.
Dump berry filling into pie crust and smooth out.
Starting in one corner add alternating horizontal and vertical lattice strips until the pie is covered. I go light, but you can make your lattice as dense or thin as you like.
Bake at 425 for 40 to 60 minutes, until filling is bubbly and crust has browned.
Allow to cool for at least 30 minutes before service (or the filling will ooze all over your plate).
I like to cut the pie into quarters, eat one, and freeze the other three. Wrapped in Glad Press-n-Seal then aluminum foil, they last for about a year.
Happy Midsummer!
