
How To: Litha Black Raspberry Jam
Growing up, my family had wild black raspberry bushes, and they became my favorite spring treat. These days, our urban garden features a whole fence row of them for me to dote on. For about two weeks every spring, I slip out pre-breakfast and harvest them before the birds can figure out which ones have ripened. The bushes have monster thorns, and I get scratched up, but the fruit is well worth the pain.
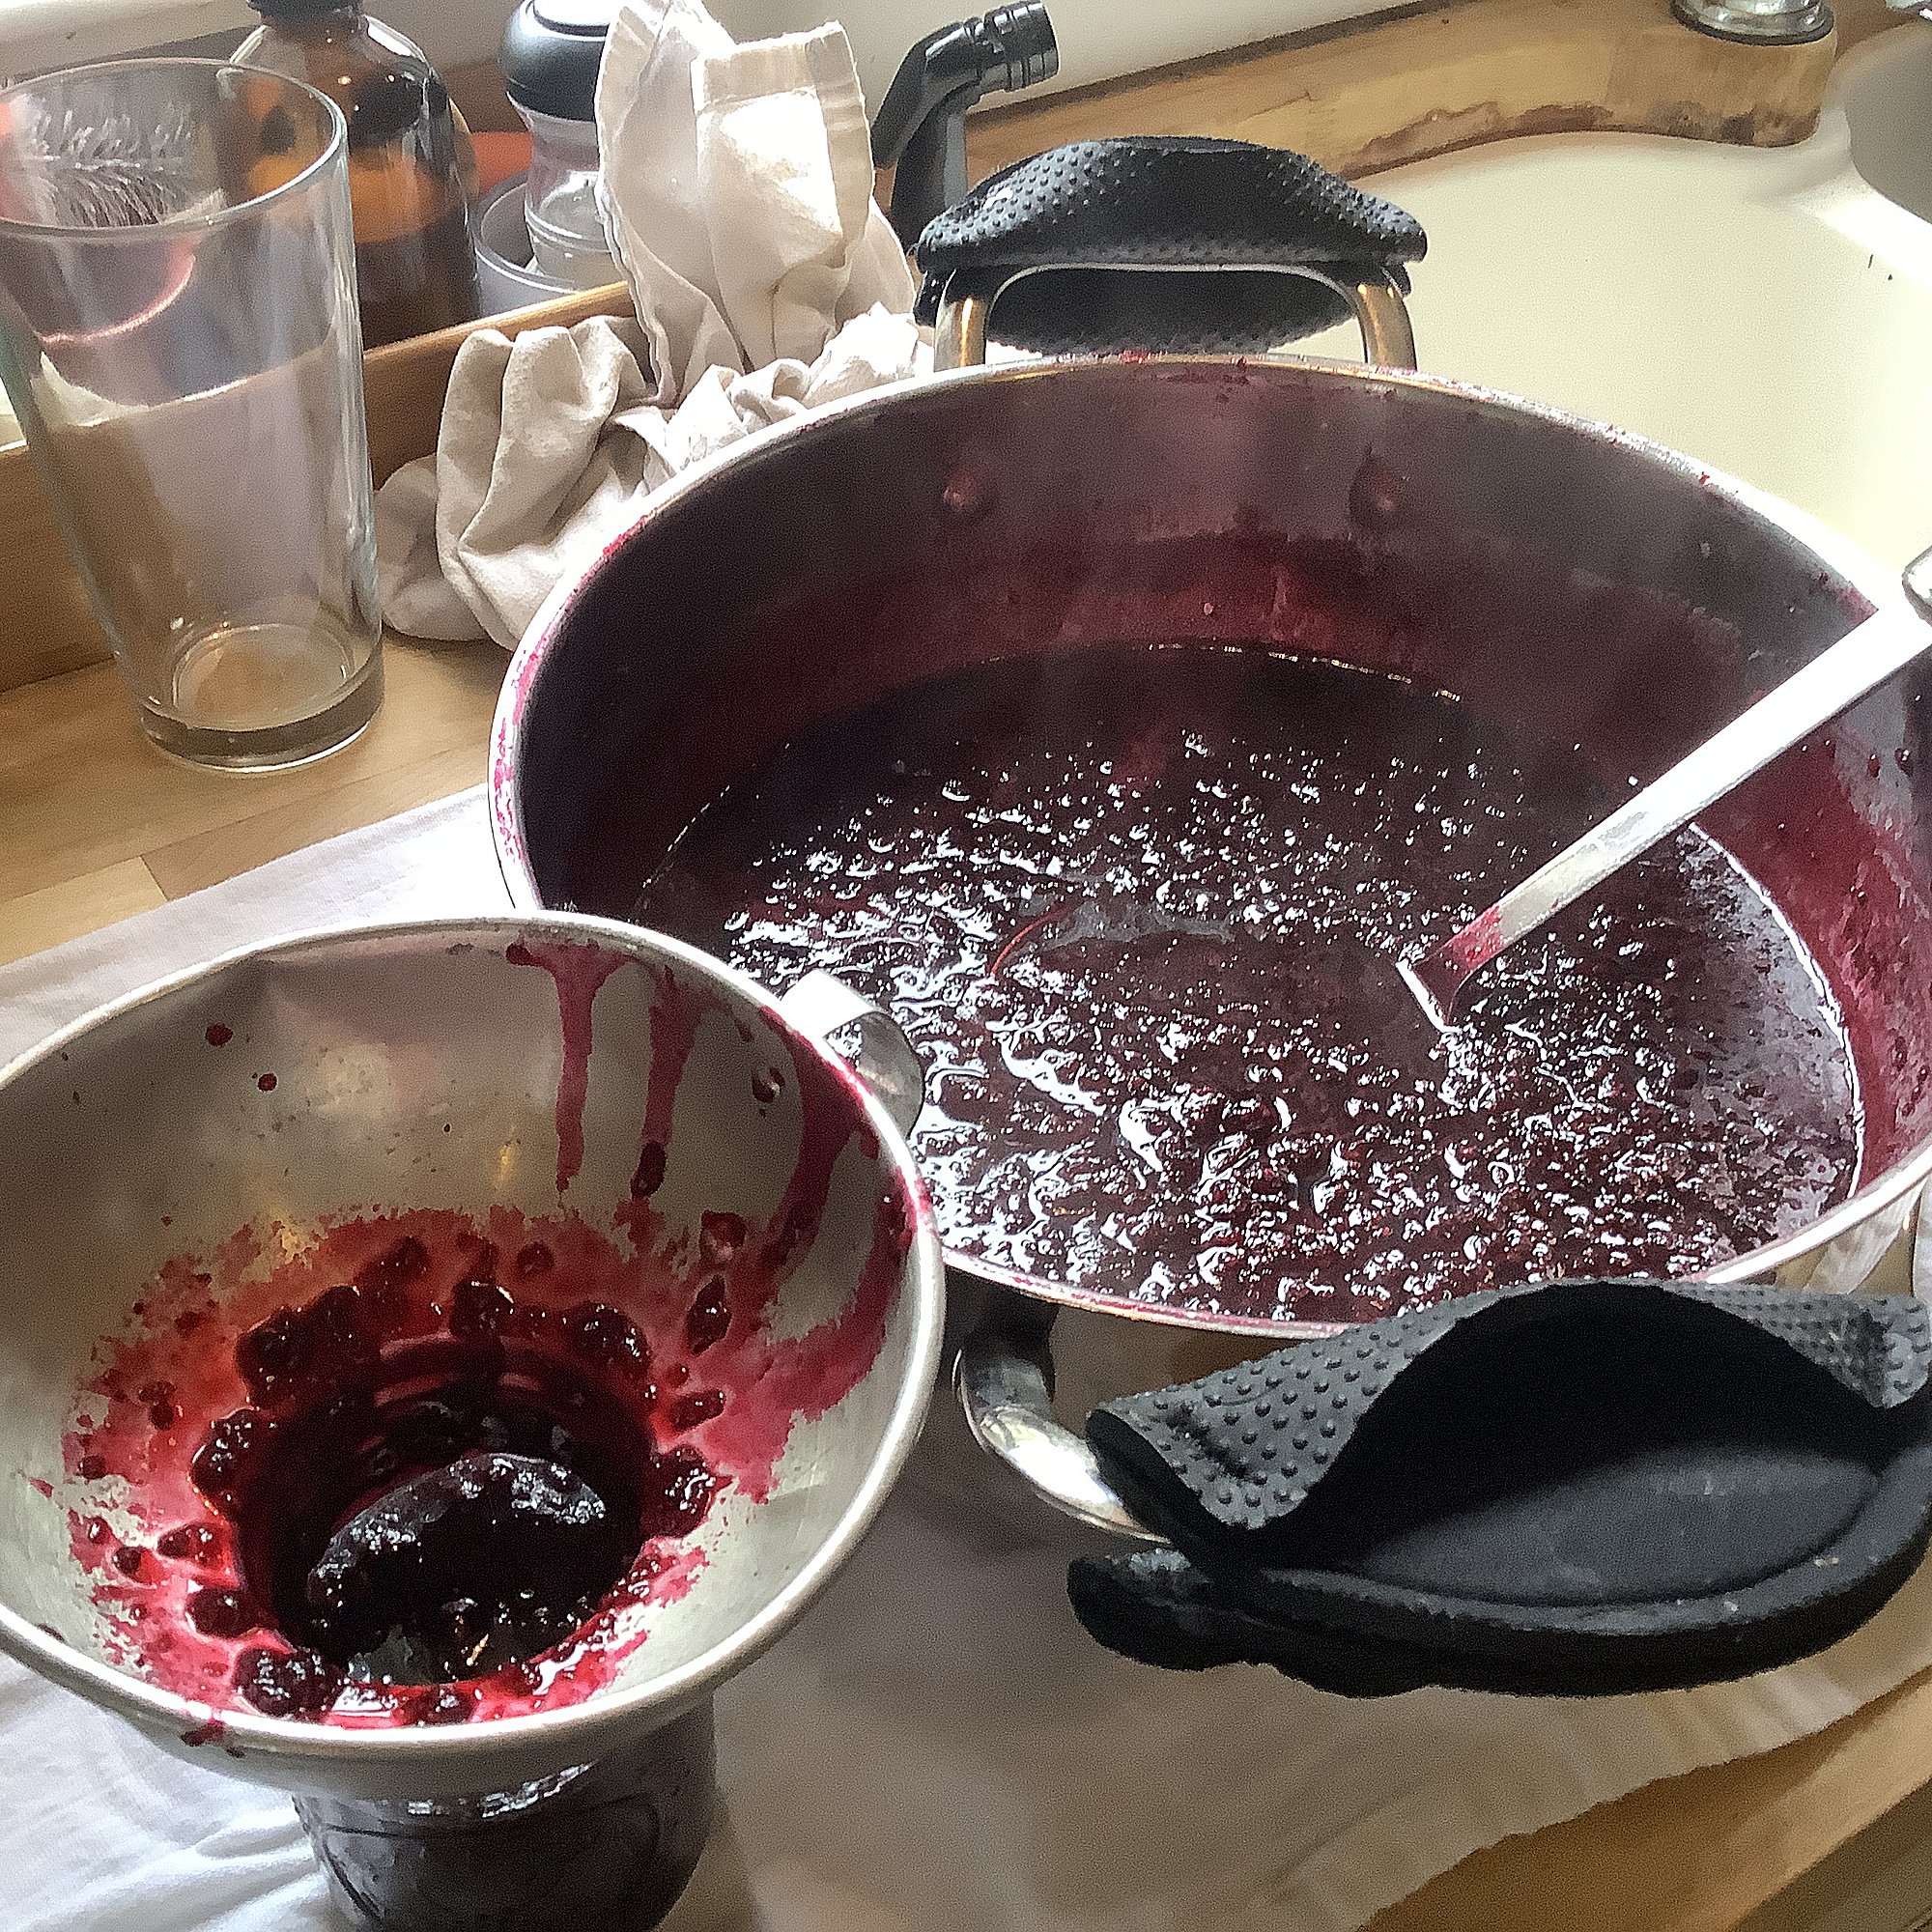
Of note—I do not strain my jam but keep all the seeds. They add volume to the jam (making it last longer), and they're loaded with antioxidants, essential fatty acids, and other great stuff. If you have diverticulosis/itis or complicated dental work, you may want to strain out the seeds with cheesecloth before canning the jam.
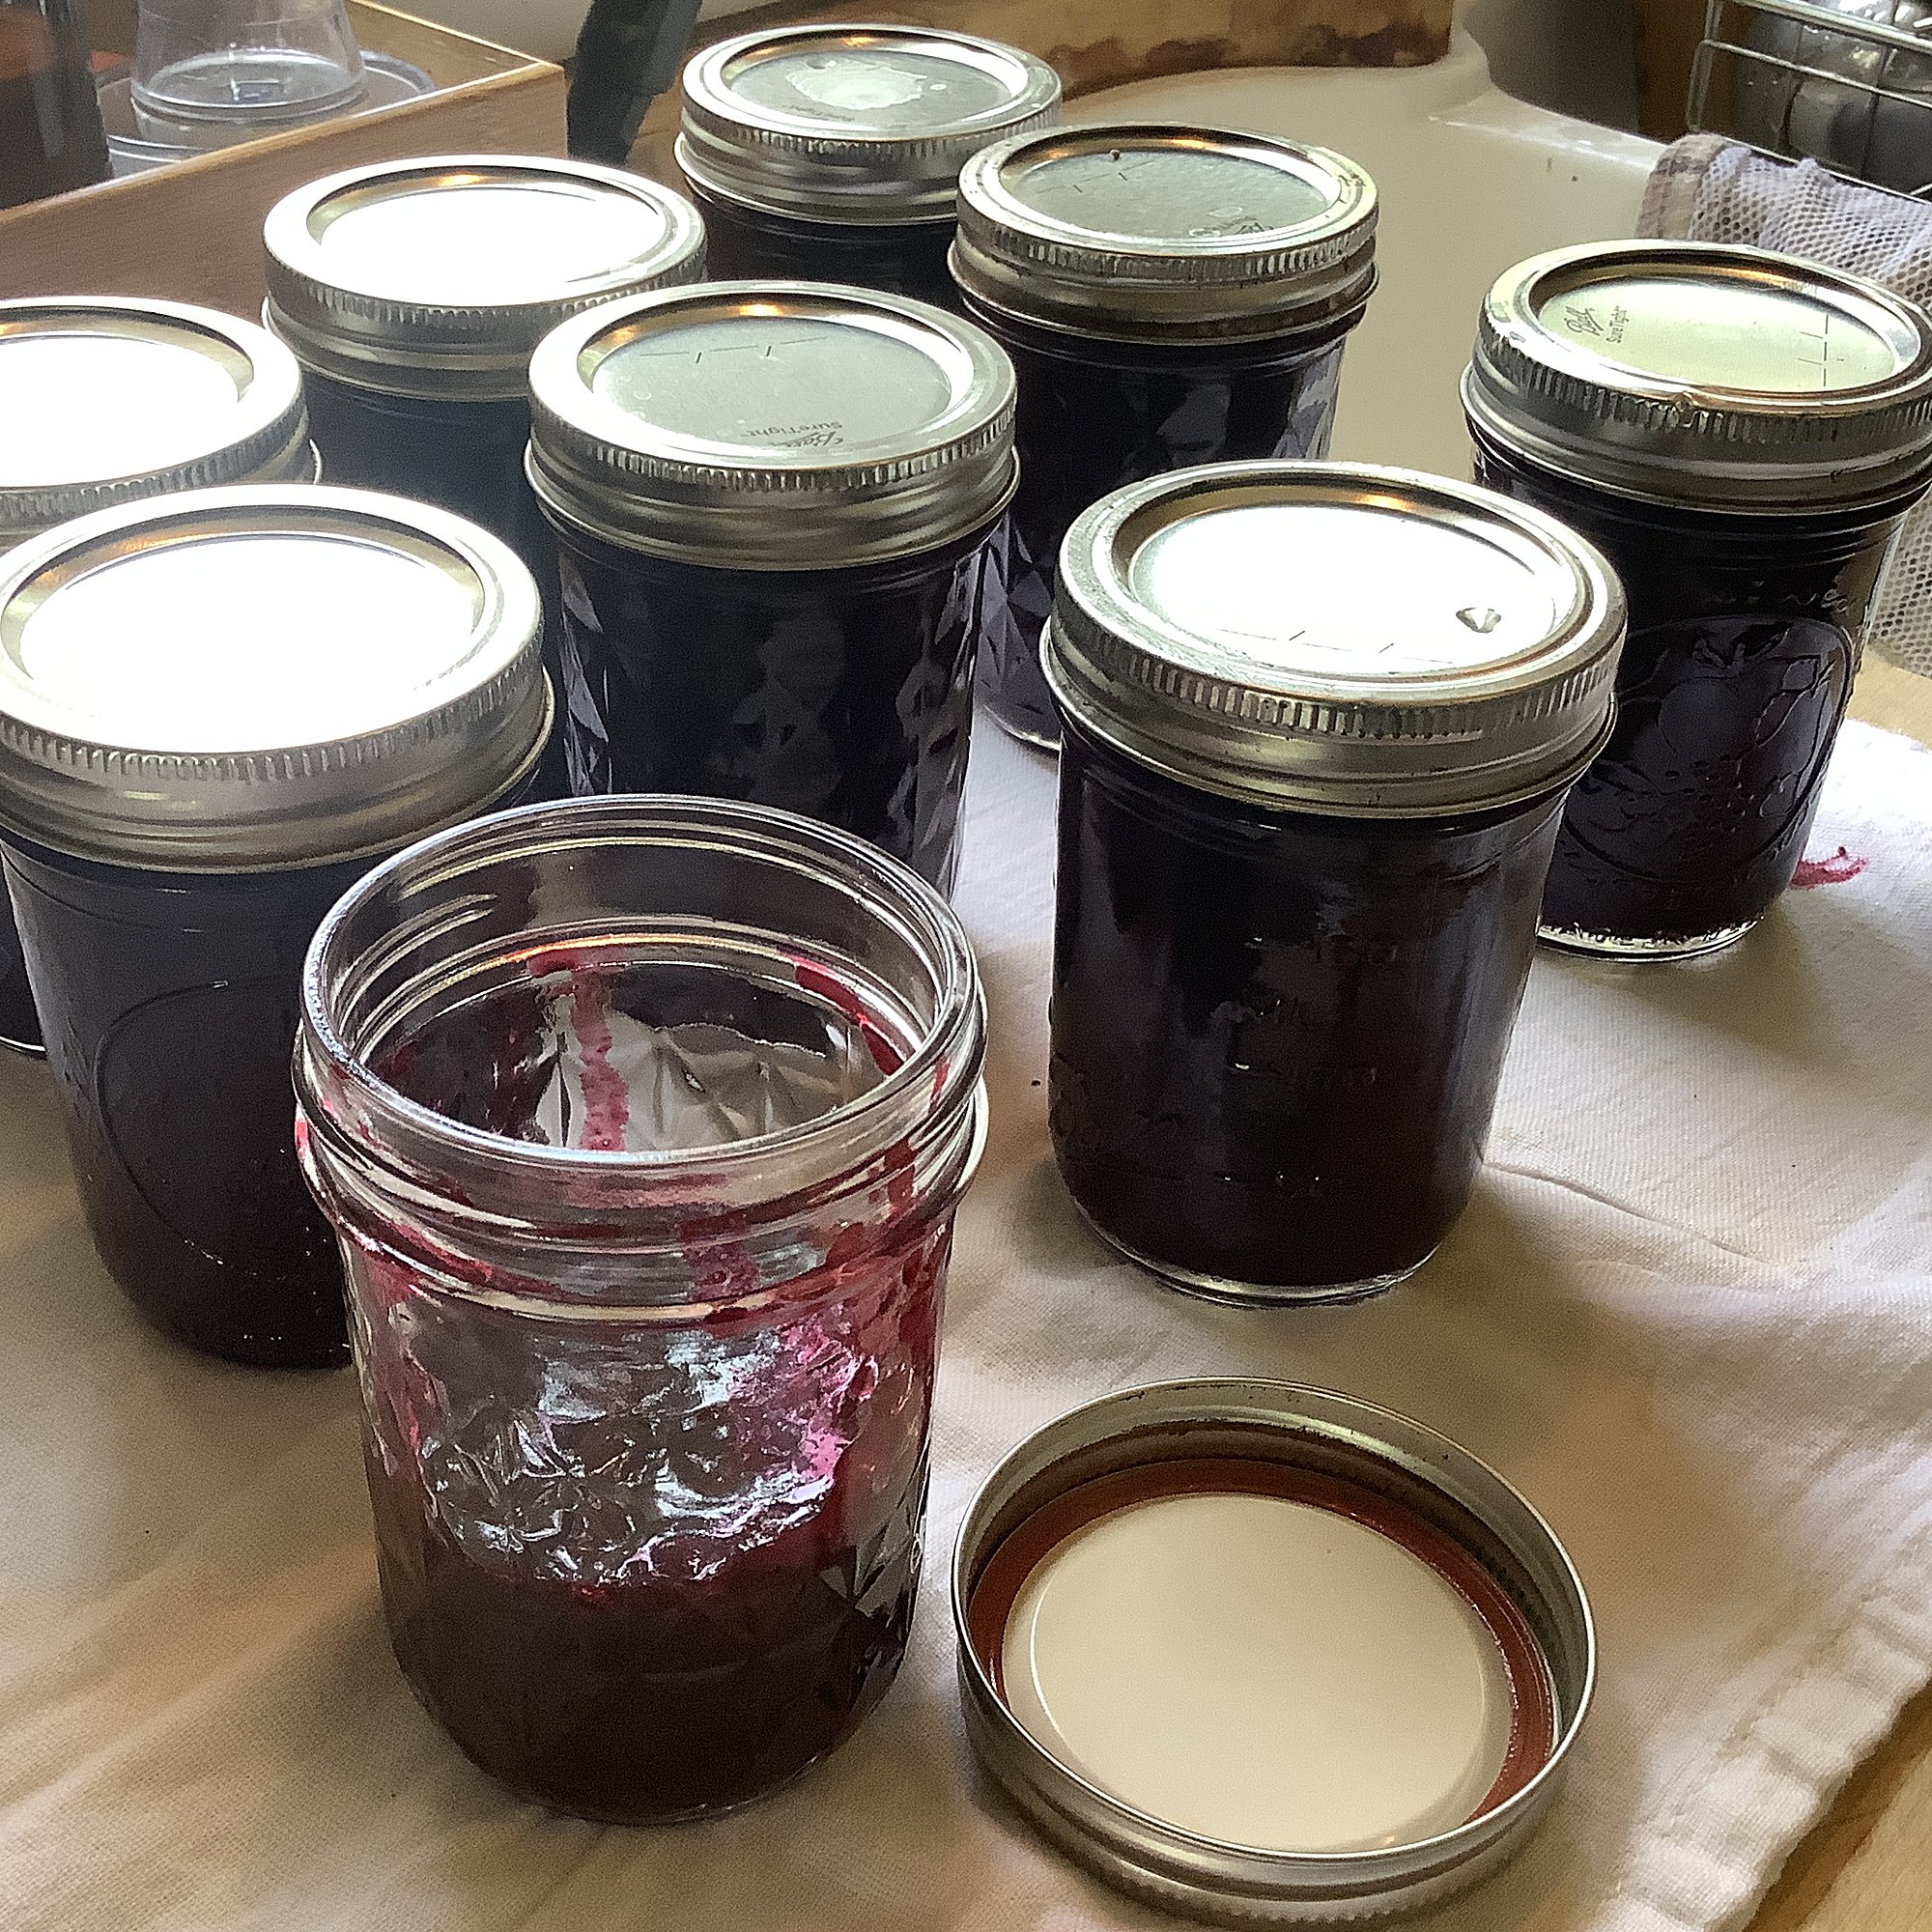
Jars of homemade jam make great gifts for any holiday—or save them for yourself and enjoy the taste of spring year-round!
And if jam’s not your thing, try my black raspberry pie recipe.
Black Raspberry Jam
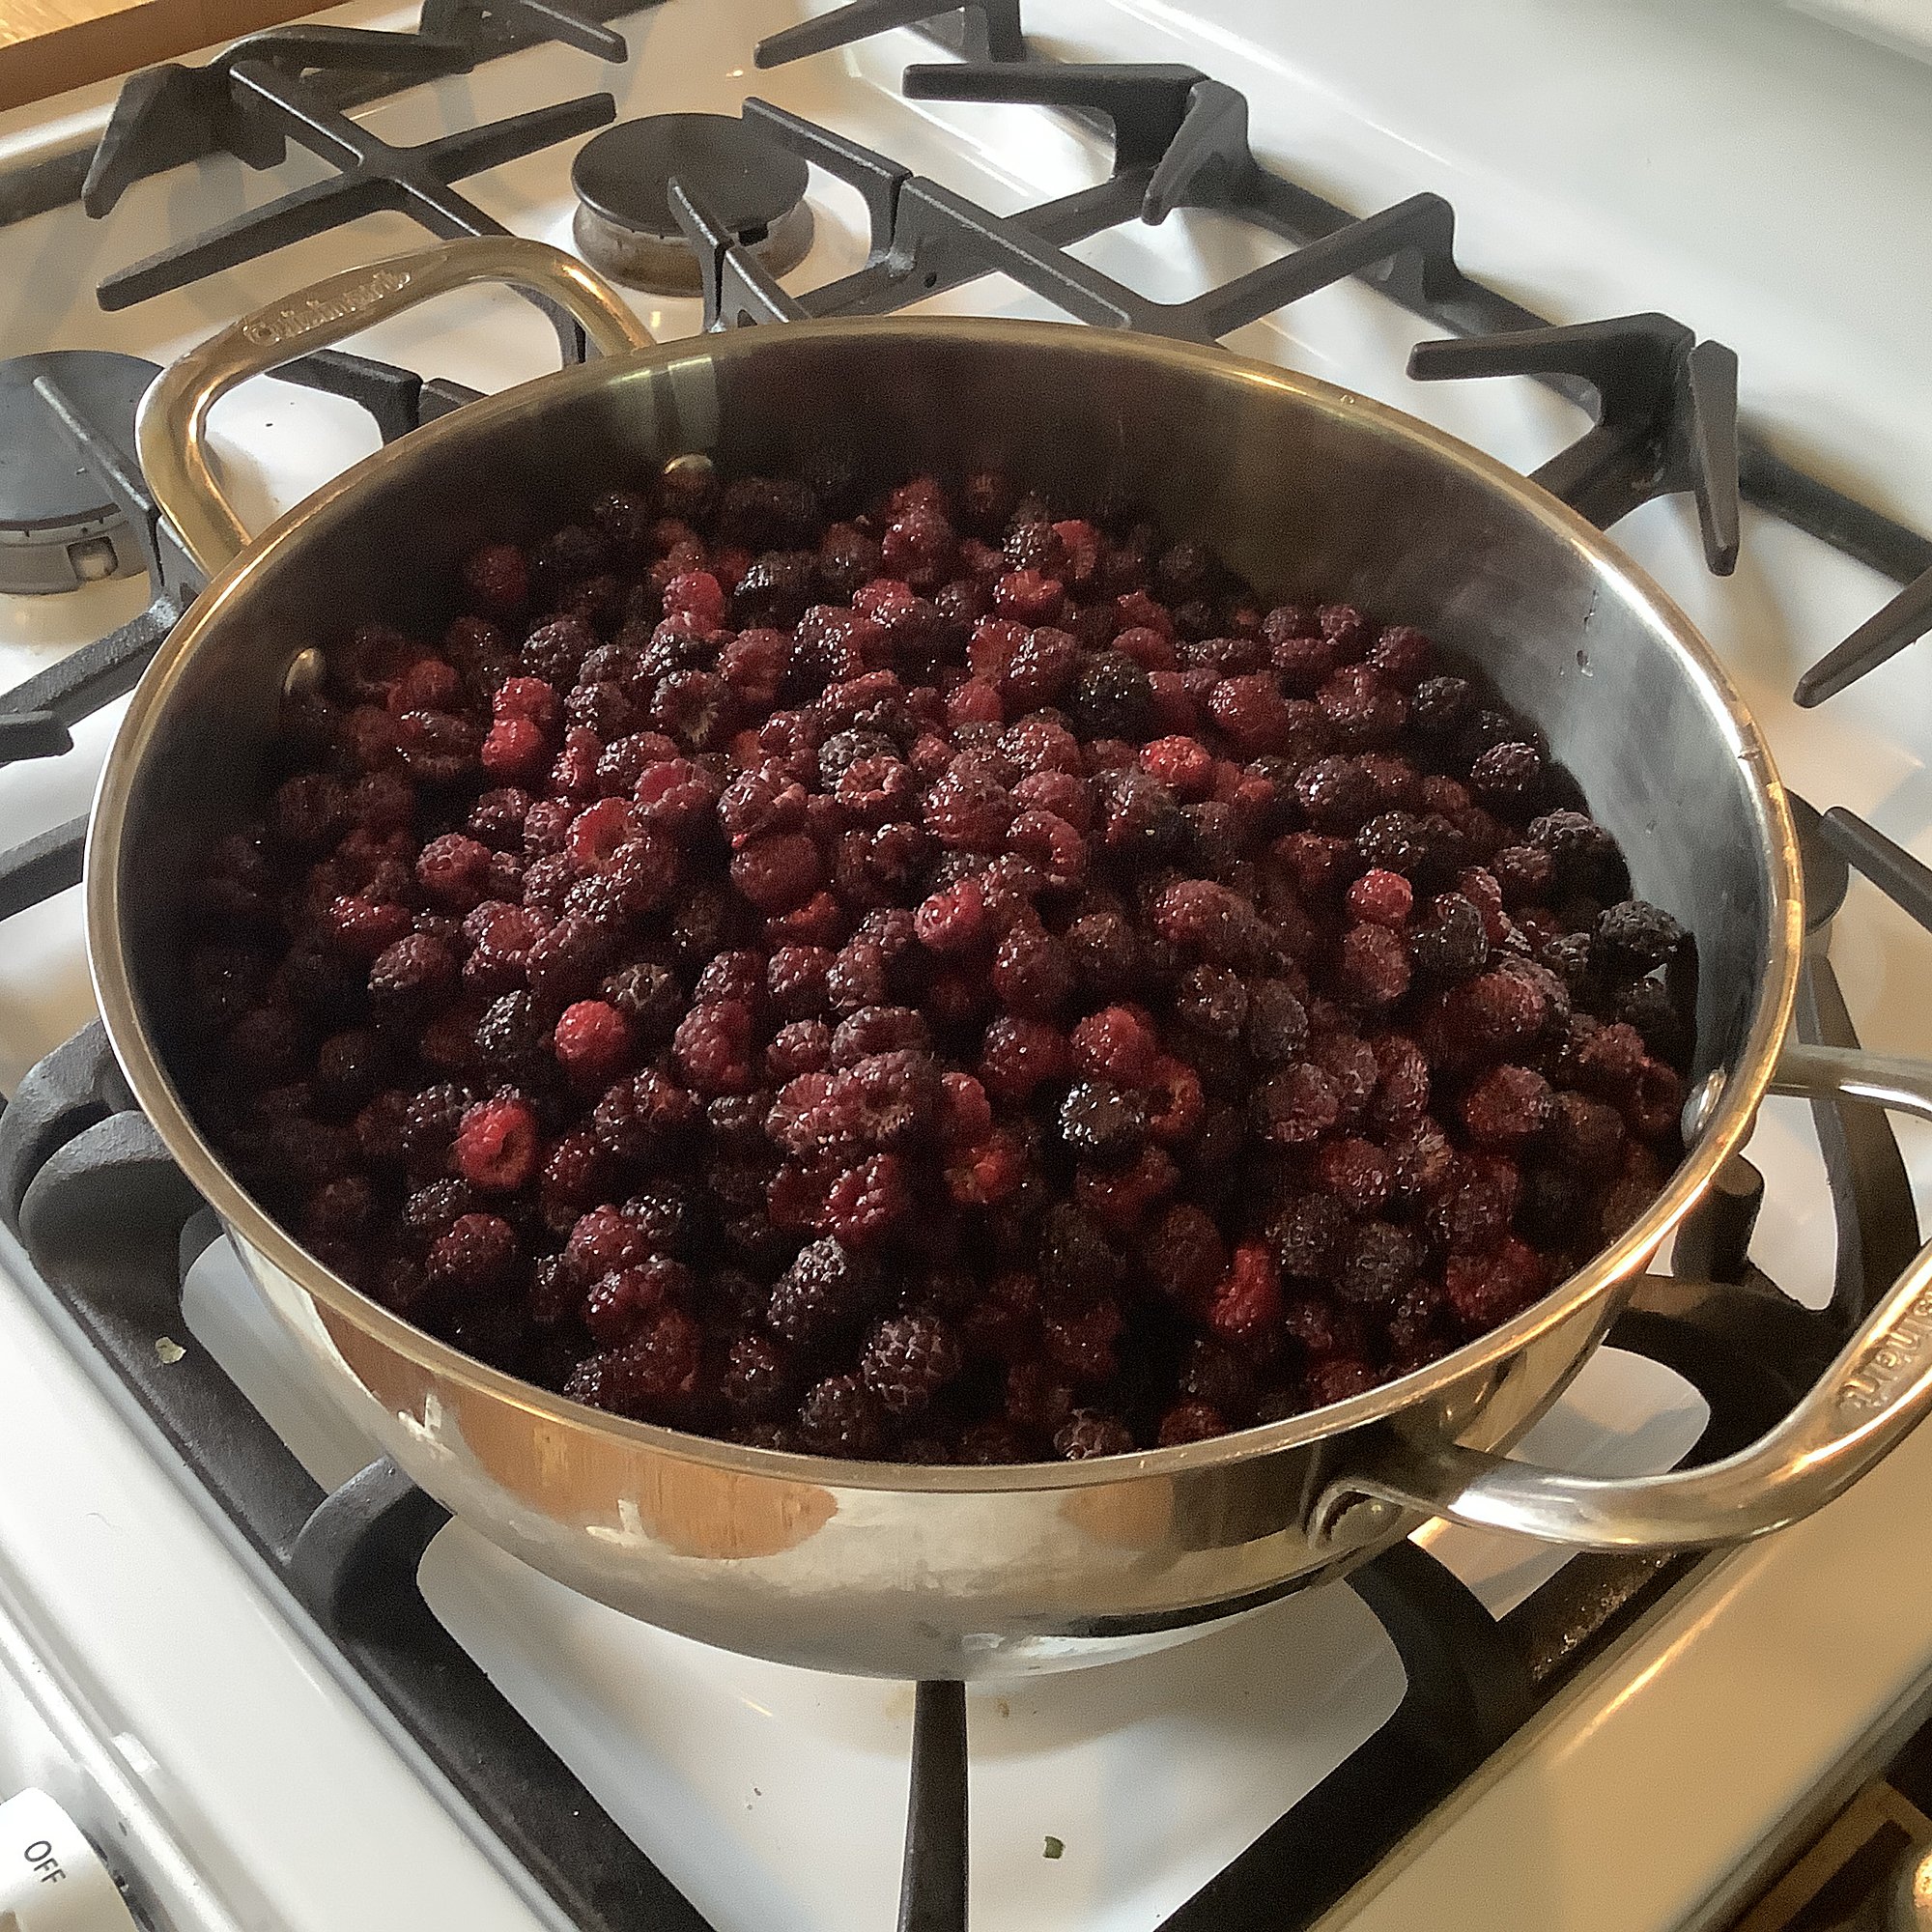
4 cups fresh black raspberries
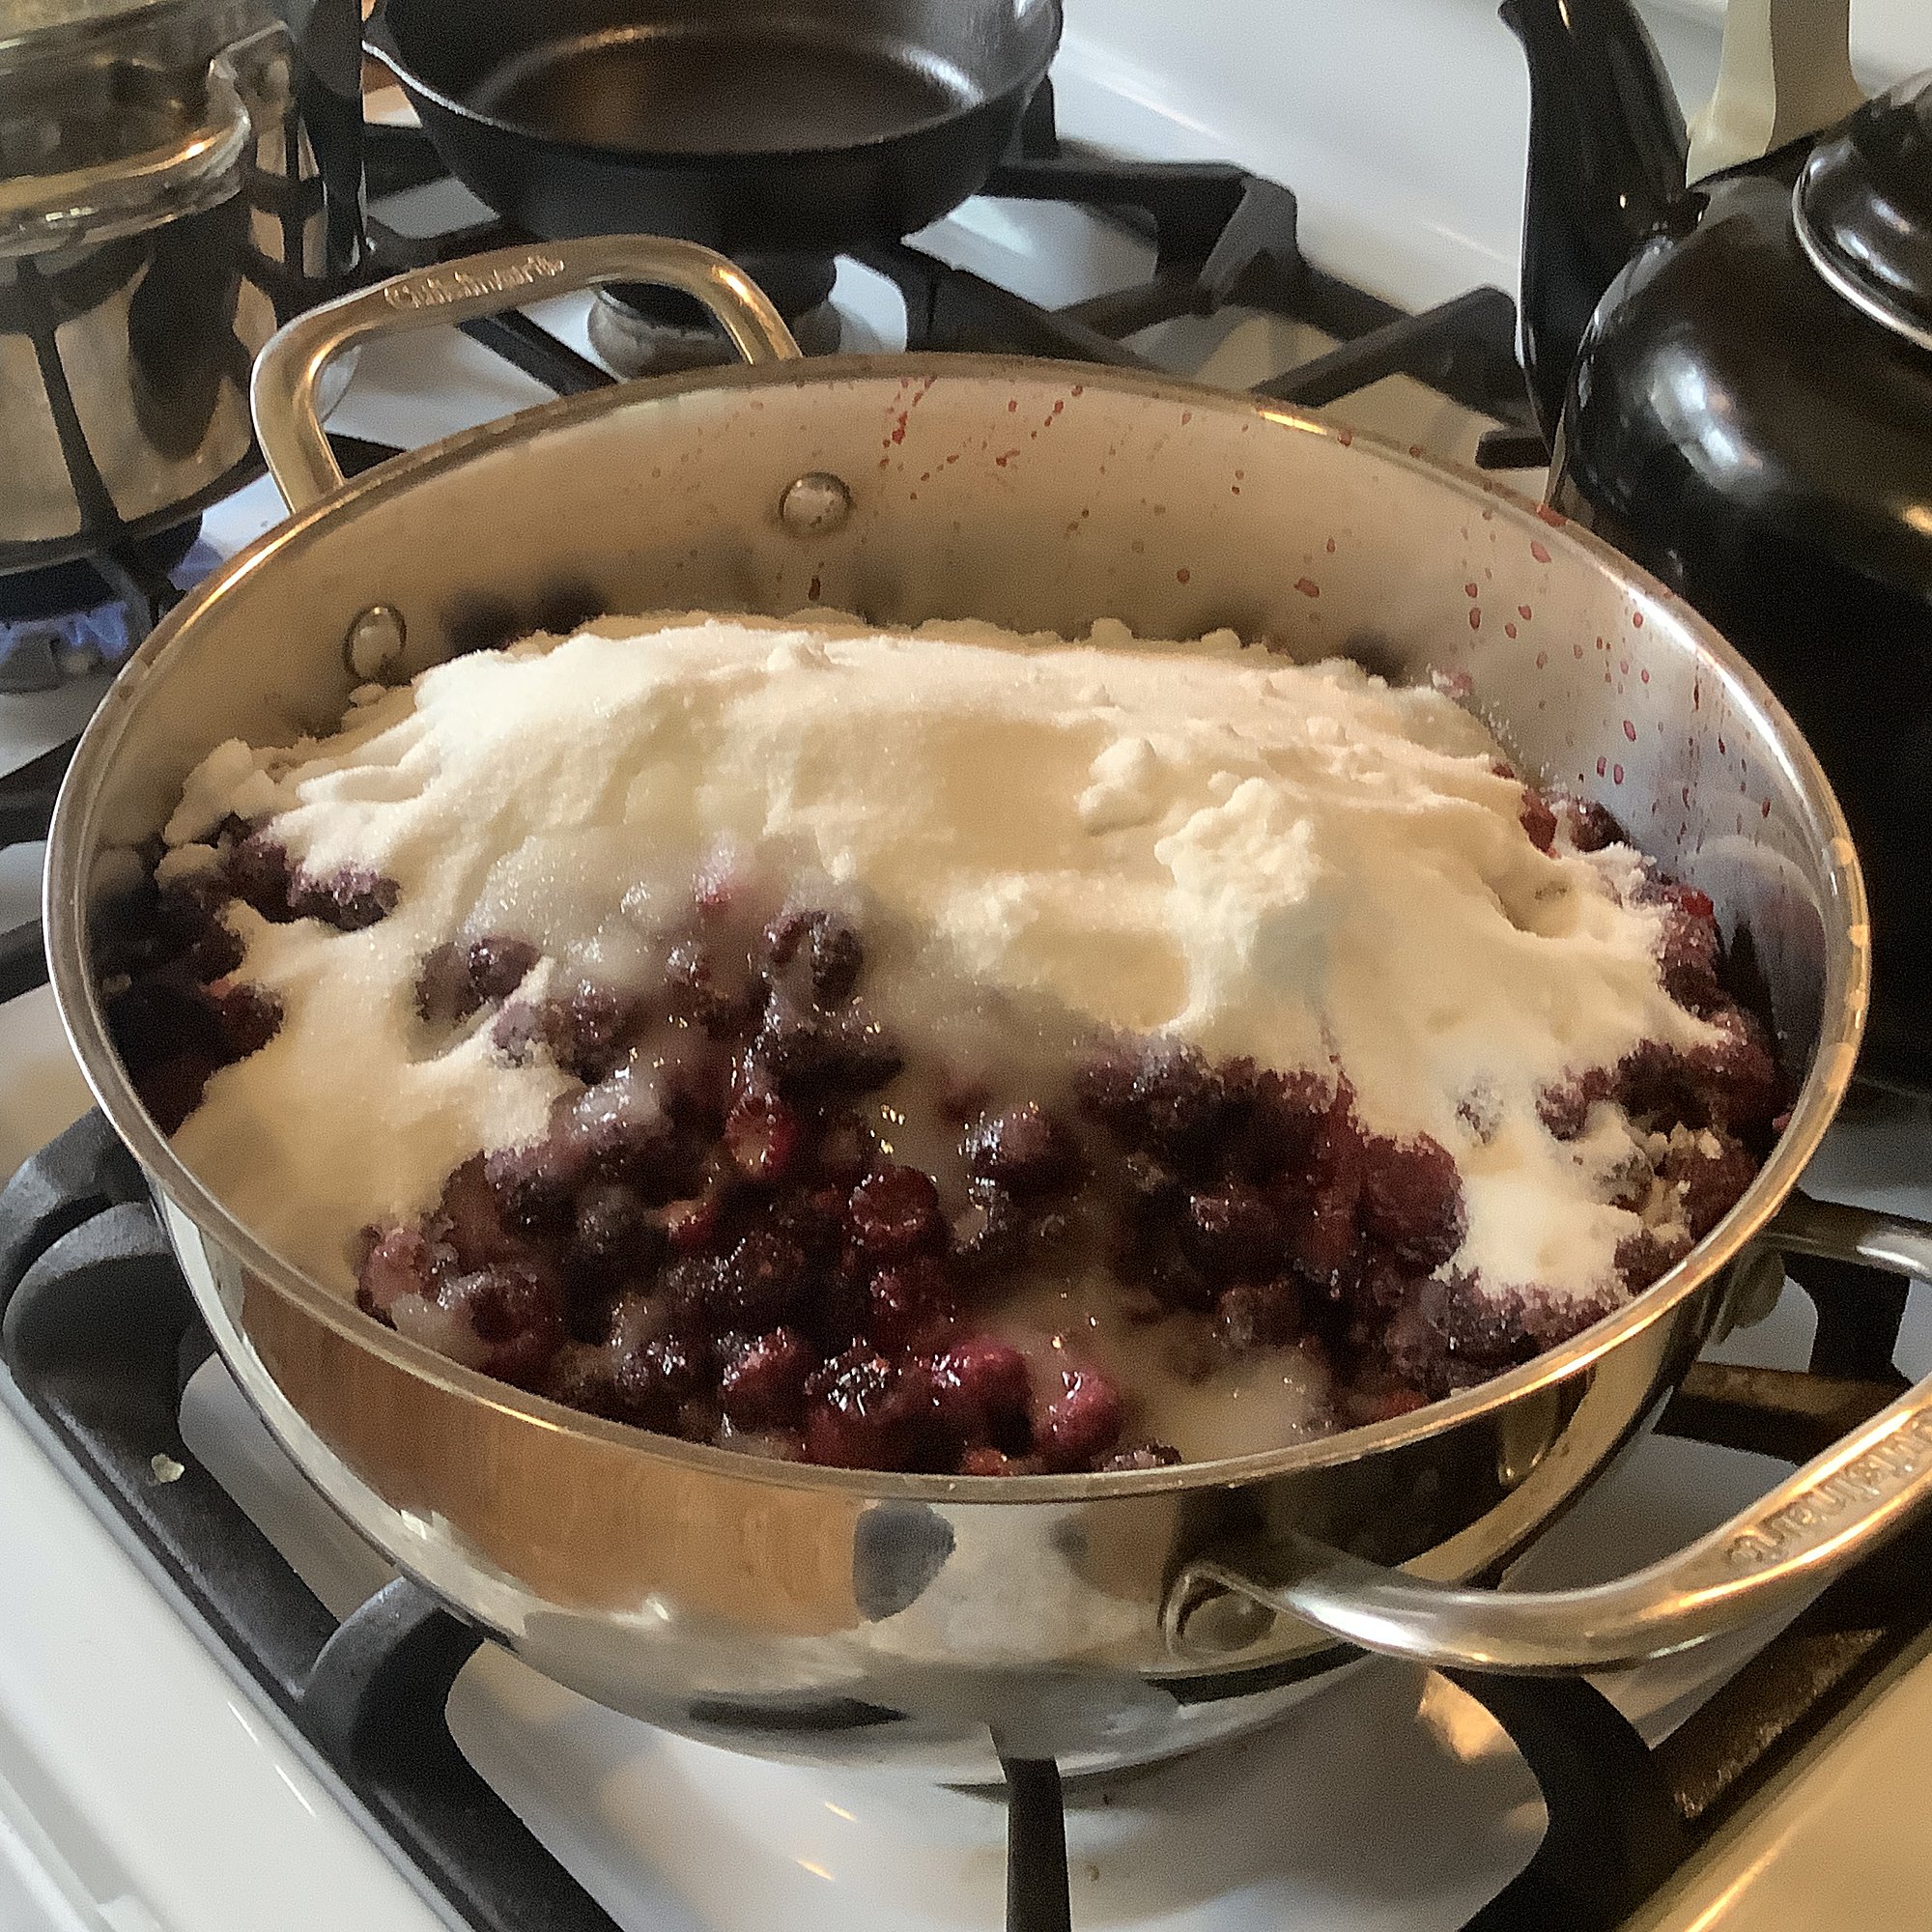
1 cup superfine sugar (regular sugar works as well in a pinch)
1 tablespoon fresh lemon juice
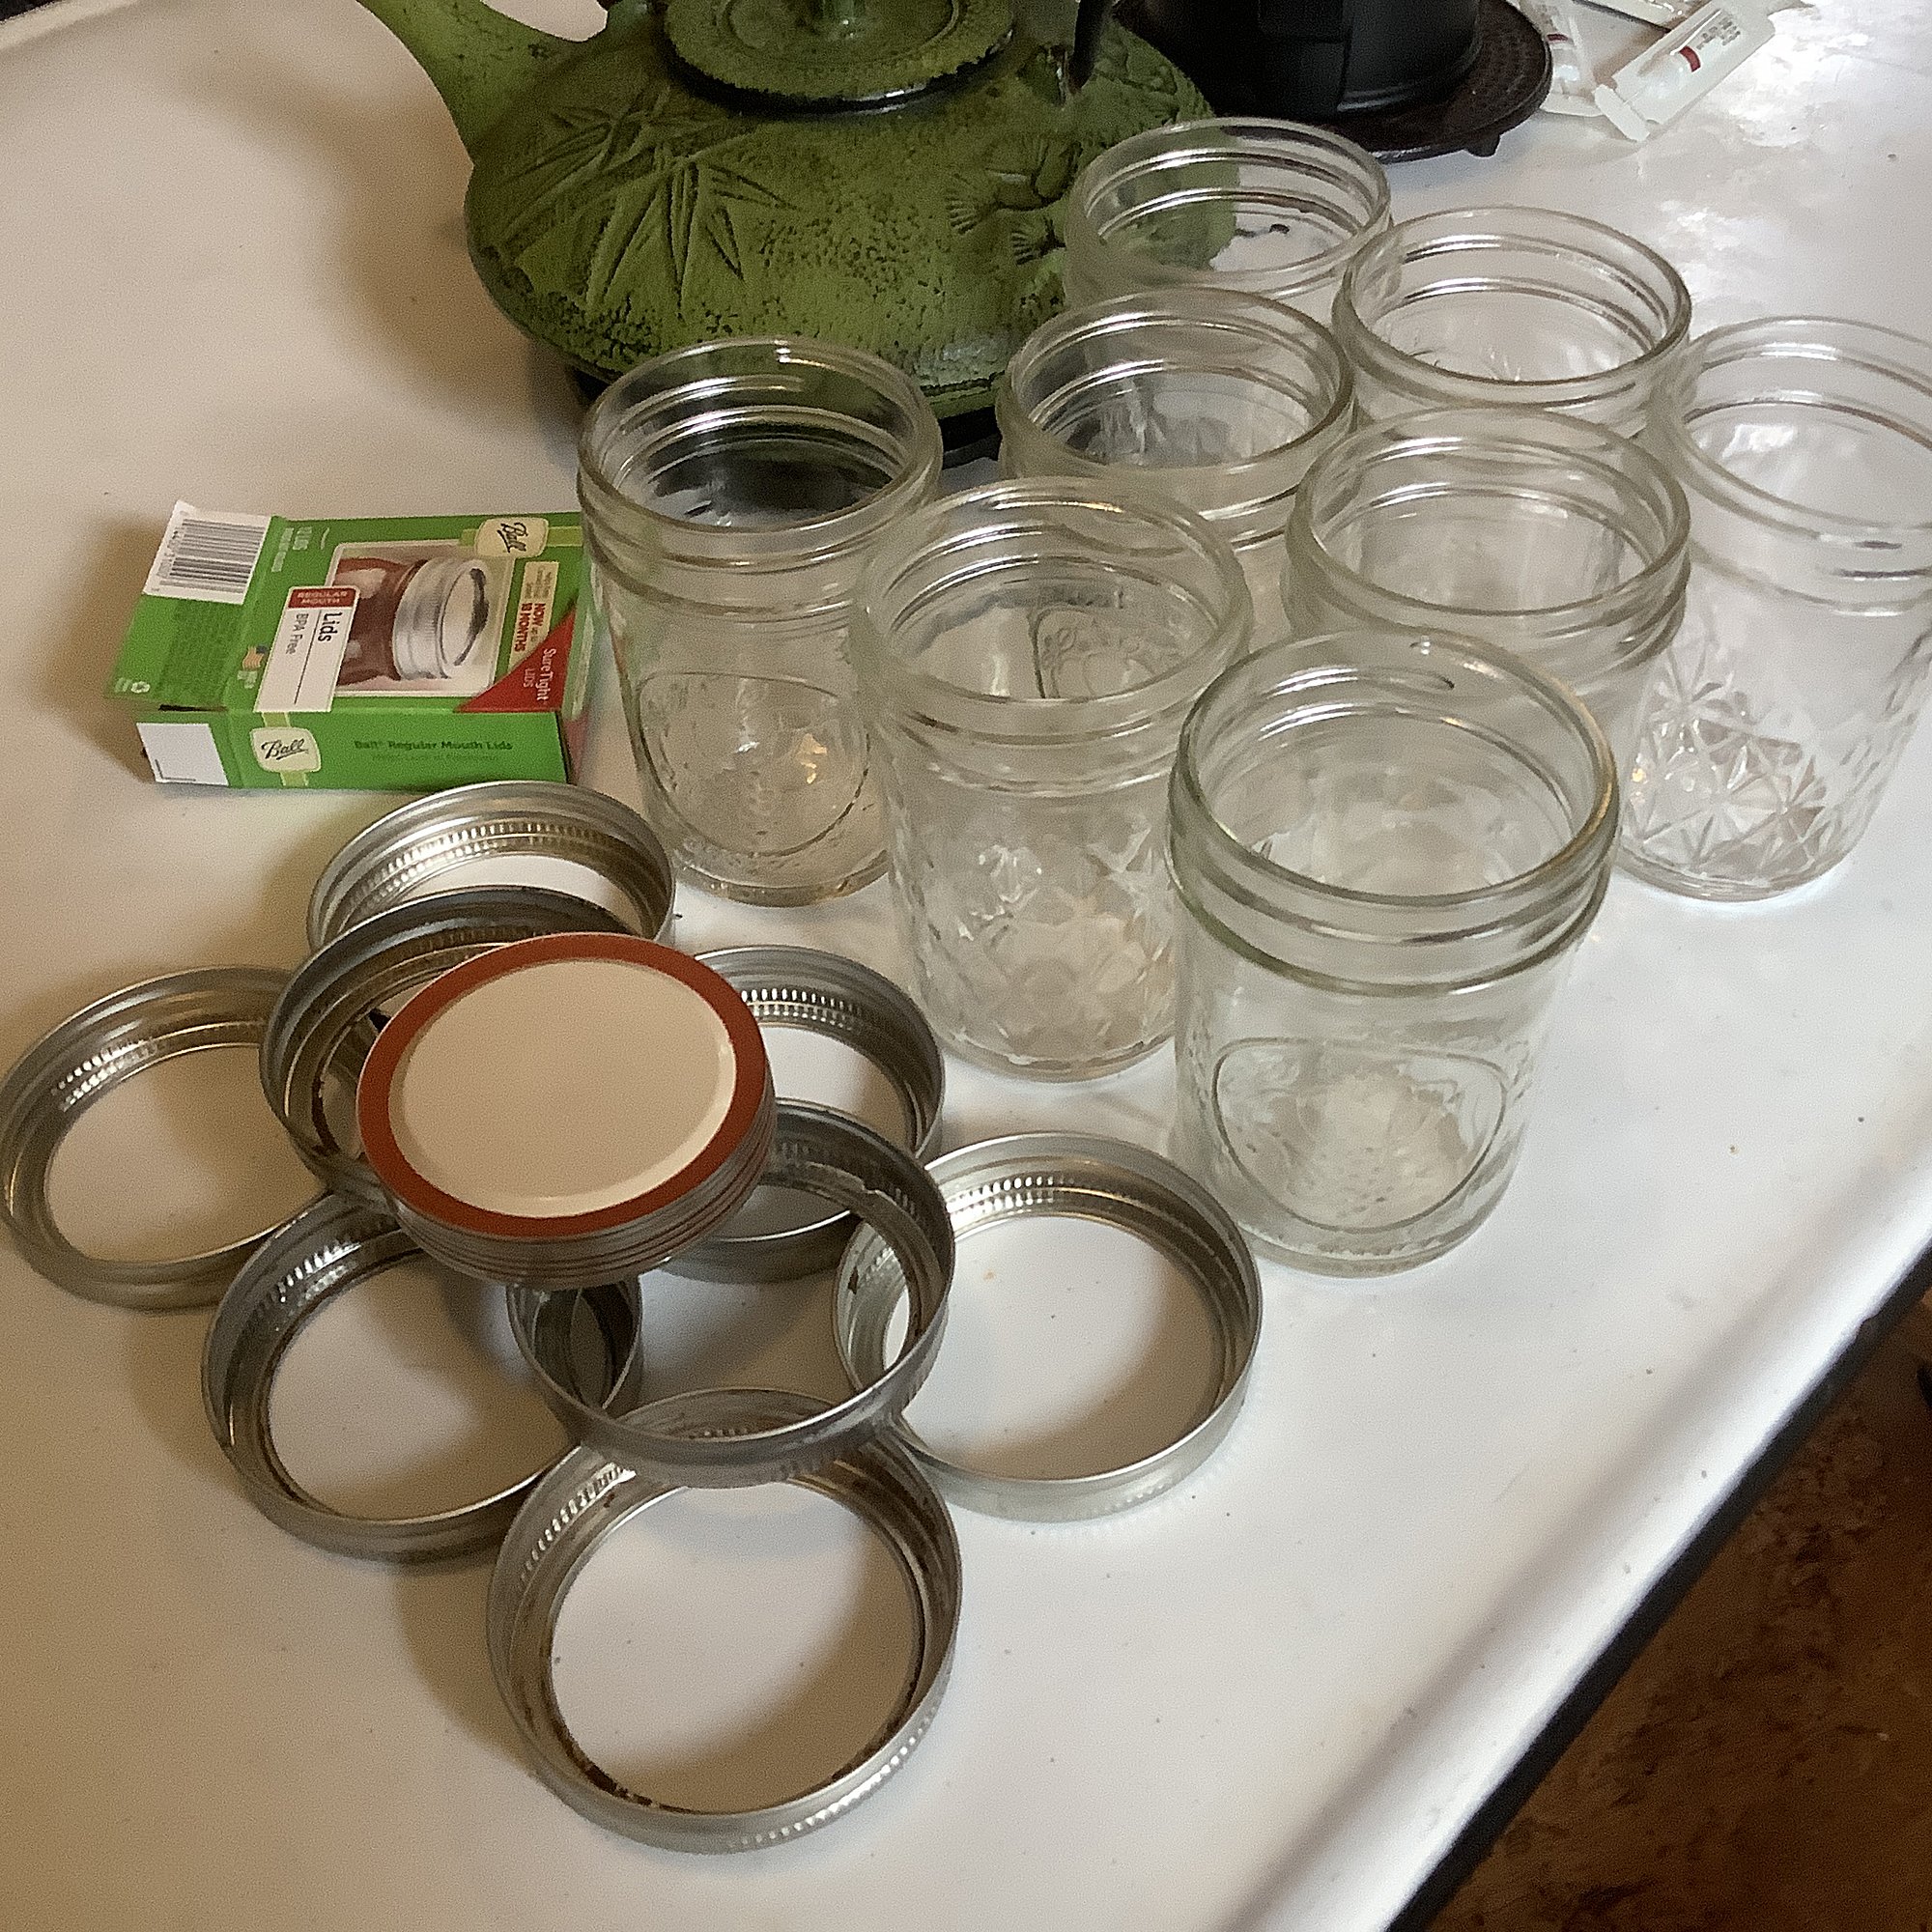
If canning, prepare your jars and set aside in a clean area. I recommend pint or small size jars. Boil the jars for 15 minutes and wash fresh lids with soap and hot water, drying with freshly cleaned towels. It's fine to reuse jars and bands, but not the lids as they may not seal properly.
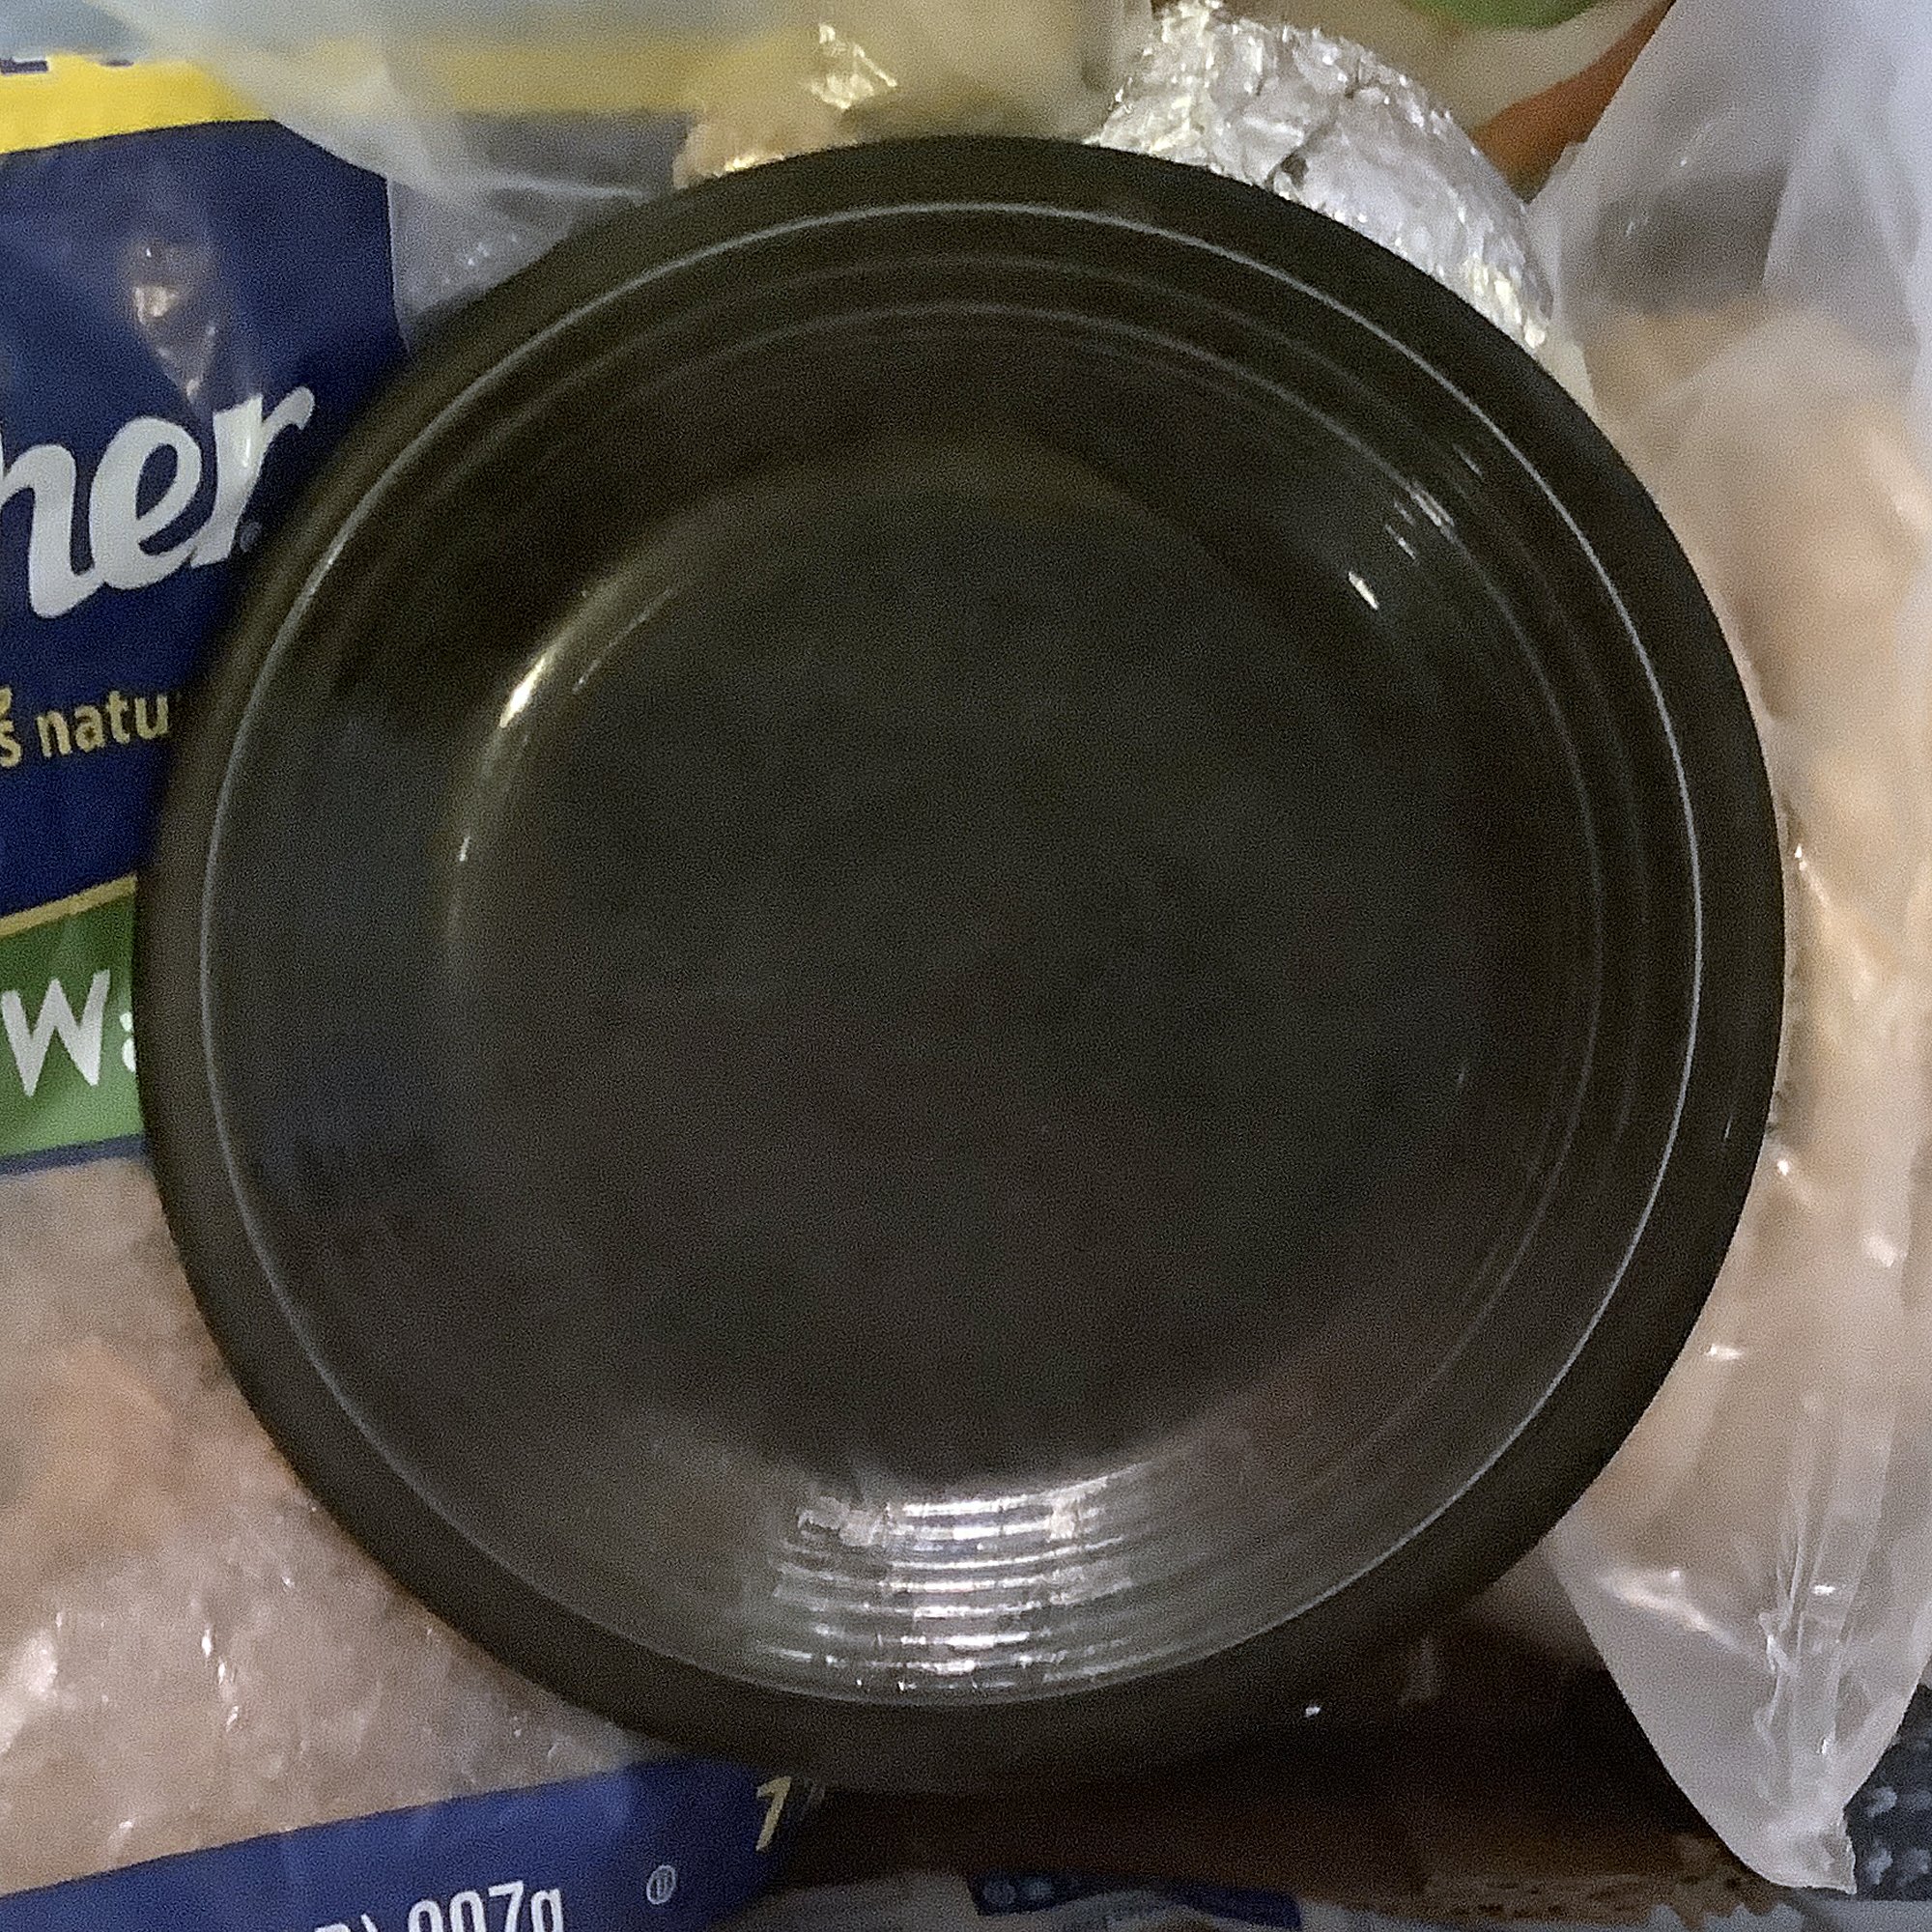
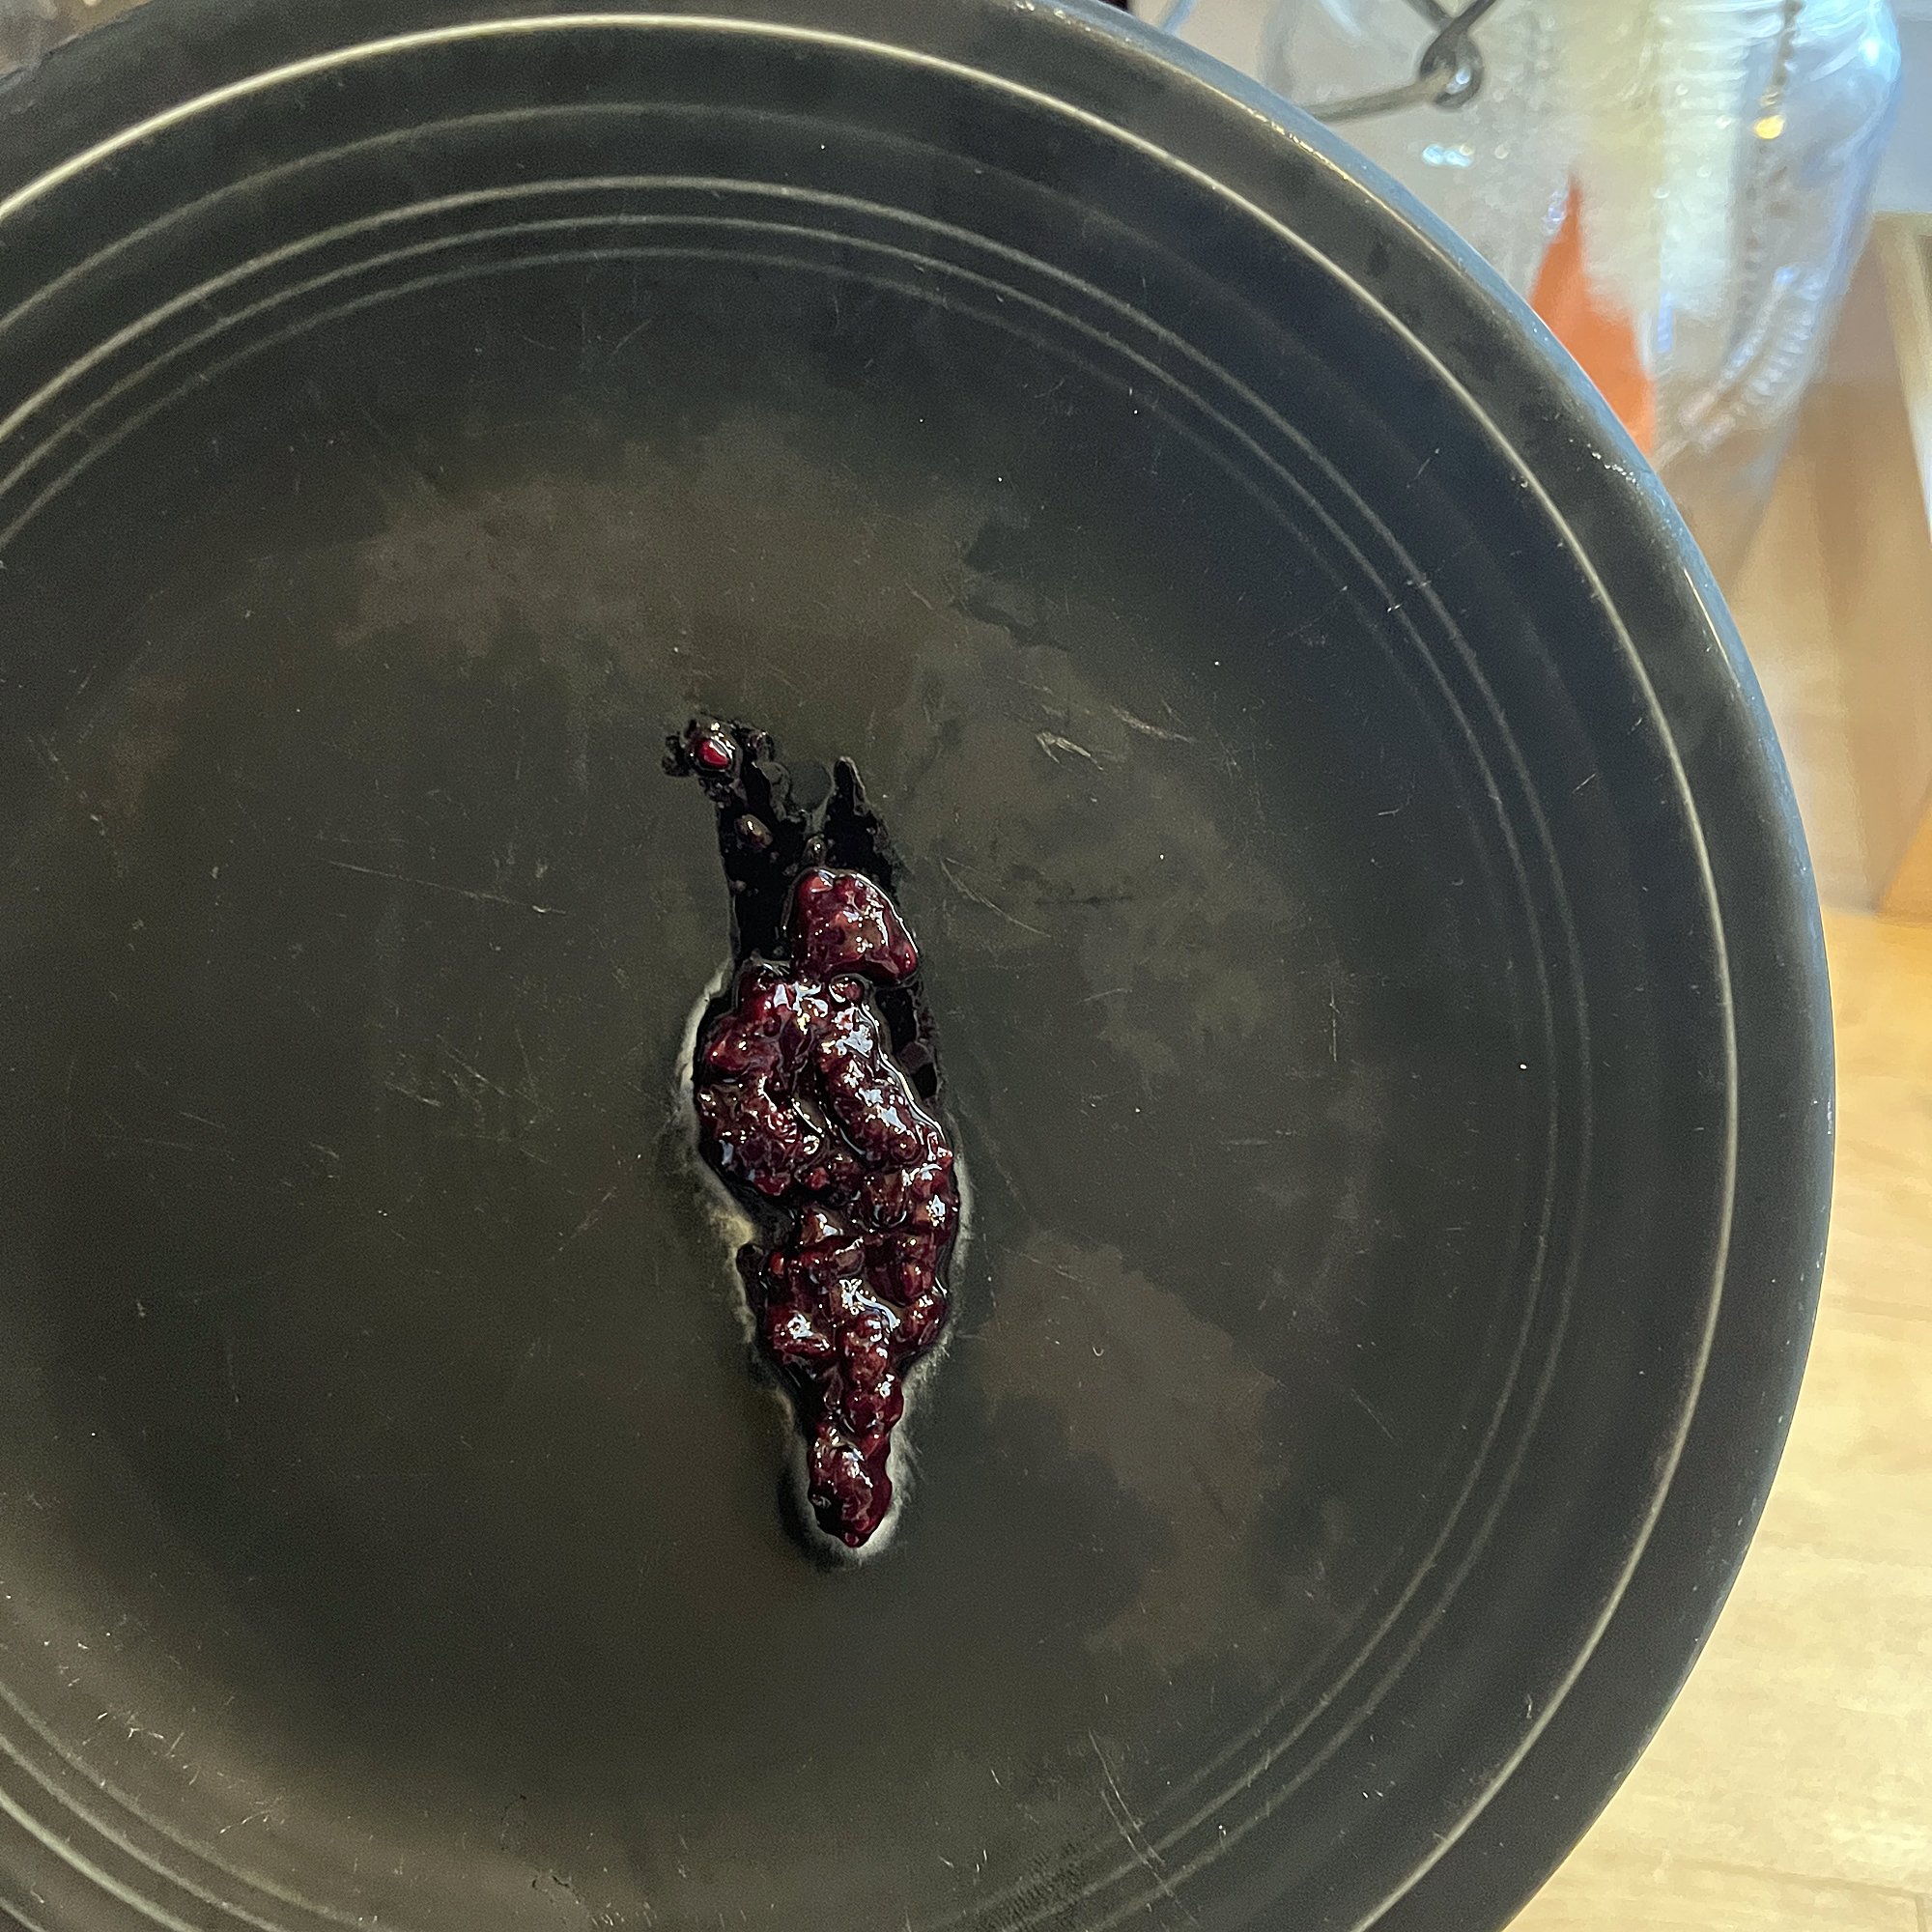
Put a small plate in the freezer.
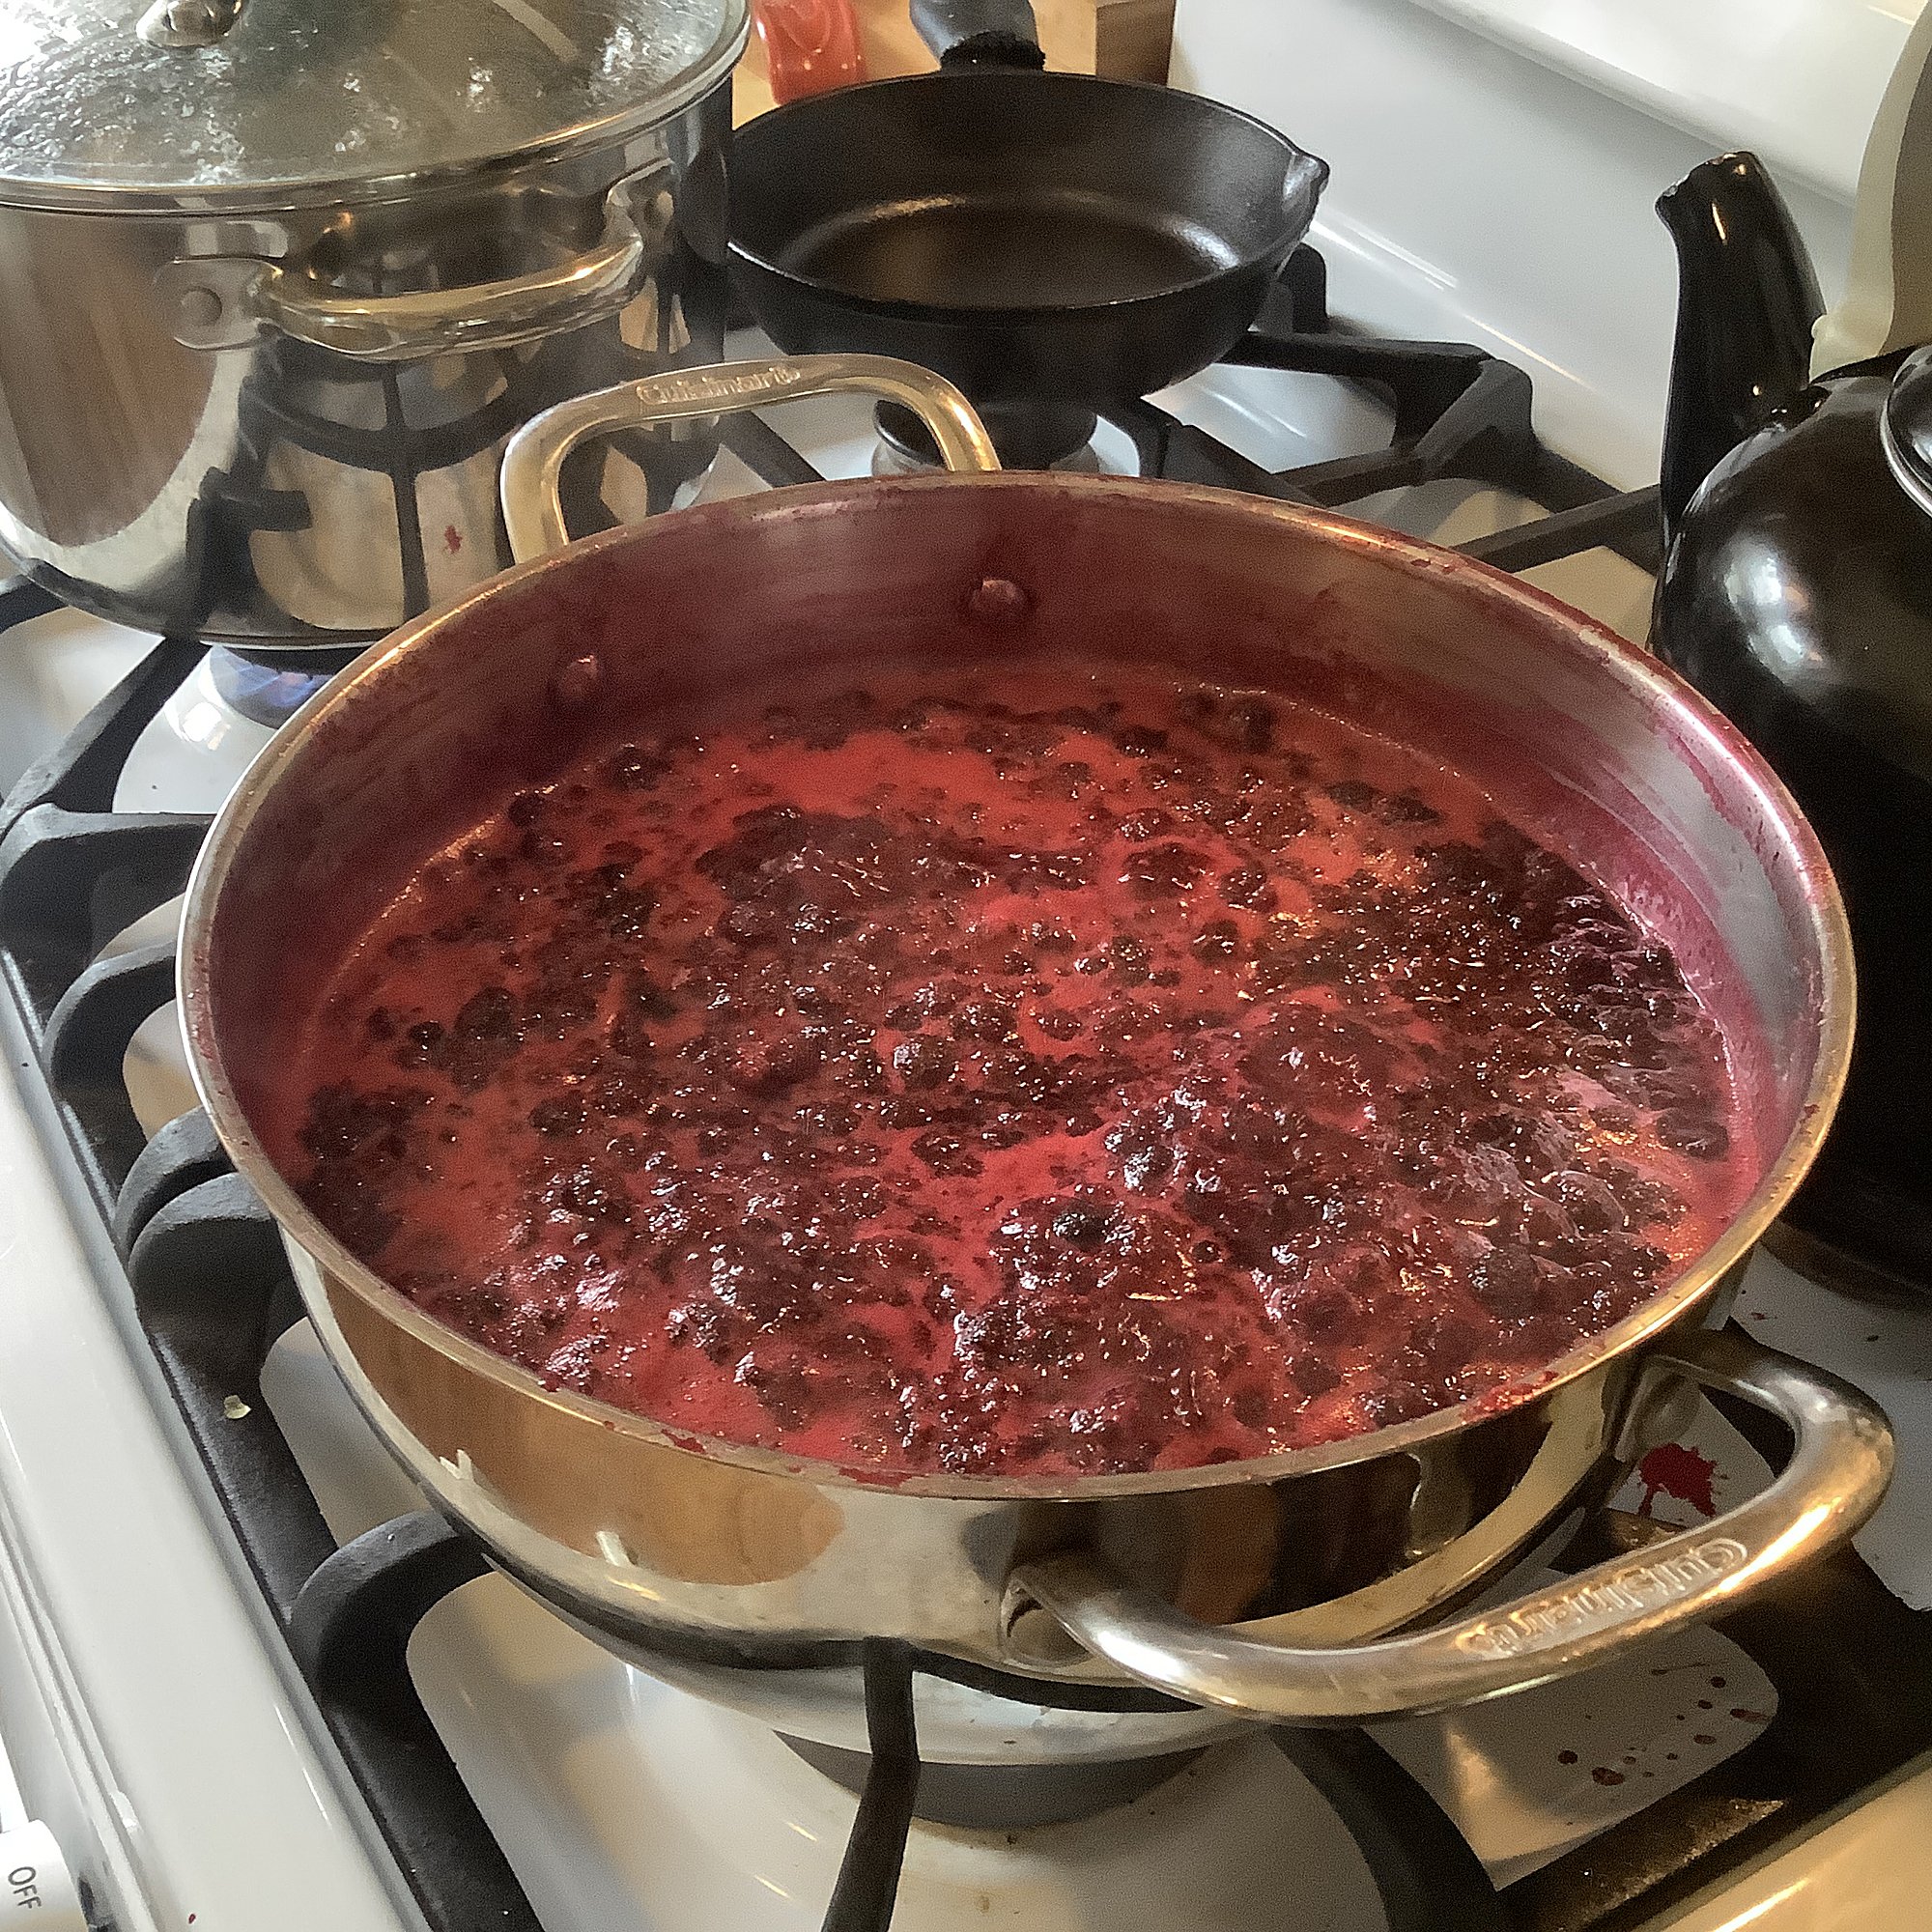
In a stainless steel Dutch oven, combine black raspberries, sugar, and lemon juice. Heat on high, stirring frequently, until sugar dissolves and mixture comes to a boil. It smells amazing.
Reduce to medium/low (rapid simmer) and cook, stirring occasionally, until mixture thickens—15 to 20 minutes. The jam will still seem somewhat thin because it's hot. To test thickness, drip some on the pre-cooled freezer plate. If it's ready, the jam drip wrinkles up. If not, it runs down the plate slowly.
Transfer hot jam into sterile canning jars and seal with clean lids. If you’re planning on using the jam soon, stick the jars in the fridge and they'll be good for a month or two.
To store long-term, tighten the lids firmly but not too tightly (the bands need some room for expansion), submerge the jars in the same Dutch oven used in step 1 and boil for 15 to 20 minutes. Remove the jars from the water with a pair of canning tongs and wait for lids to seal—they’ll make a pop when they do. (If the lids don't pop, assume they’re not properly sealed and store them as indicated in step 5.) Once cooled, tighten the bands and store in a cool, dry area.